Hey everyone! I recently started to enjoy my first Pixie so much that I decided to build another.
The difference between the previous Pixie and this one is that this one was
one dollar less and includes a new, state-of-the-art feature not provided
before -- a buzzer! ![]() To be serious, though, the addition of a buzzer is a huge help
for amateur radio operators who need to hear the Morse code they send
(called 'side tone') instead of the clicks and silence the previous Pixie
had.
To be serious, though, the addition of a buzzer is a huge help
for amateur radio operators who need to hear the Morse code they send
(called 'side tone') instead of the clicks and silence the previous Pixie
had.
I'm not going to go through all of the details as I did in my previous post, but I will share some pictures and comments about this latest build.
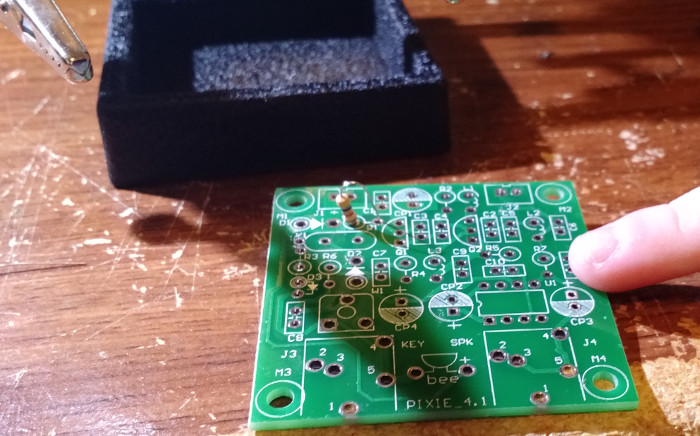
First part in! My five-year-old son points to the
board.
I don't have a dedicated bench for building and working on electronics, so I just scoot my keyboard out of the way and use my desk. This desk was free and has been through much abuse, so I don't worry about scratching it too much.
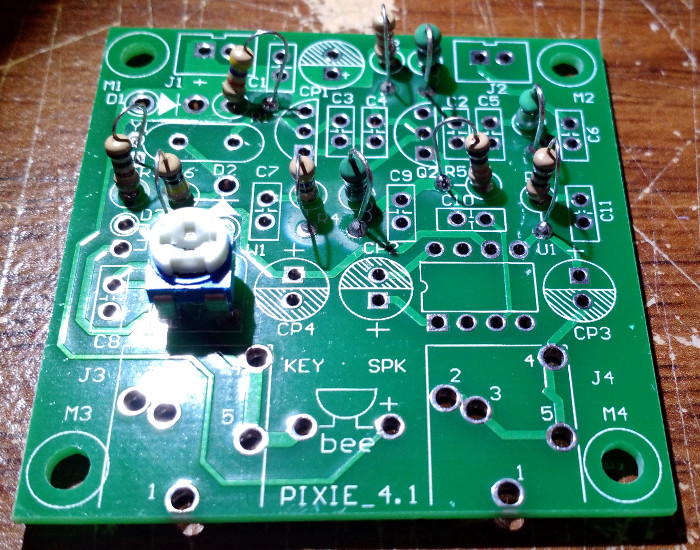
The bag of resistors and inductors are in.
I guess whoever designed this kit and made the parts list didn't know what
to call the buzzer, so you'll see the buzzer called 'bee' on the circuit
board above, and 'be be be' on the parts list. ![]() I'm guessing they
called it that due to the sound it makes.
I'm guessing they
called it that due to the sound it makes.
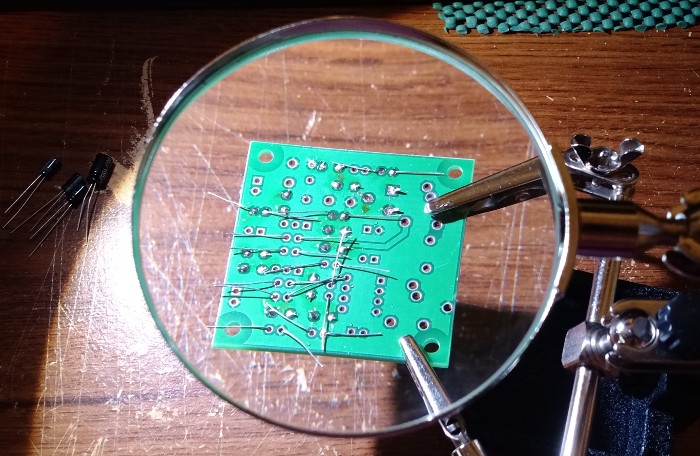
The solder side of the circuit board through the
'helping hands' magnifying glass.
Let me tell you something -- I purchased the 'helping hands' tool online for around $15 USD and it was a HUGE help in soldering! Typically, I would be juggling a soldering iron, solder and using my pinky to steady the board before I got the 'helping hands' tool, and what a pain it was. If you do any kind of soldering, you really need to get this tool! You'll be so glad!
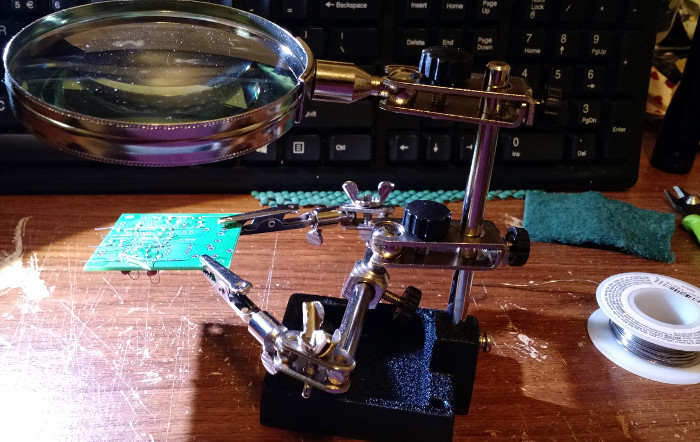
The 'helping hands' in action
Just as I did before, I buffed the solder side of the circuit board with a scrubber pad and cleaned it with alcohol. I also buffed every component's leads for a better connection.
This build was so much more fun than the first Pixie I soldered up because of the 'helping hands' tool. I know I keep blabbing about it, but it really makes projects like this so much more enjoyable and prevents the board from slipping around on your work surface.
Just like my previous build, I had some extra capacitors left over after building the kit, however it appeared that one of the '103' capacitors was missing. The capacitor markings weren't always clear, and I didn't want to risk putting the wrong part in, so I just dipped into my spare-parts collection and replaced the missing part.
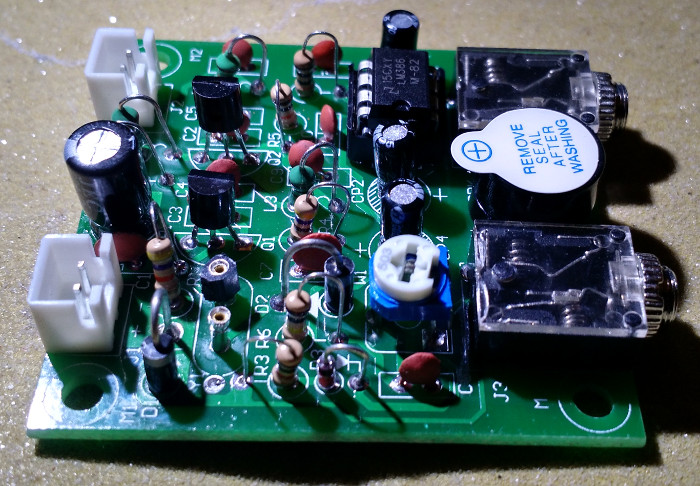
All done!
Besides the missing '103' capacitor, I didn't really have any big
challenges with this newest Pixie. As I did before, I put KC9ON's solder post sockets in
place of the 7.023 crystal that comes with the kit. The plastic crumbled
from one of the posts, so it looks a little cheesy, but doesn't affect the
operation at all. Using this modification allows me to use and easily switch
between different 40-meter CW crystals. KC9ON sells a bag of assorted 40-meter
CW crystals, so check it out! ![]()
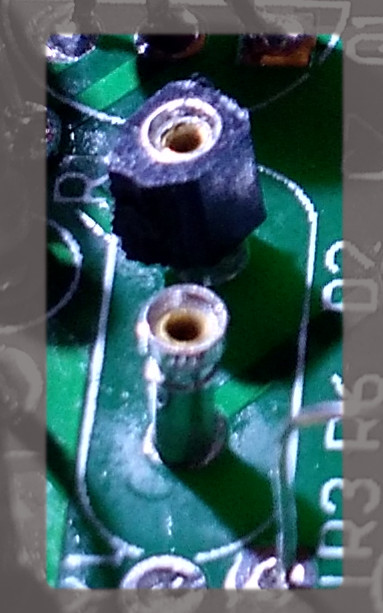
The solder post crystal socket modification
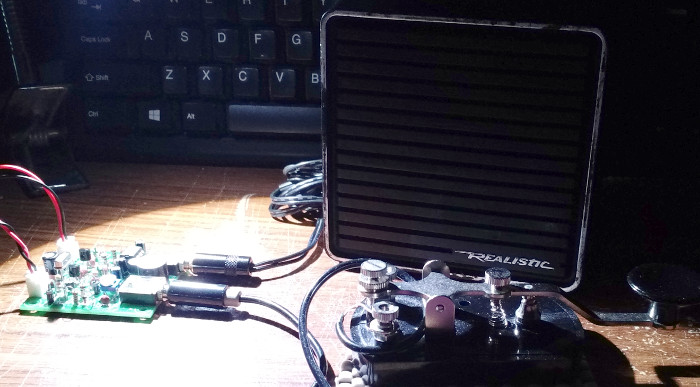
Testing time
When it came time to finally test this newest Pixie, I was very cautious and didn't allow any metallic objects in the work area. I say this because after I finished building the previous Pixie, I accidentally dragged it across a piece of wire or a metallic tool and it killed the LM386 amplifier. I was very unhappy when that happened, but thankfully God reminded me that I had one or two extras in my stock. Thankfully, this time around I didn't short out my Pixie, so yay!
From my previous post:
"I recommend putting the completed kit in
a shielded metal enclosure or case (or in an Altoids or similar tin, as
mentioned earlier). Make sure this kit is connected to a good earth ground
and you'll need to use a very clean 9 - 12-volt power supply or a battery
within that voltage range. Based on my experiences, any hum or other
power-supply noise is greatly amplified in the received audio and will make
reception of other stations almost impossible. Also, this transceiver is
highly microphonic, so any bumps or vibration will be picked up by the
circuitry."
Something else I've found on both of my Pixies is that they're extremely sensitive to any sources of hum. It's possible I have something out-of-balance, but sometimes the hum is so bad I can't hear anything behind it, even when using a battery. Sometimes there's hardly any hum. If anyone has any hints on this, I'd love to hear from you in the comments section below.
If you like kit building, or if you're an amateur on a very tight budget and
have a license that permits operation on 40 meters, give this kit a try!
It's definitely not a full-featured Yaesu, Icom or Kenwood, but think of it
as a challenge. It forces you to use good techniques and an efficient
antenna system. The reward is contacting folks fairly far away on a very
tiny bit of power. That's the budget ham way! ![]()
Thank you so much for reading my post. God bless you! ![]()
If you have any questions, tips or find any inaccuracies, please leave a comment below. Thanks!
Comments

Yeah, some people do have a lot more disposible income than me, that's for sure!