A big part of why I got an amateur radio license was to experiment. My grandfather was big on building kits and assembling his hi-fi system and sometimes would tinker with all things electronic. I think I got a lot of that from him. Unfortunately I don't think he ever got his amateur license, although he knew The Code ™ but his biggest thrill was playing any musical instrument he could get his hands on.
Anyway -- let me remind you, dear reader, that I was born autistic, have received several traumatic brain injuries and covid did a number on me, but thank the Lord Jesus Christ that I am still alive! All of the challenges I experience make it extremely difficult to do logical thinking sometimes, and math...? Forget about it!

God is good, so I still wake up every day, and every day I have the desire to tinker with electronics, especially when they are part of amateur radio. Unfortunately, I don't have the expendable income that others do, so I can't just go and buy the latest Yaesu, Icom or Xiegu radio, can't just pop on big websites and order whatever I need to experiment. No, it's usually spare parts I desoldered from old equipment mixed with a few small new component purchases from Mouser. If a small local hardware store has a few useful bits and they aren't super-marked-up, I will get them. If I'm at the local thrift shop, I will look over the old equipment they have and see if there's anything I can harvest parts from -- although it has been a very long time since I've been to a thrift shop.
You know, I do have an extra class amateur license, yet I have not made even one HF QSO (a conversation with another amateur radio operator on the shortwave bands) yet. While I have been picked up by the Reverse Beacon Network here and there when testing one of my QRP (low-power) radios or mag-loop antennas, no one has ever answered my CQs. I have been lacking even a decent exterior antenna in recent years, so I decided to make one from new and old materials alike.
Disclaimer
I do not have a workshop. I don't have the specialized tools to do fine workworking.
Due to my physical challenges, it's difficult to do fine-motor-skills stuff. I only
have basic hand tools, and even then some of them aren't that great.
I did the
best I could with what I had. Please try not to judge me, my work or ideas too
harshly. I could have just given up on doing this project completely, but I really
want to get on the air, and this is the only way I could do it right now. If my dad or
grandfather saw this post, they'd probably cry due to my horrible craftsmanship, but
hey, at least it's not made out of cardboard and masking tape!
![]()
This project spanned many months because I only had a few spare moments here and there
to do each step, so sometimes I lost momentum. This definitely could be done in a
day or two if you had all of the materials, tools and know-how, but that's just not the
situation I'm in right now. Thanks!
![]()
The Project
My goal with this project was to build an unun (UNbalanced to UNbalanced antenna
transformer), build a relatively weather-resistant housing for it, make a random-wire
antenna and mount the whole thing outside somehow. We have a very small lot, so there's not
really even enough room for a 40 meter half-wave dipole, so a random-wire setup it is.
Sorry, no fancy clickable images here -- just right-click and choose 'Open Image in new Tab' or similar to look at full-sized pictures
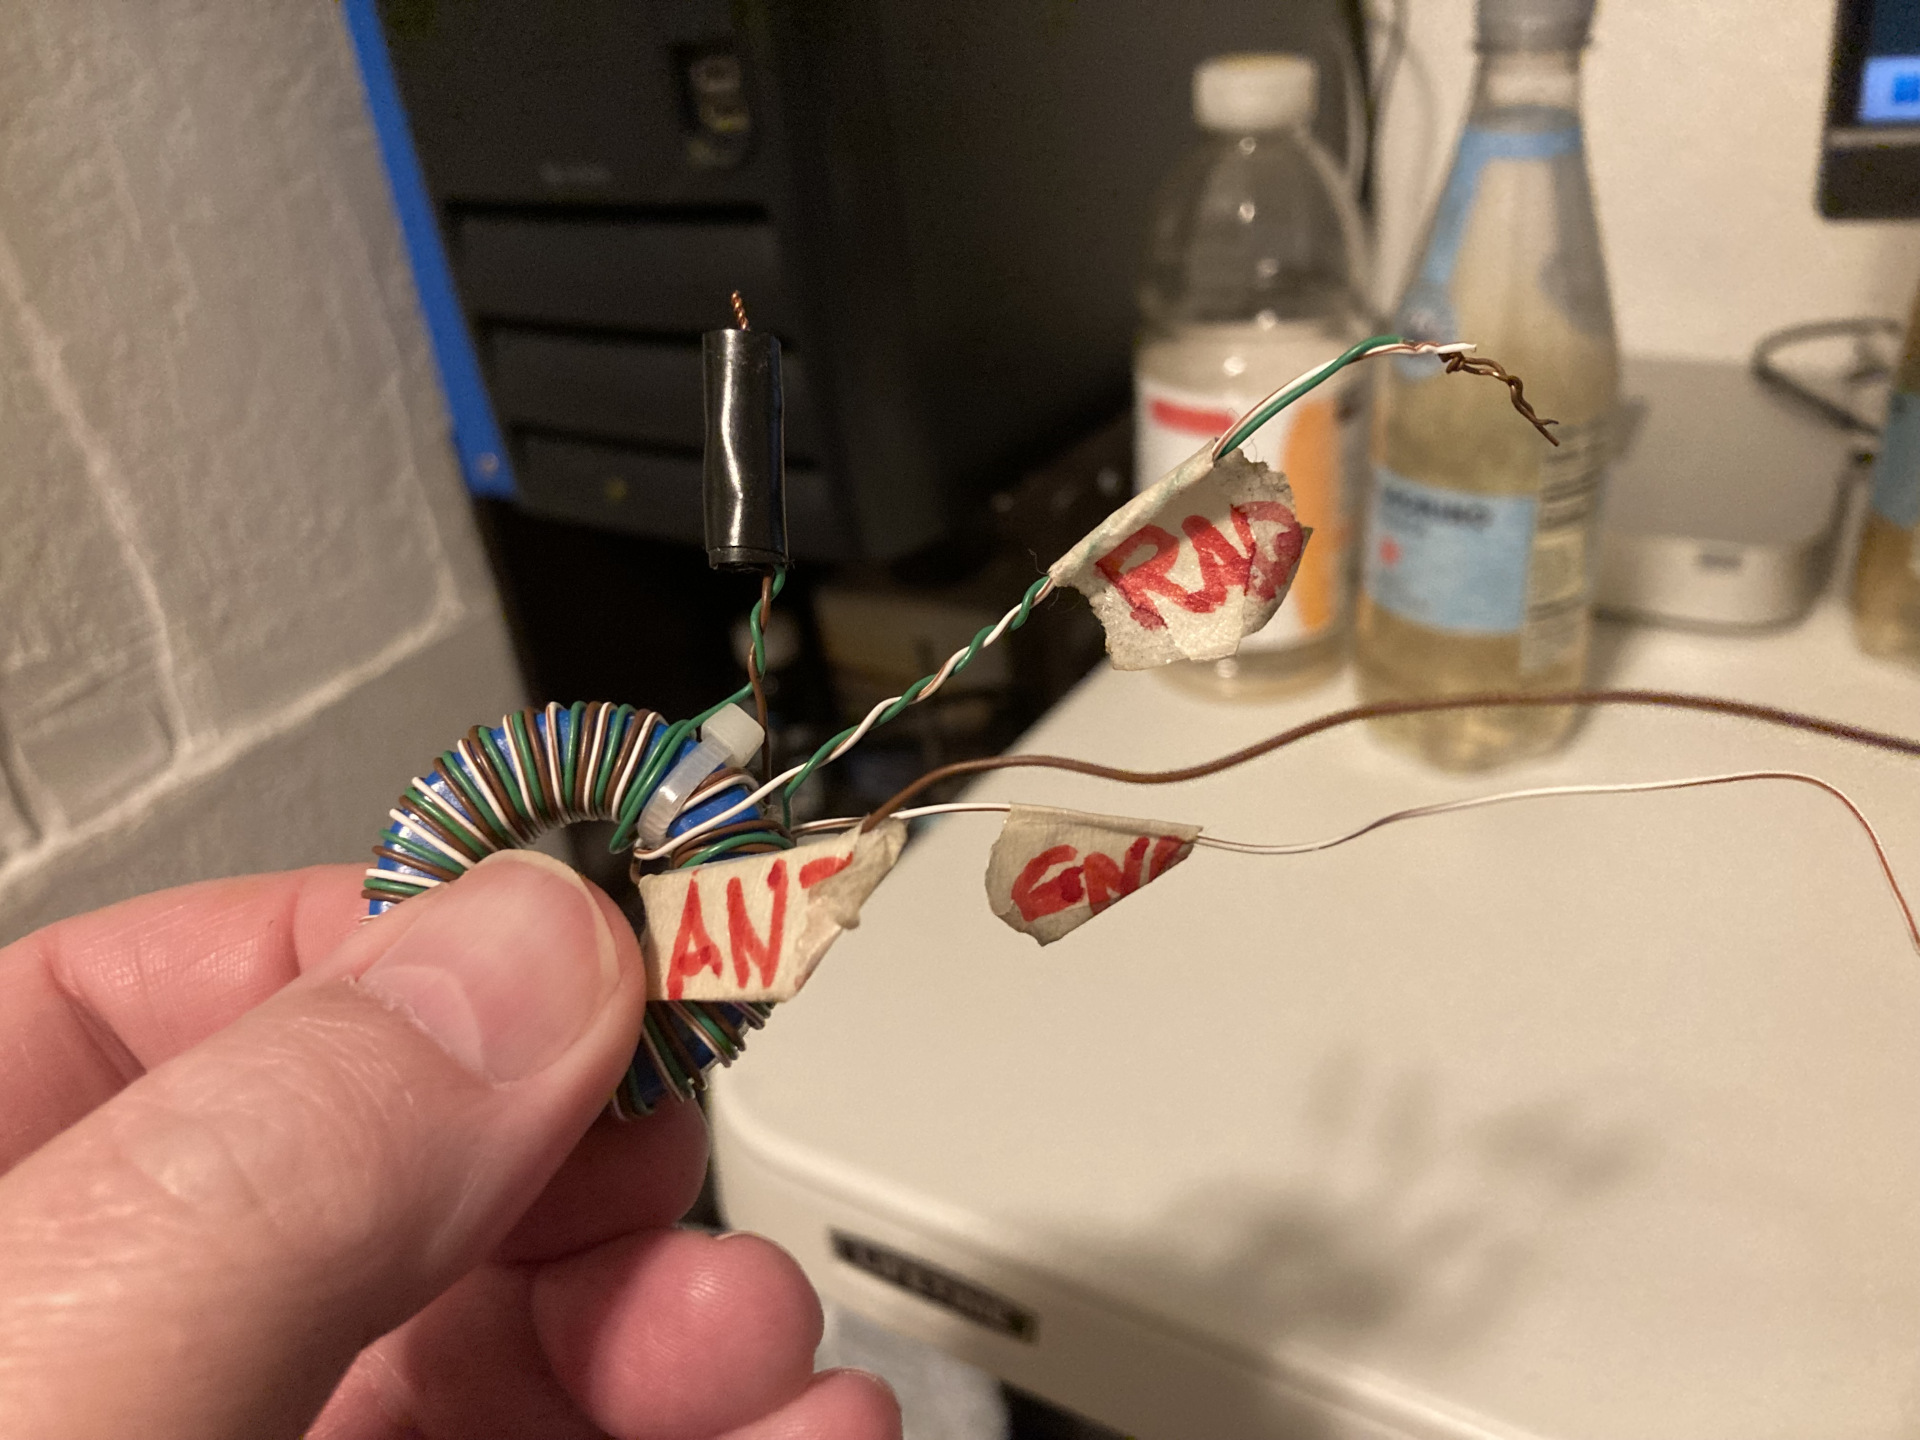
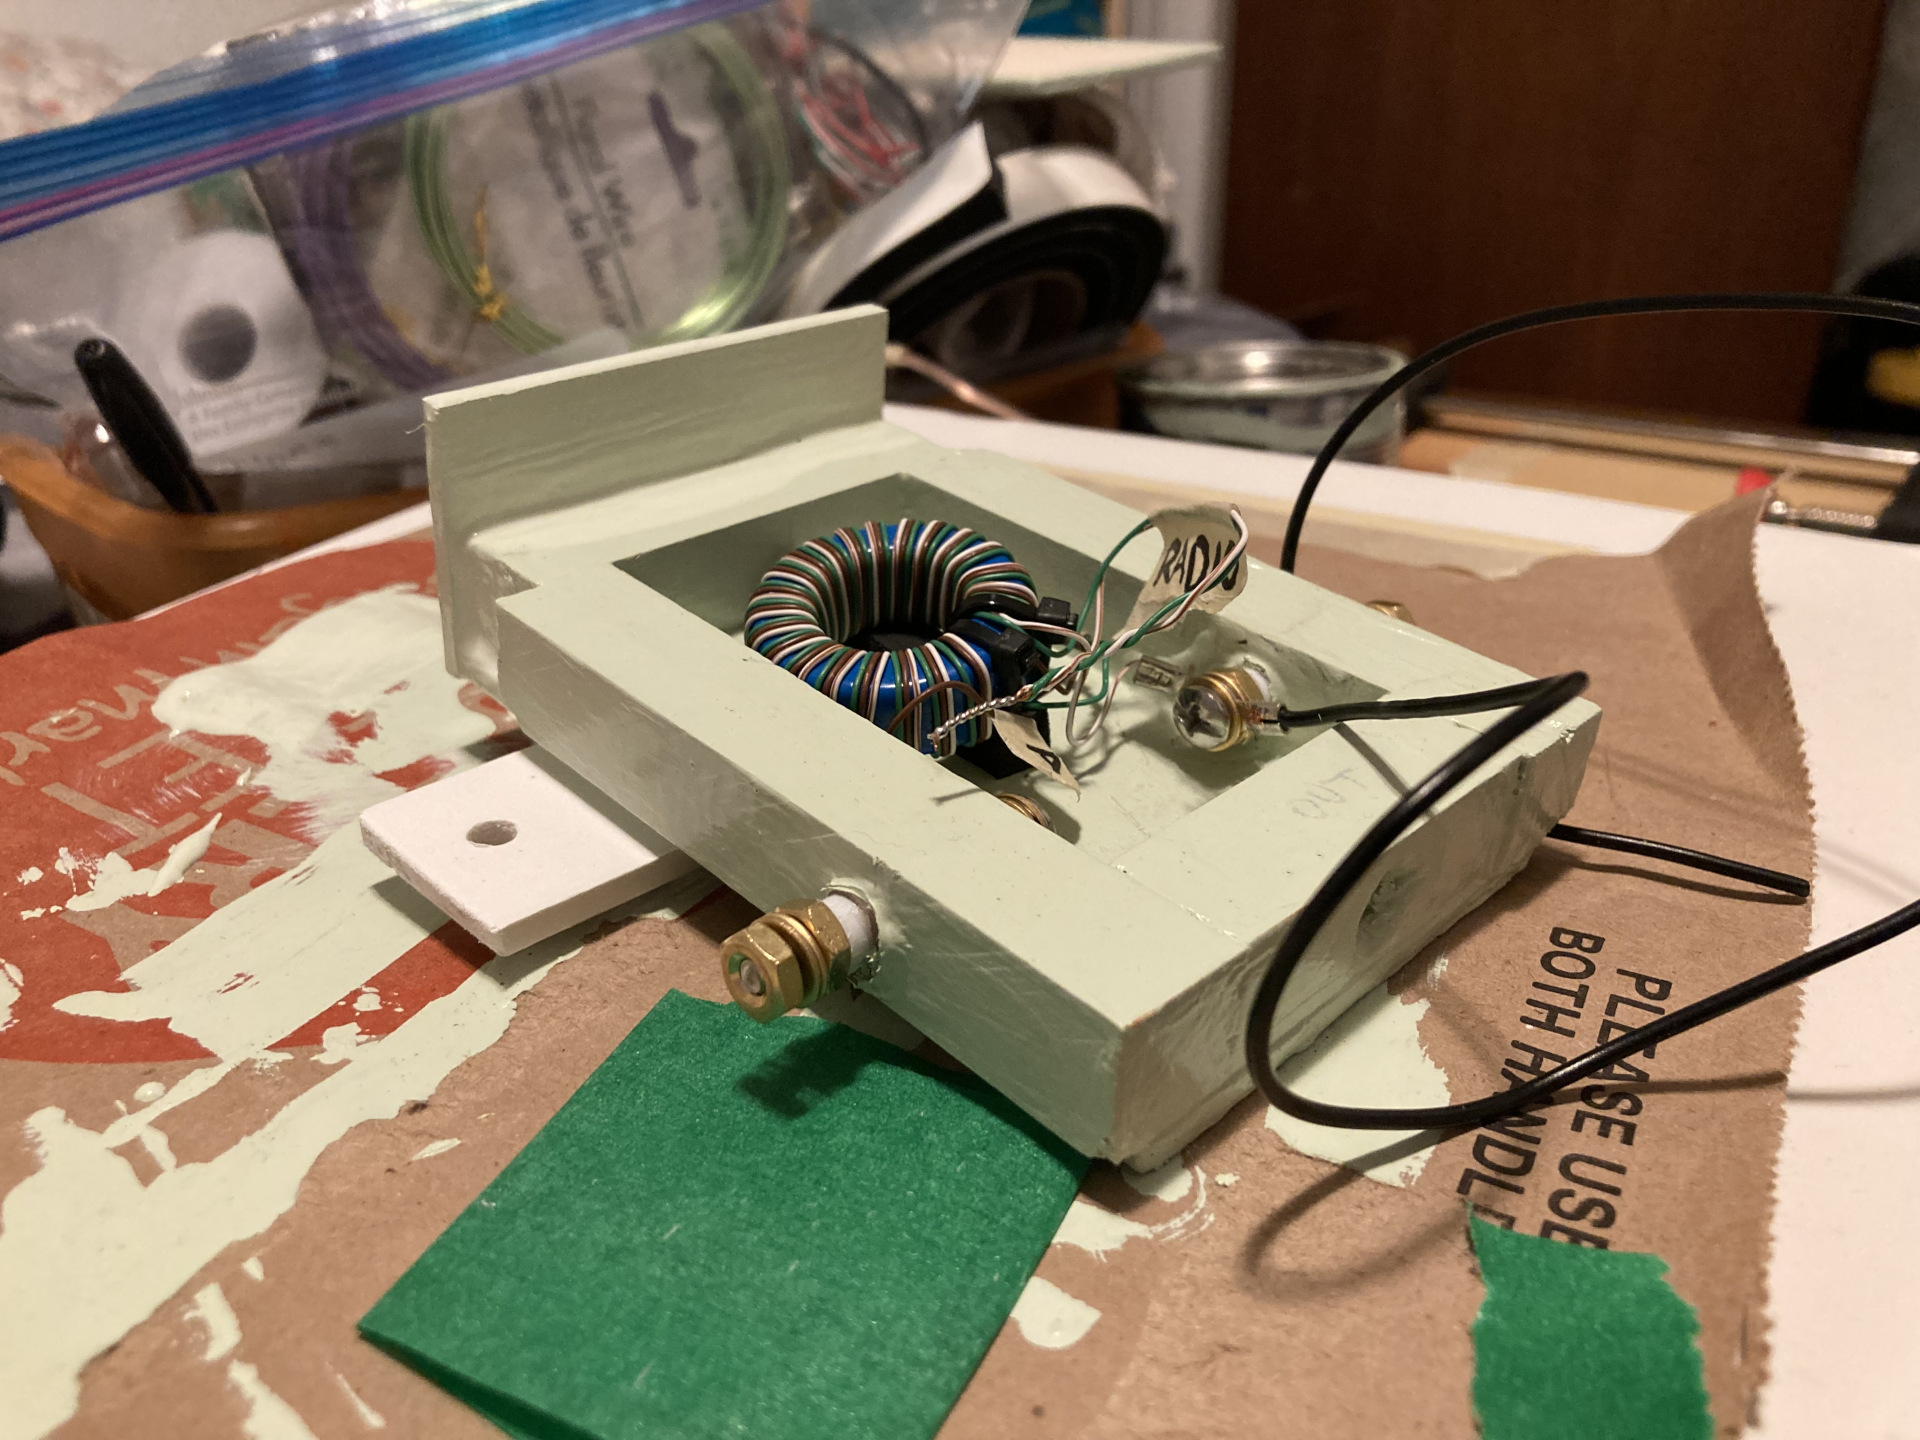
An old friend, my 9:1(ish) unun from years ago
9:1(ish) unun from the past
Many years ago, when I lived a few towns away, I made a QRP 9:1(ish) unun that I used on
a very long random wire, with good results. I say "9:1(ish)" because it's not precisely
that ratio, but the antenna analyzer and practical usage in the past has proven it's effectiveness.
Back when I first used this unun, I never did get in contact with anyone, but as mentioned earlier, I did get into the Reverse Beacon Network and also saw my signal on a Web-based SDR receiver in the next state. After going through my large electronics container recently, I found and set this unun apart in preparation for this project. I did have to re-wind some of the unun as some windings were crossed and I wanted it to be neater than it was.

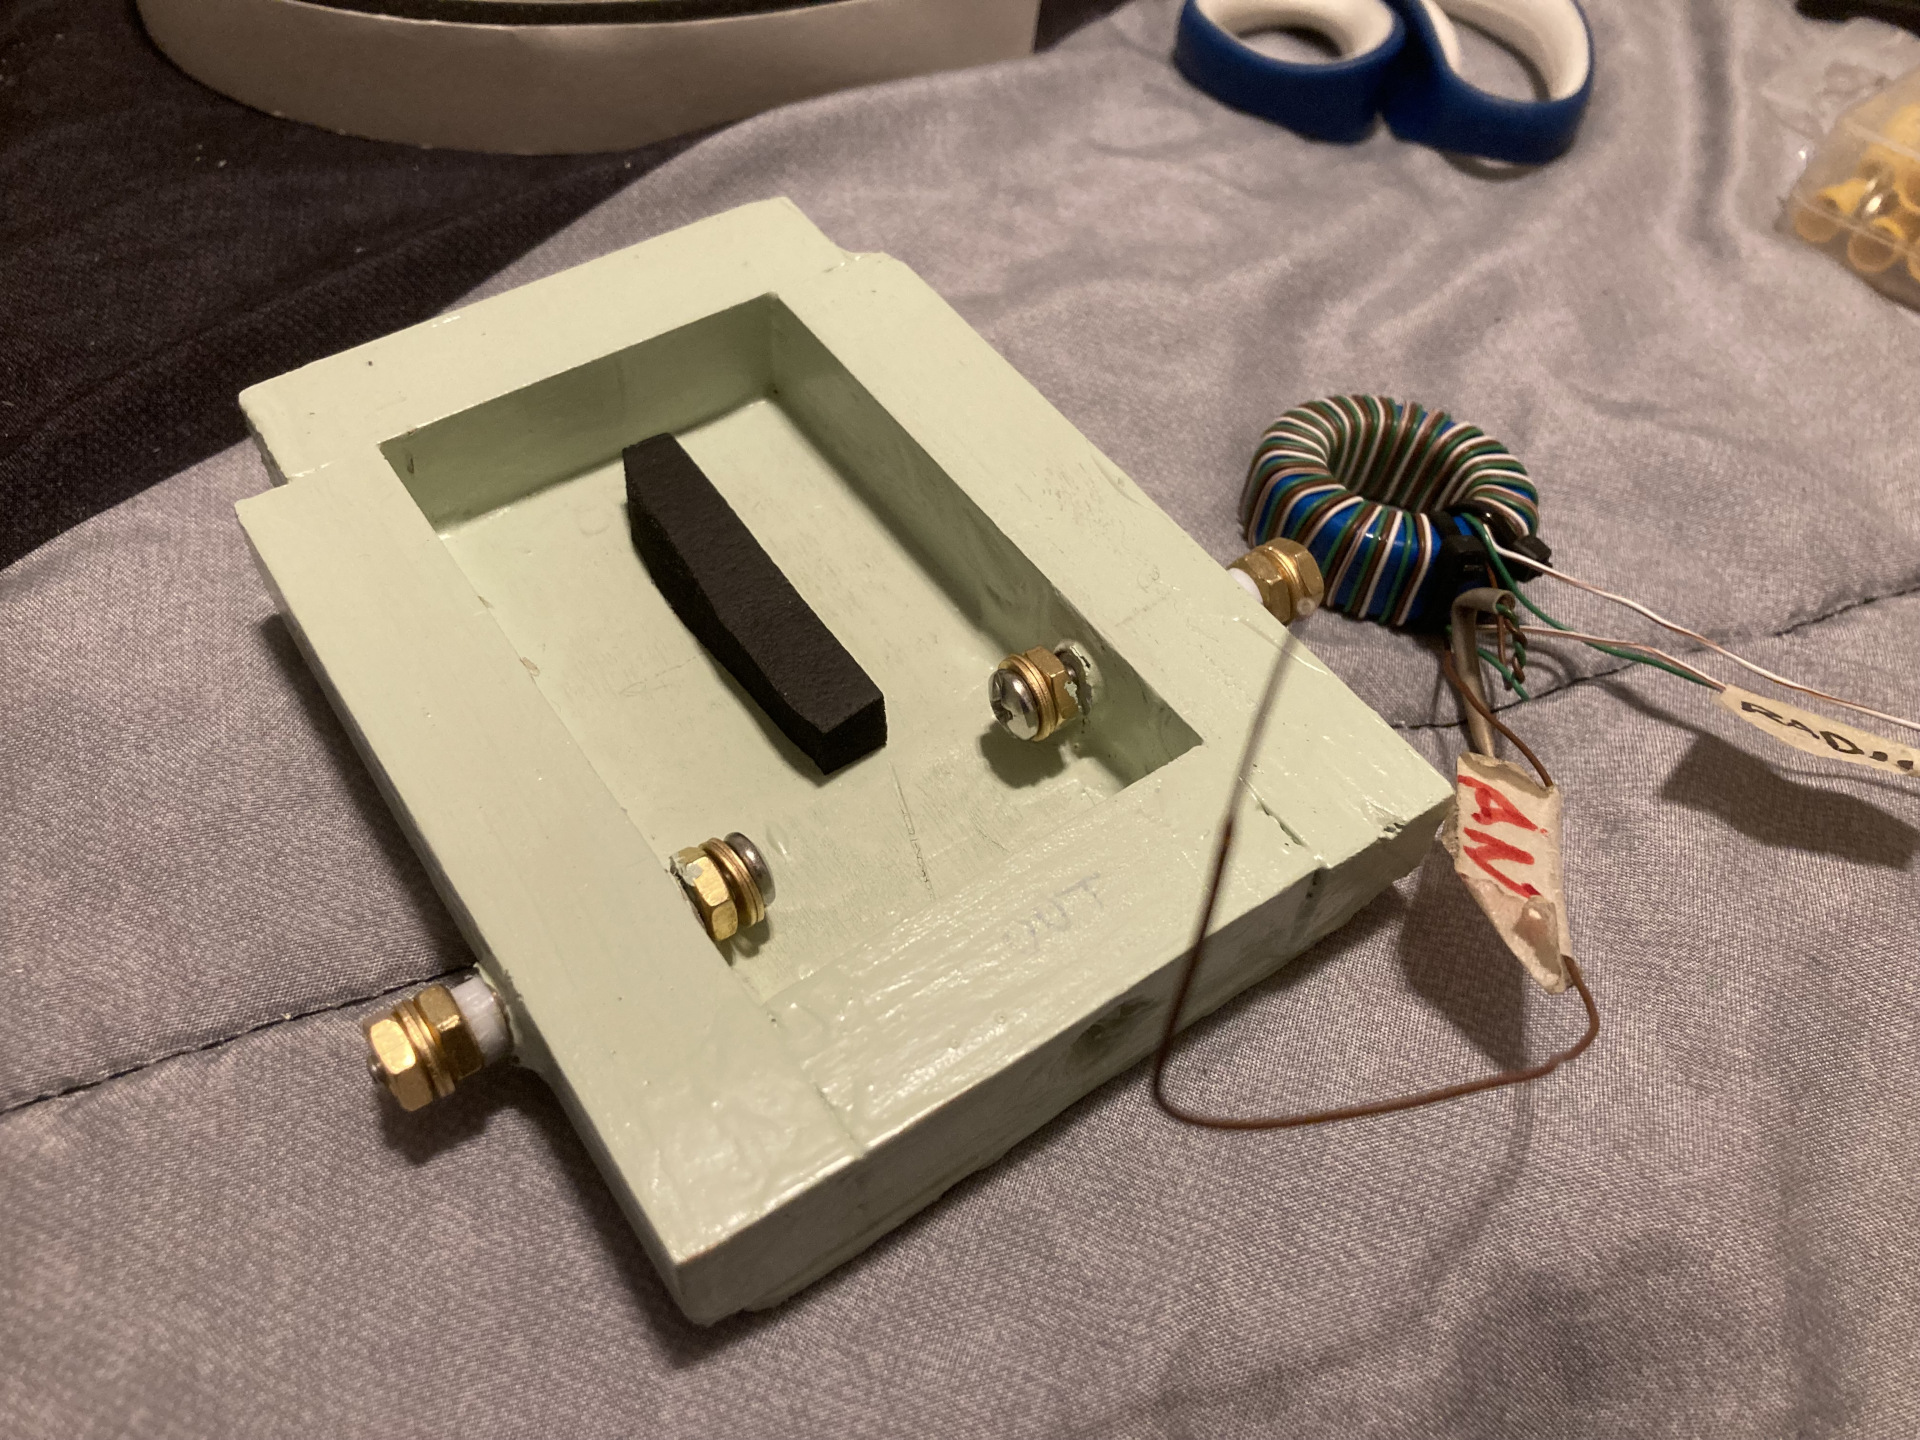
The start of the unun housing
The unun housing
My wife had purchased some cheap wooden slats from the dollar store a few years back, and
along with some small square 'dowels' I bought at Home Depot, I had the makings of a very
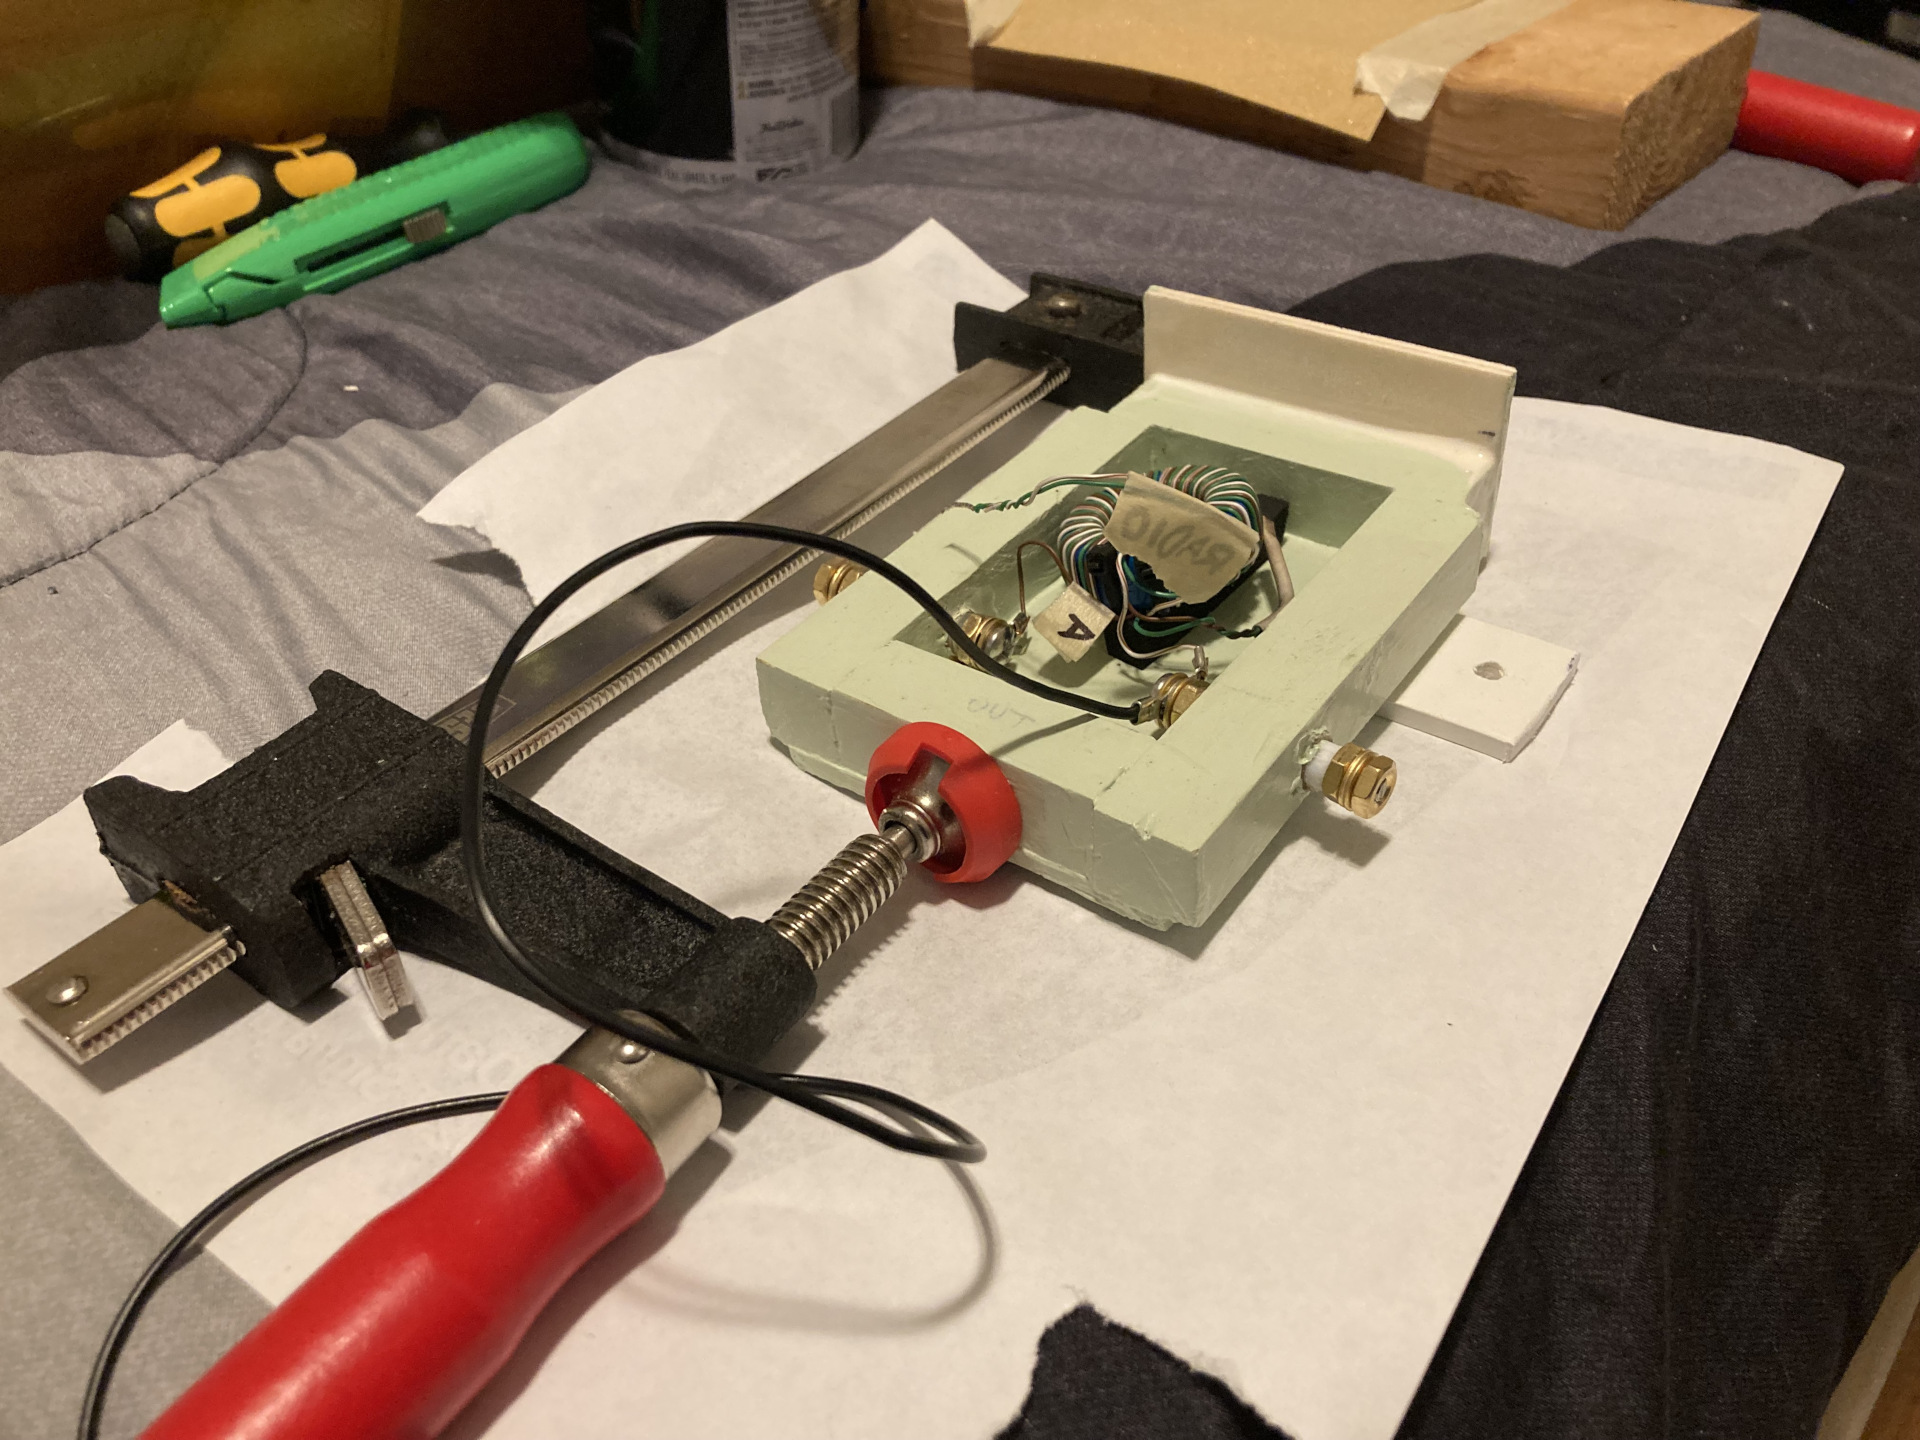
rudimentary unun housing. I used Gorilla glue and some small stainless steel nails to
put the housing together. I also had a few clamps that I used to keep things together
while the glue dried.
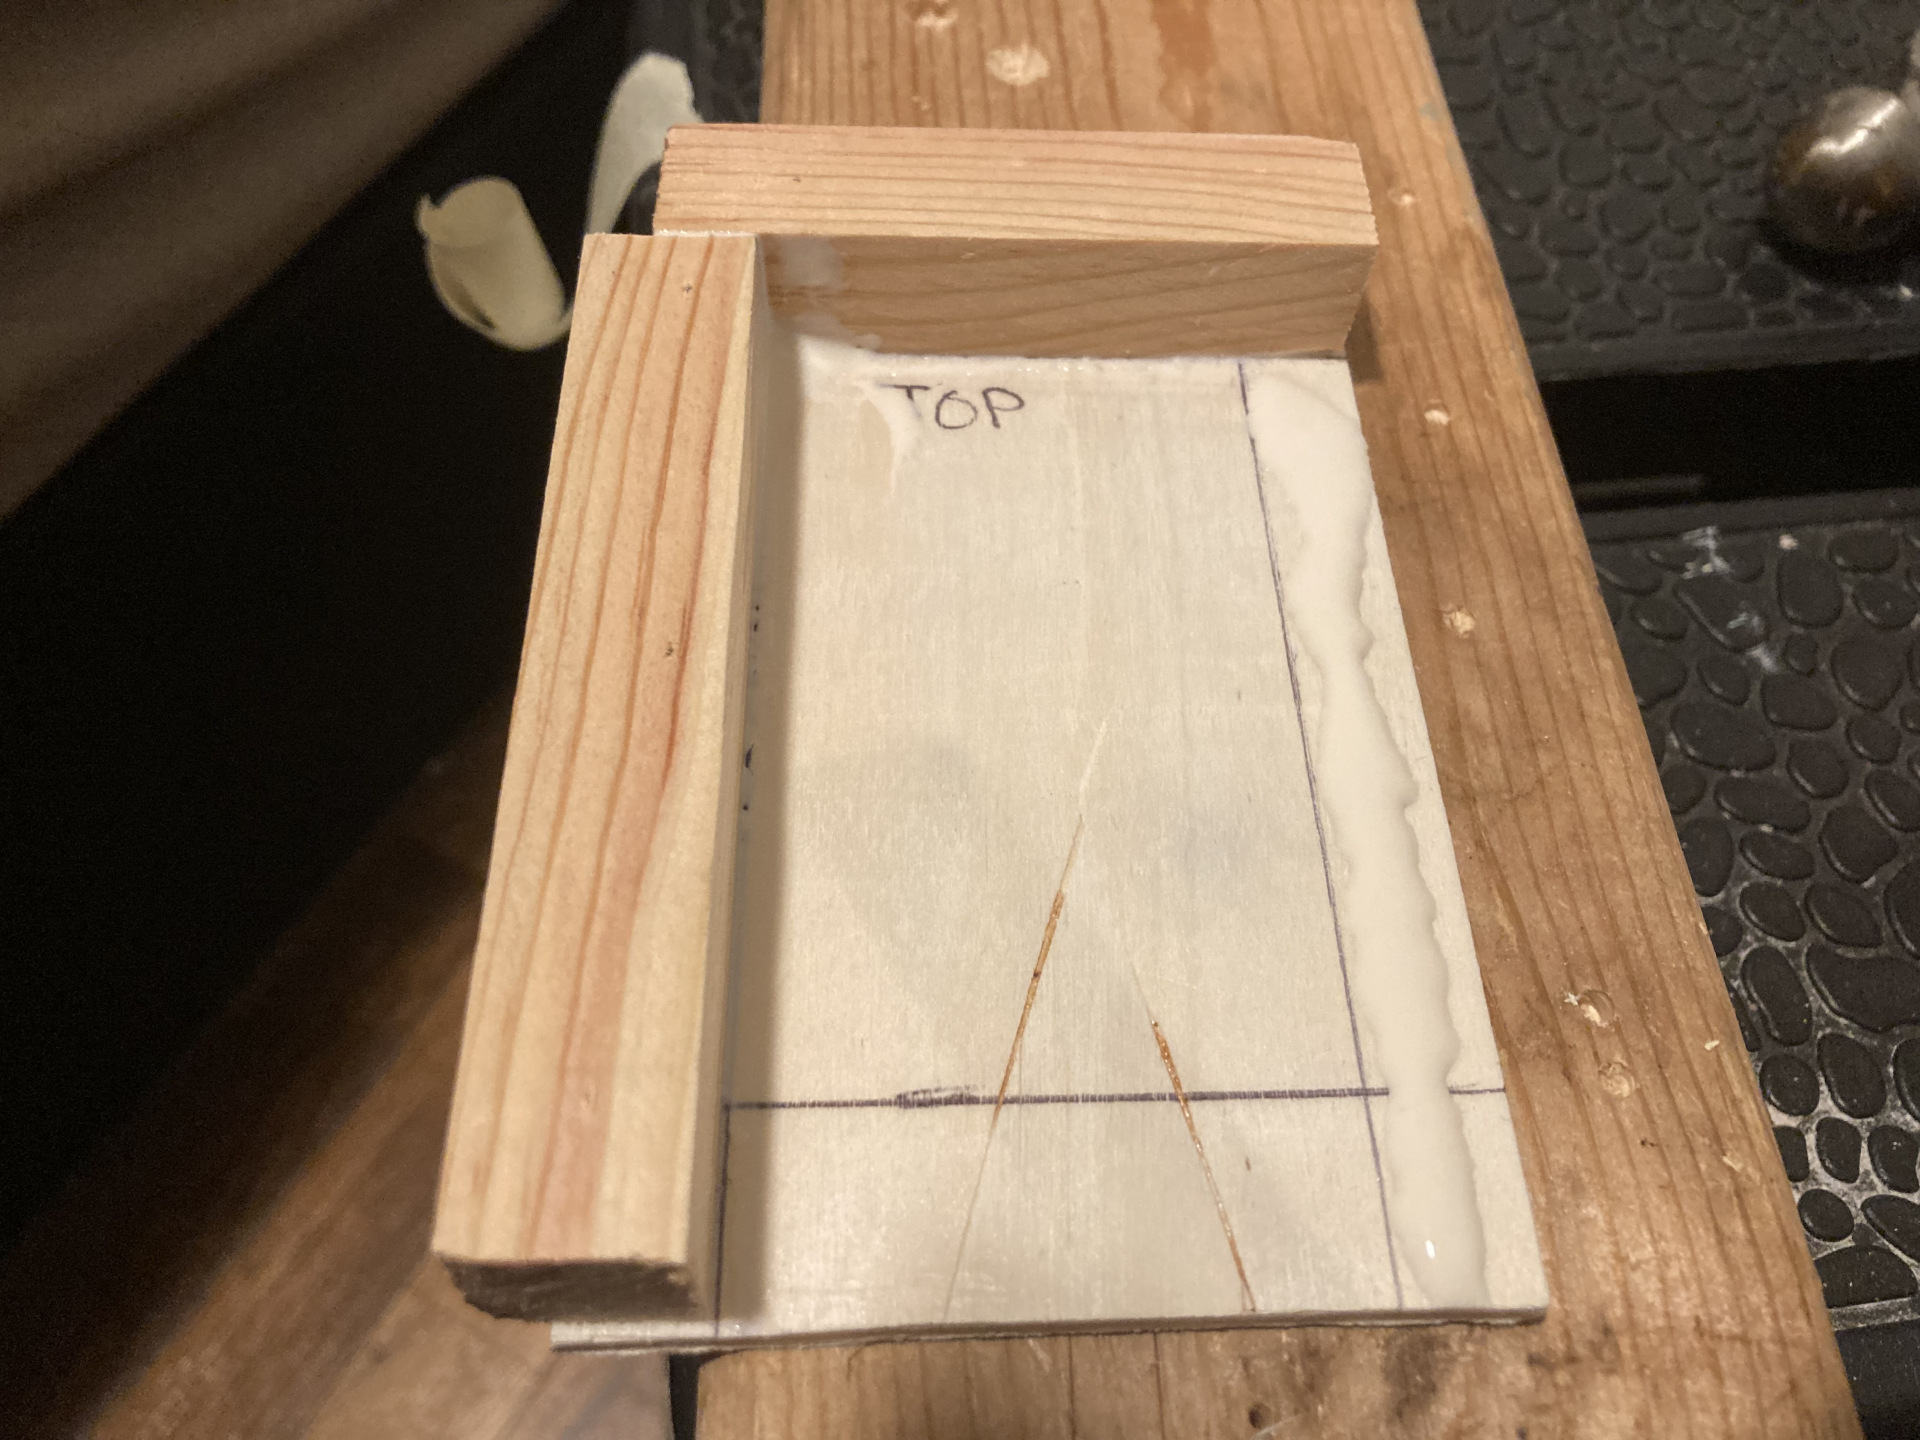
Yes, my cuts and alignment were off -- a LOT!
I did warn you!
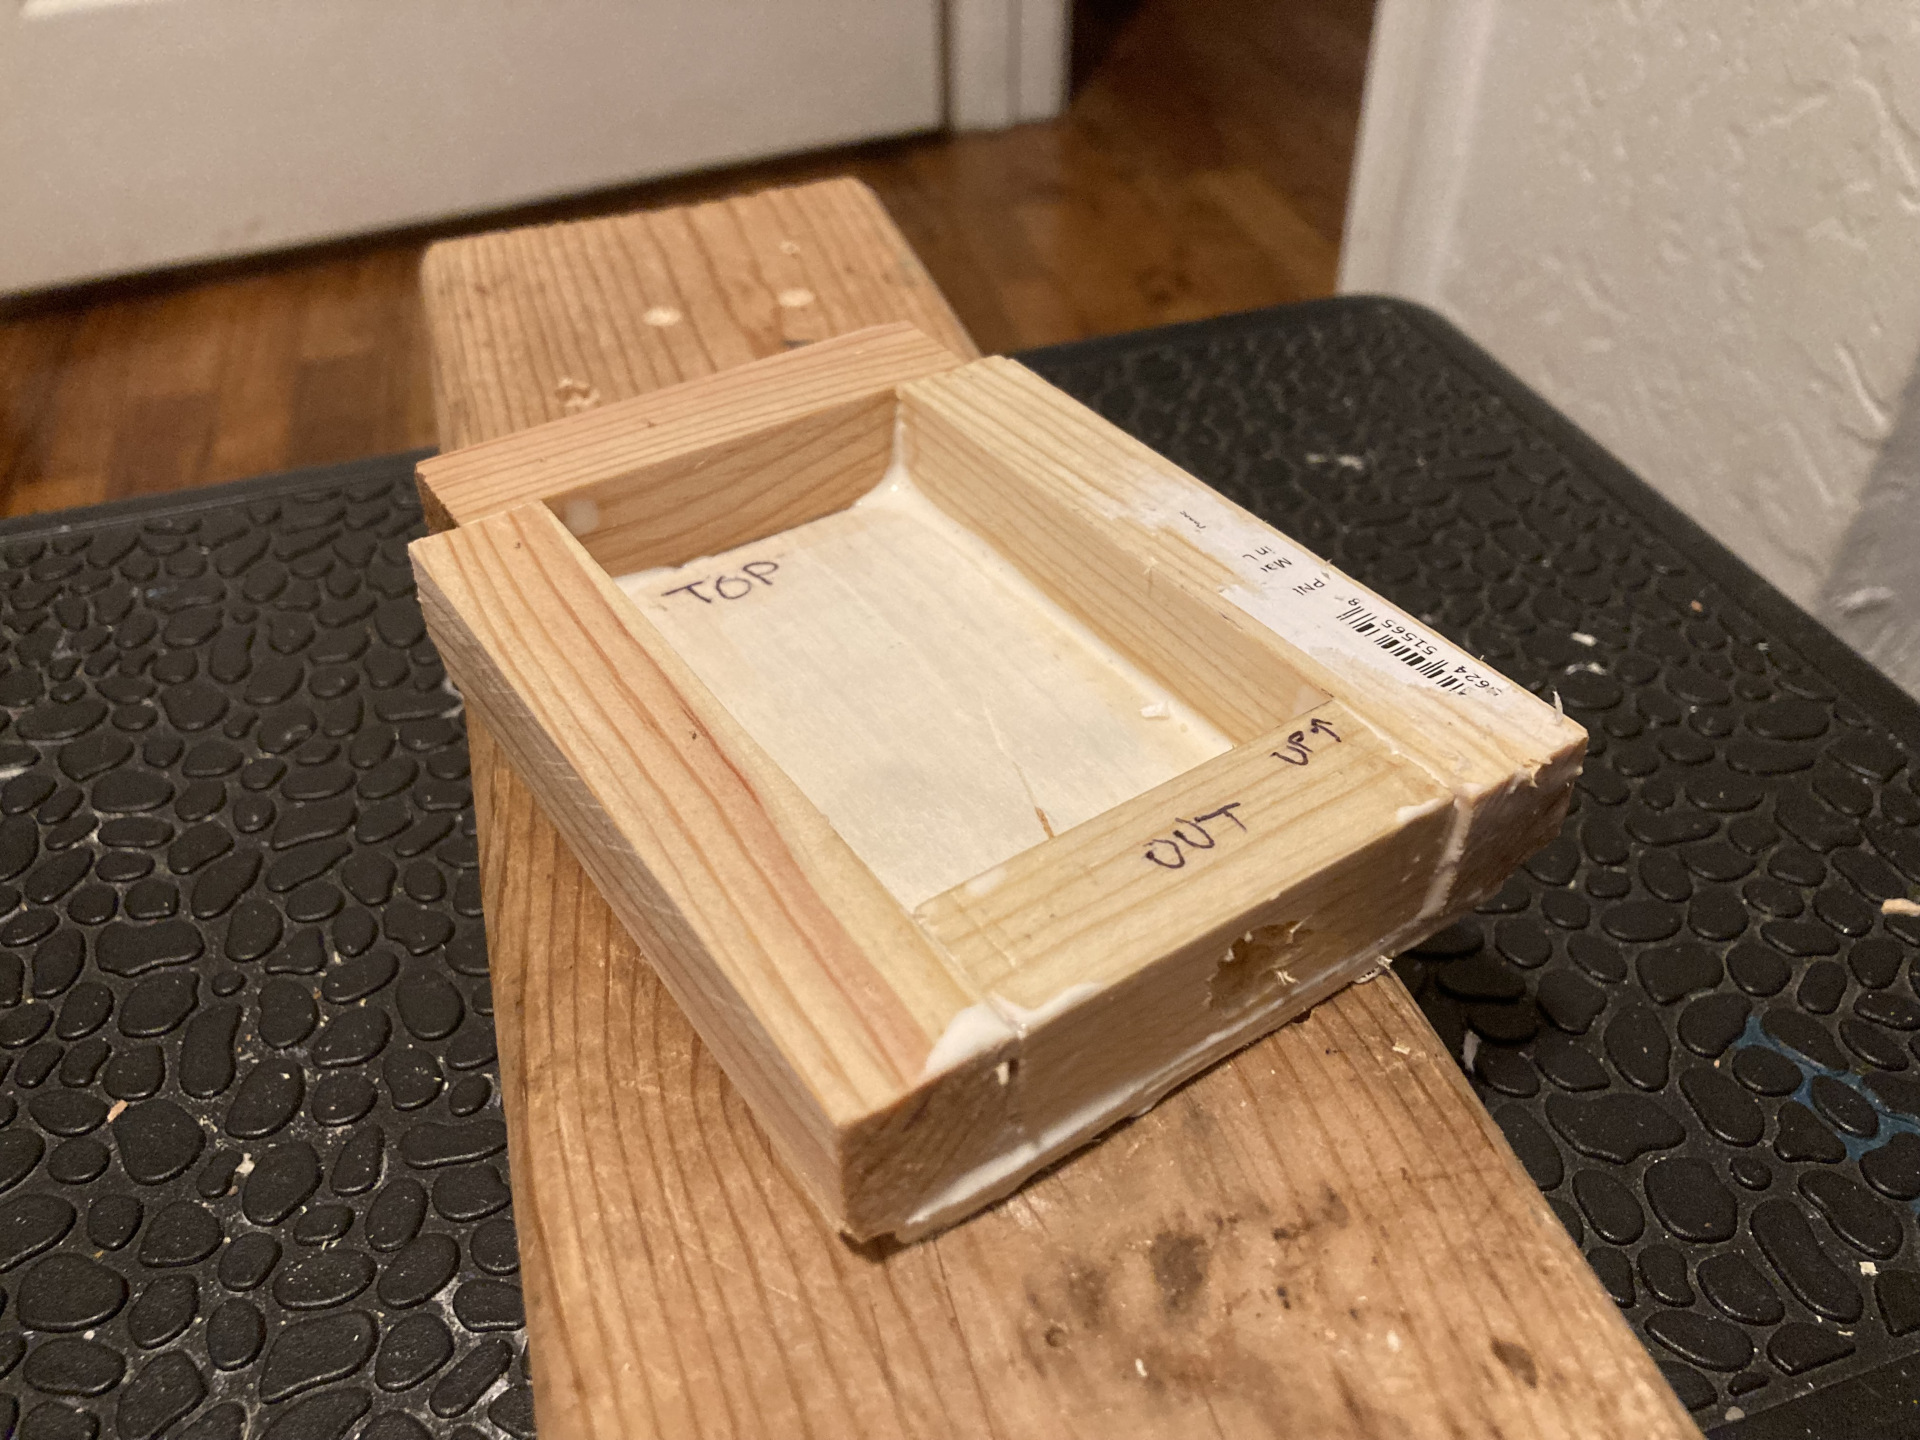
All sides of my frame are now in.
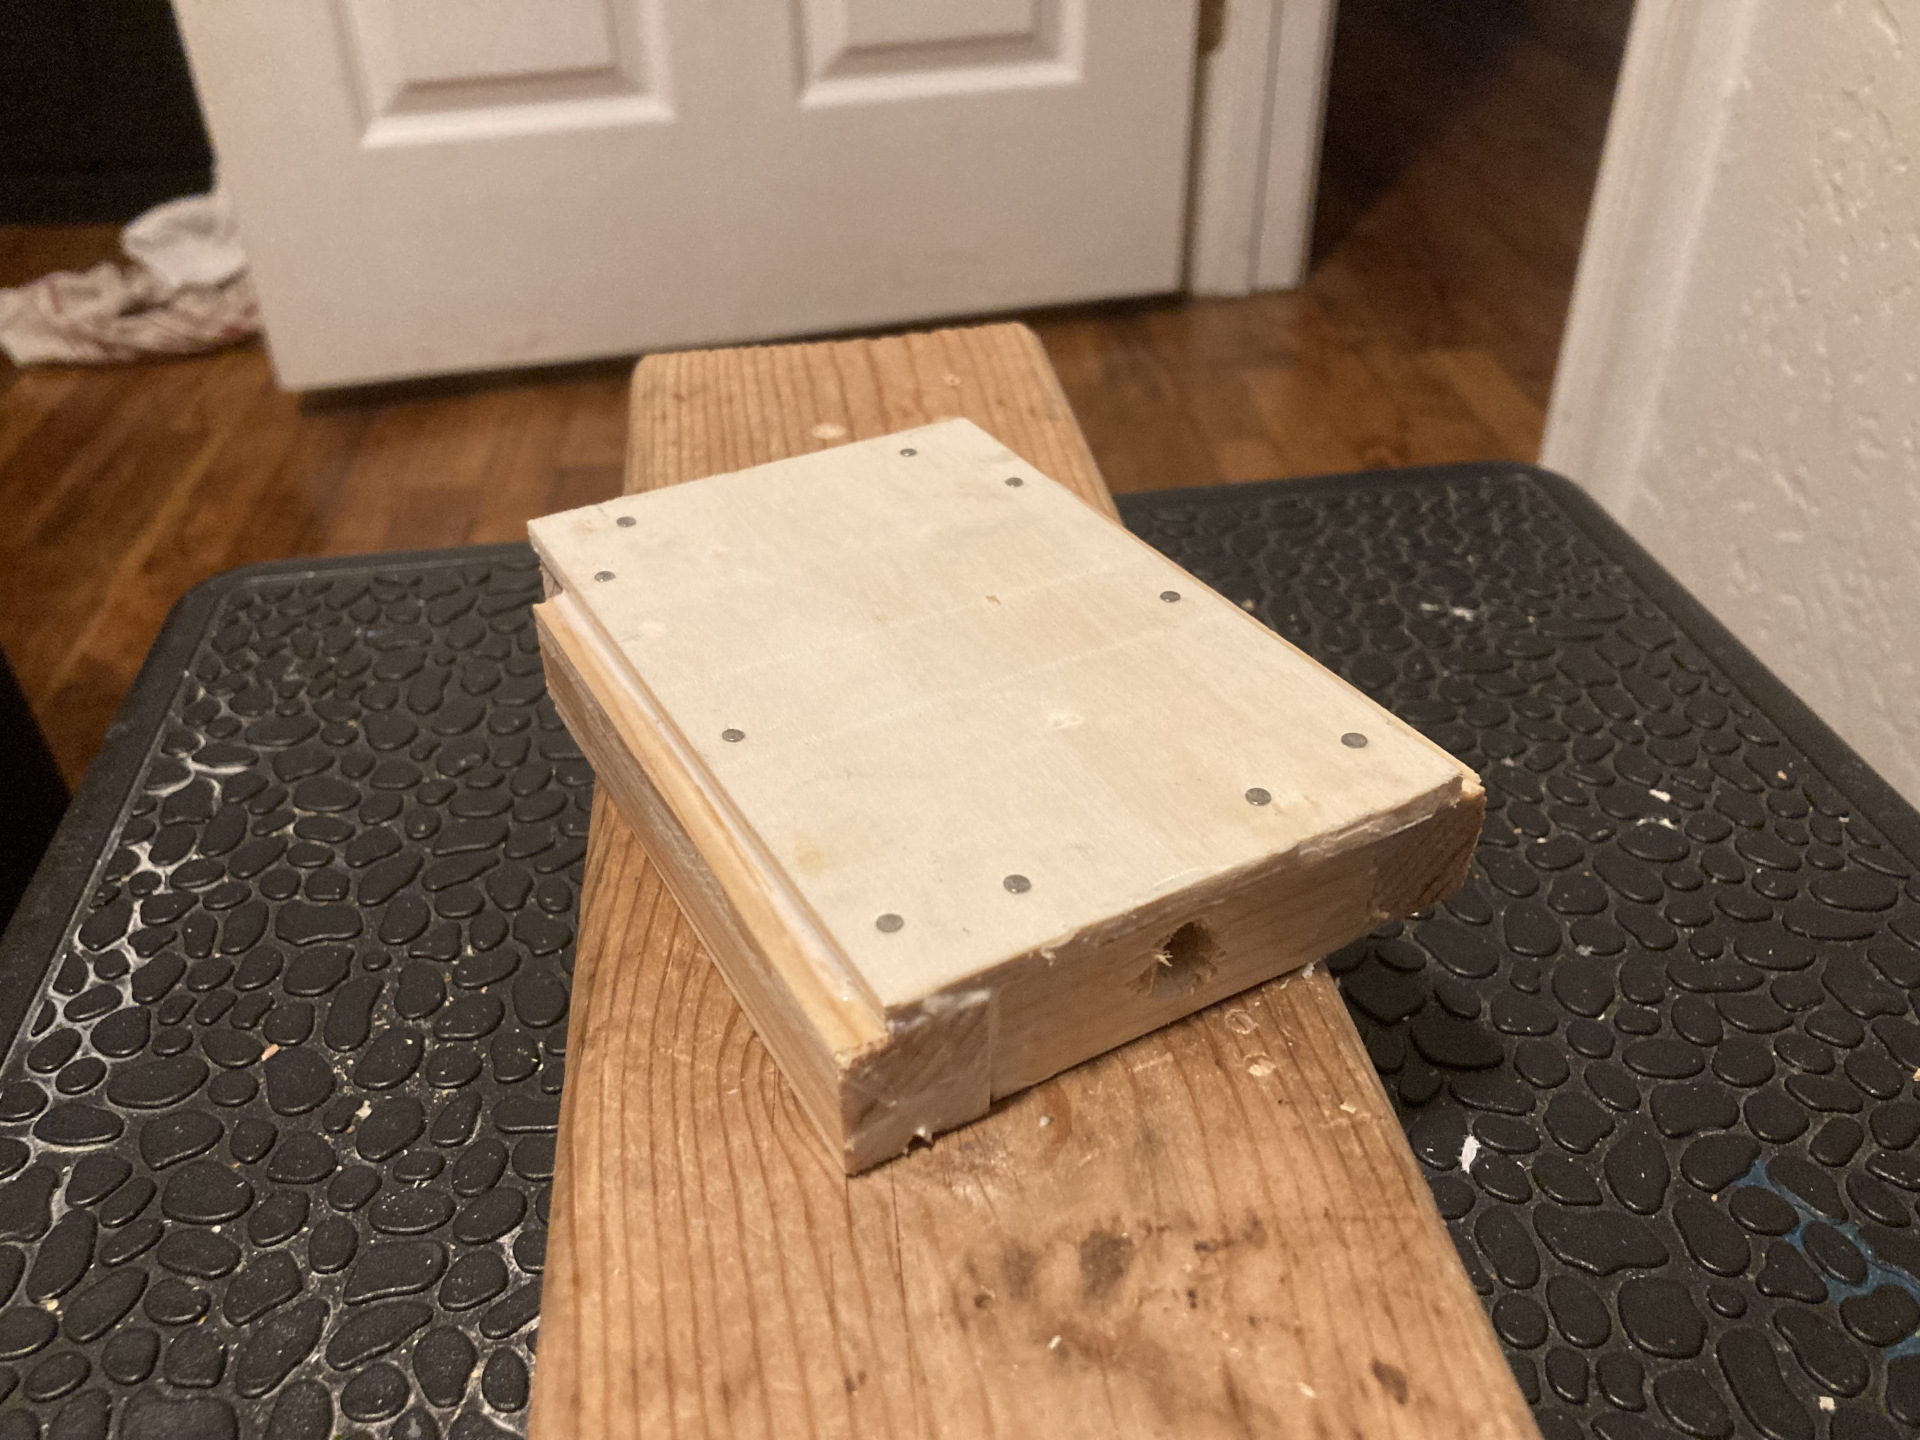
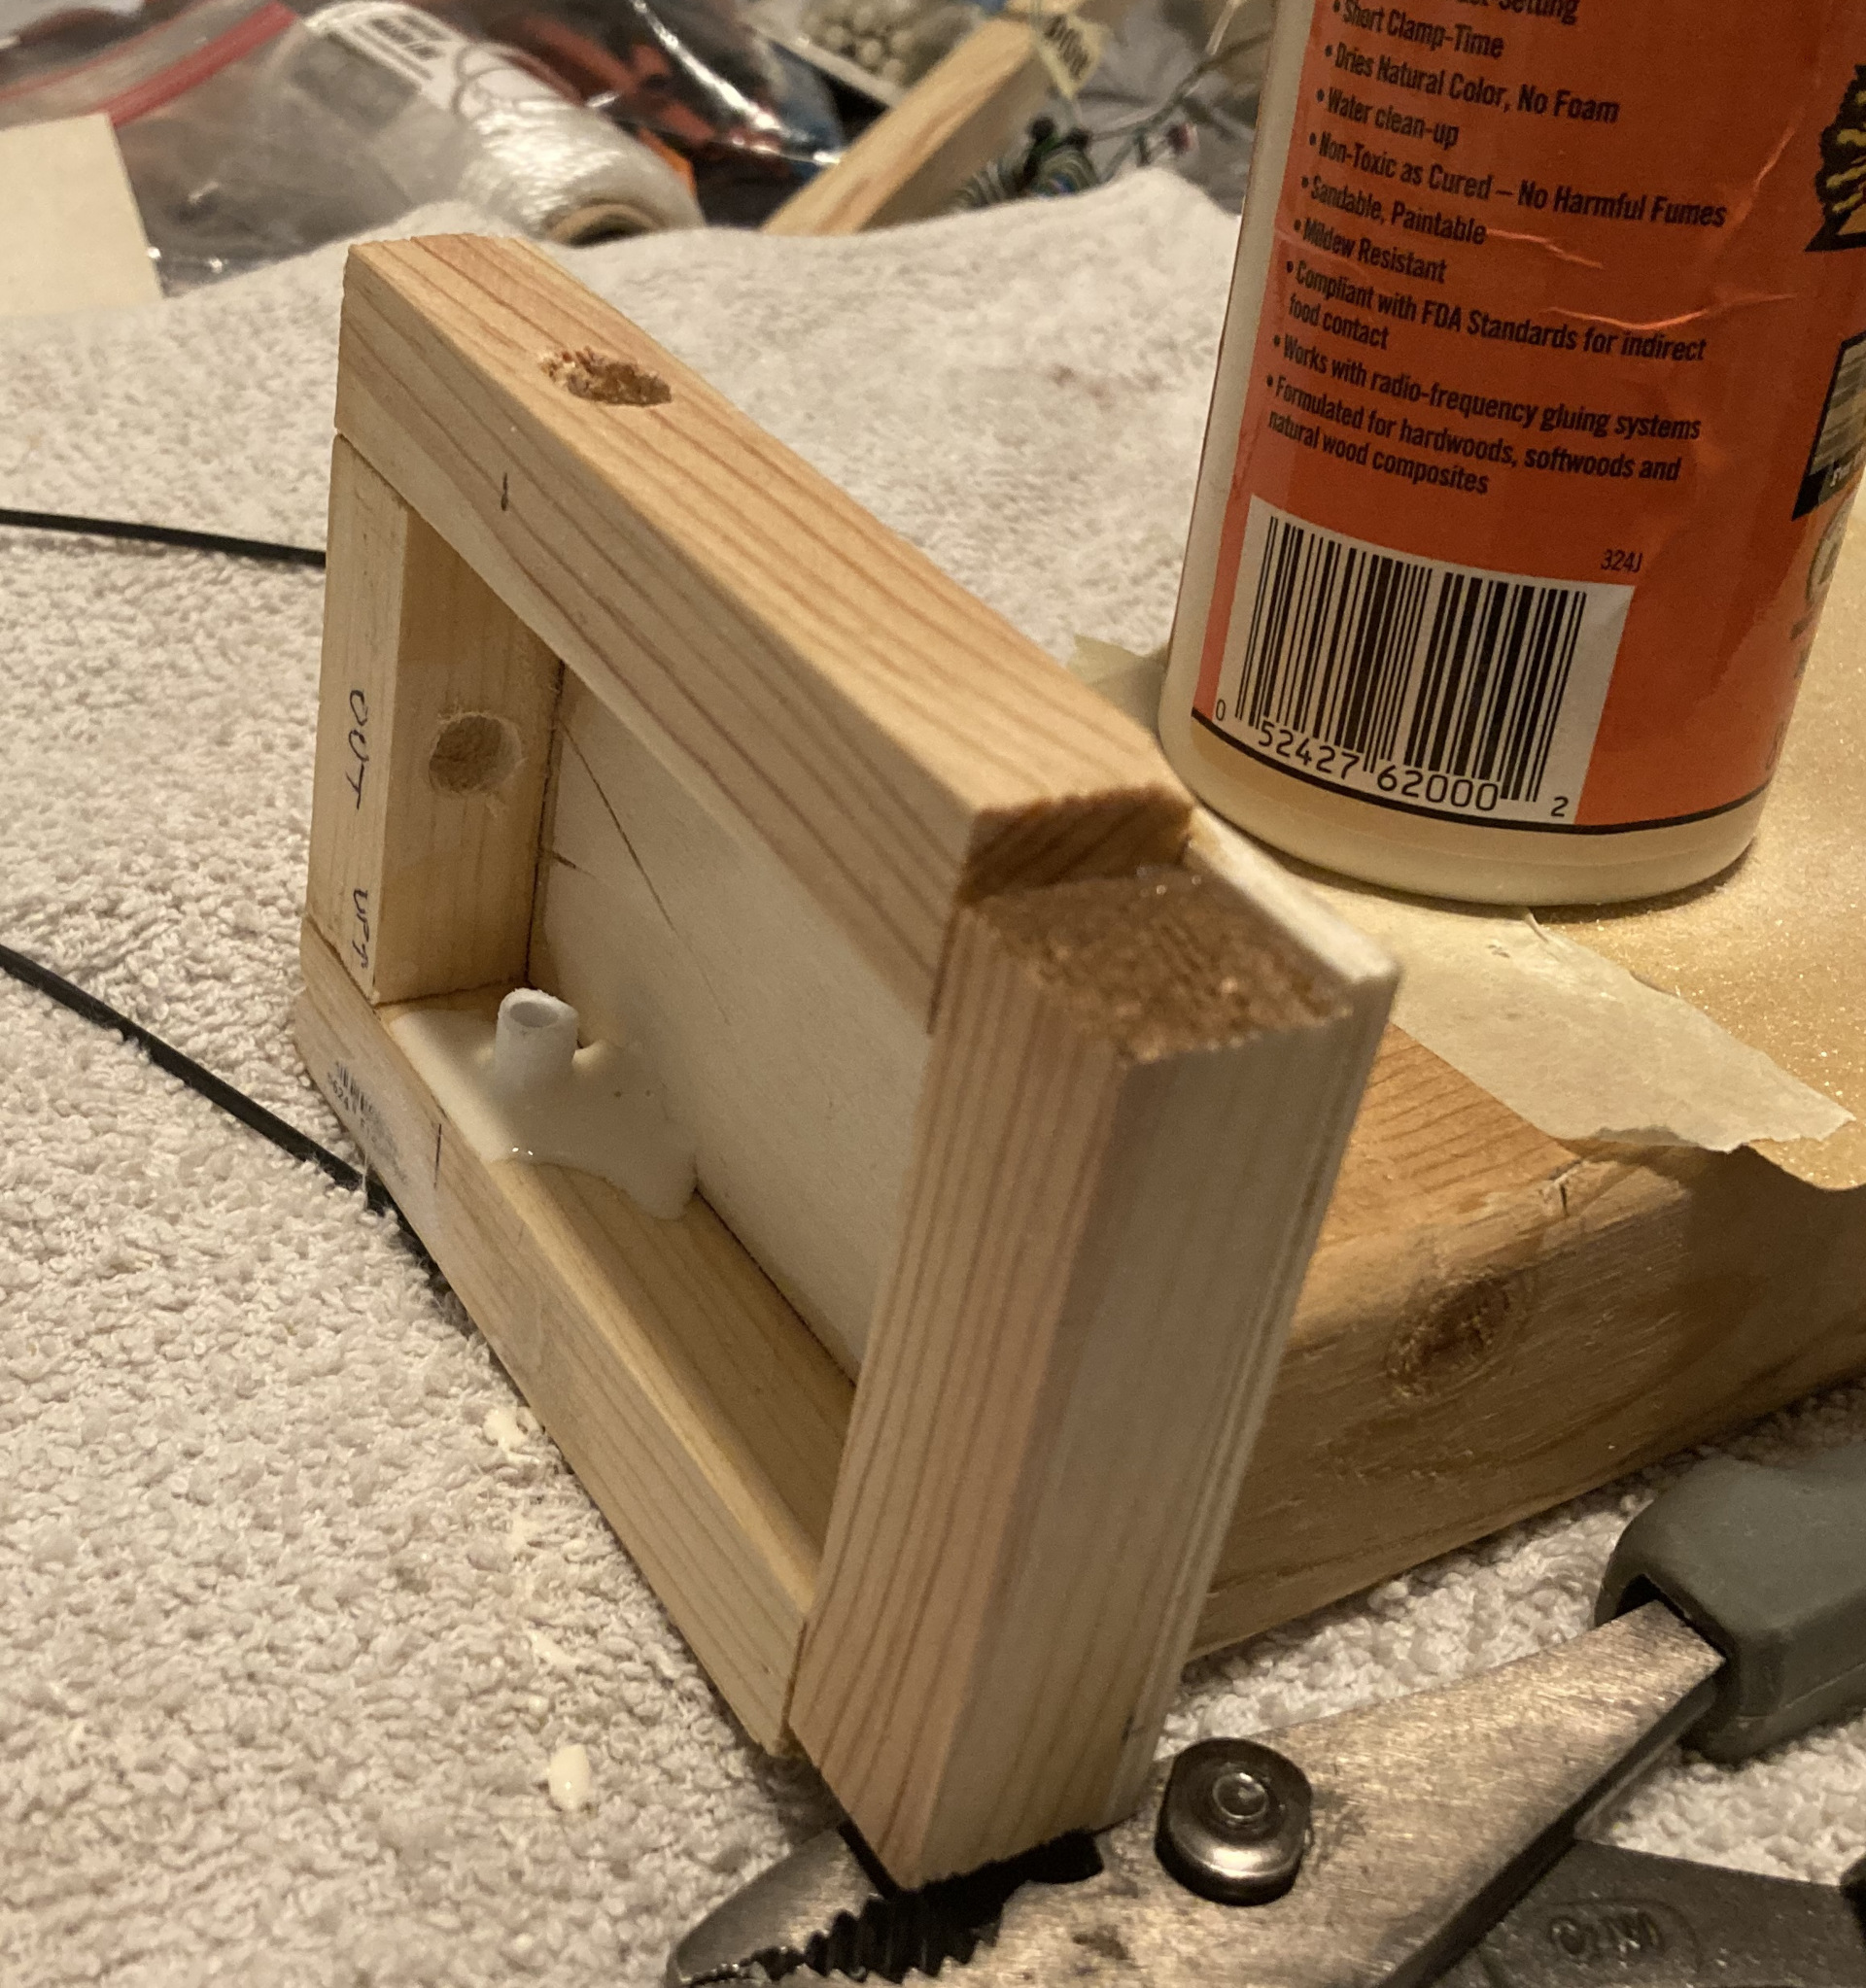
What the back looked like.
In the photo above, you can also see the hole at the bottom frame piece. This is for the coax to go into. Unfortunately I didn't have the foresight to put even a rudimentary clamp or cable holder. This will cause an issue later.
Checking the unun size and positioning
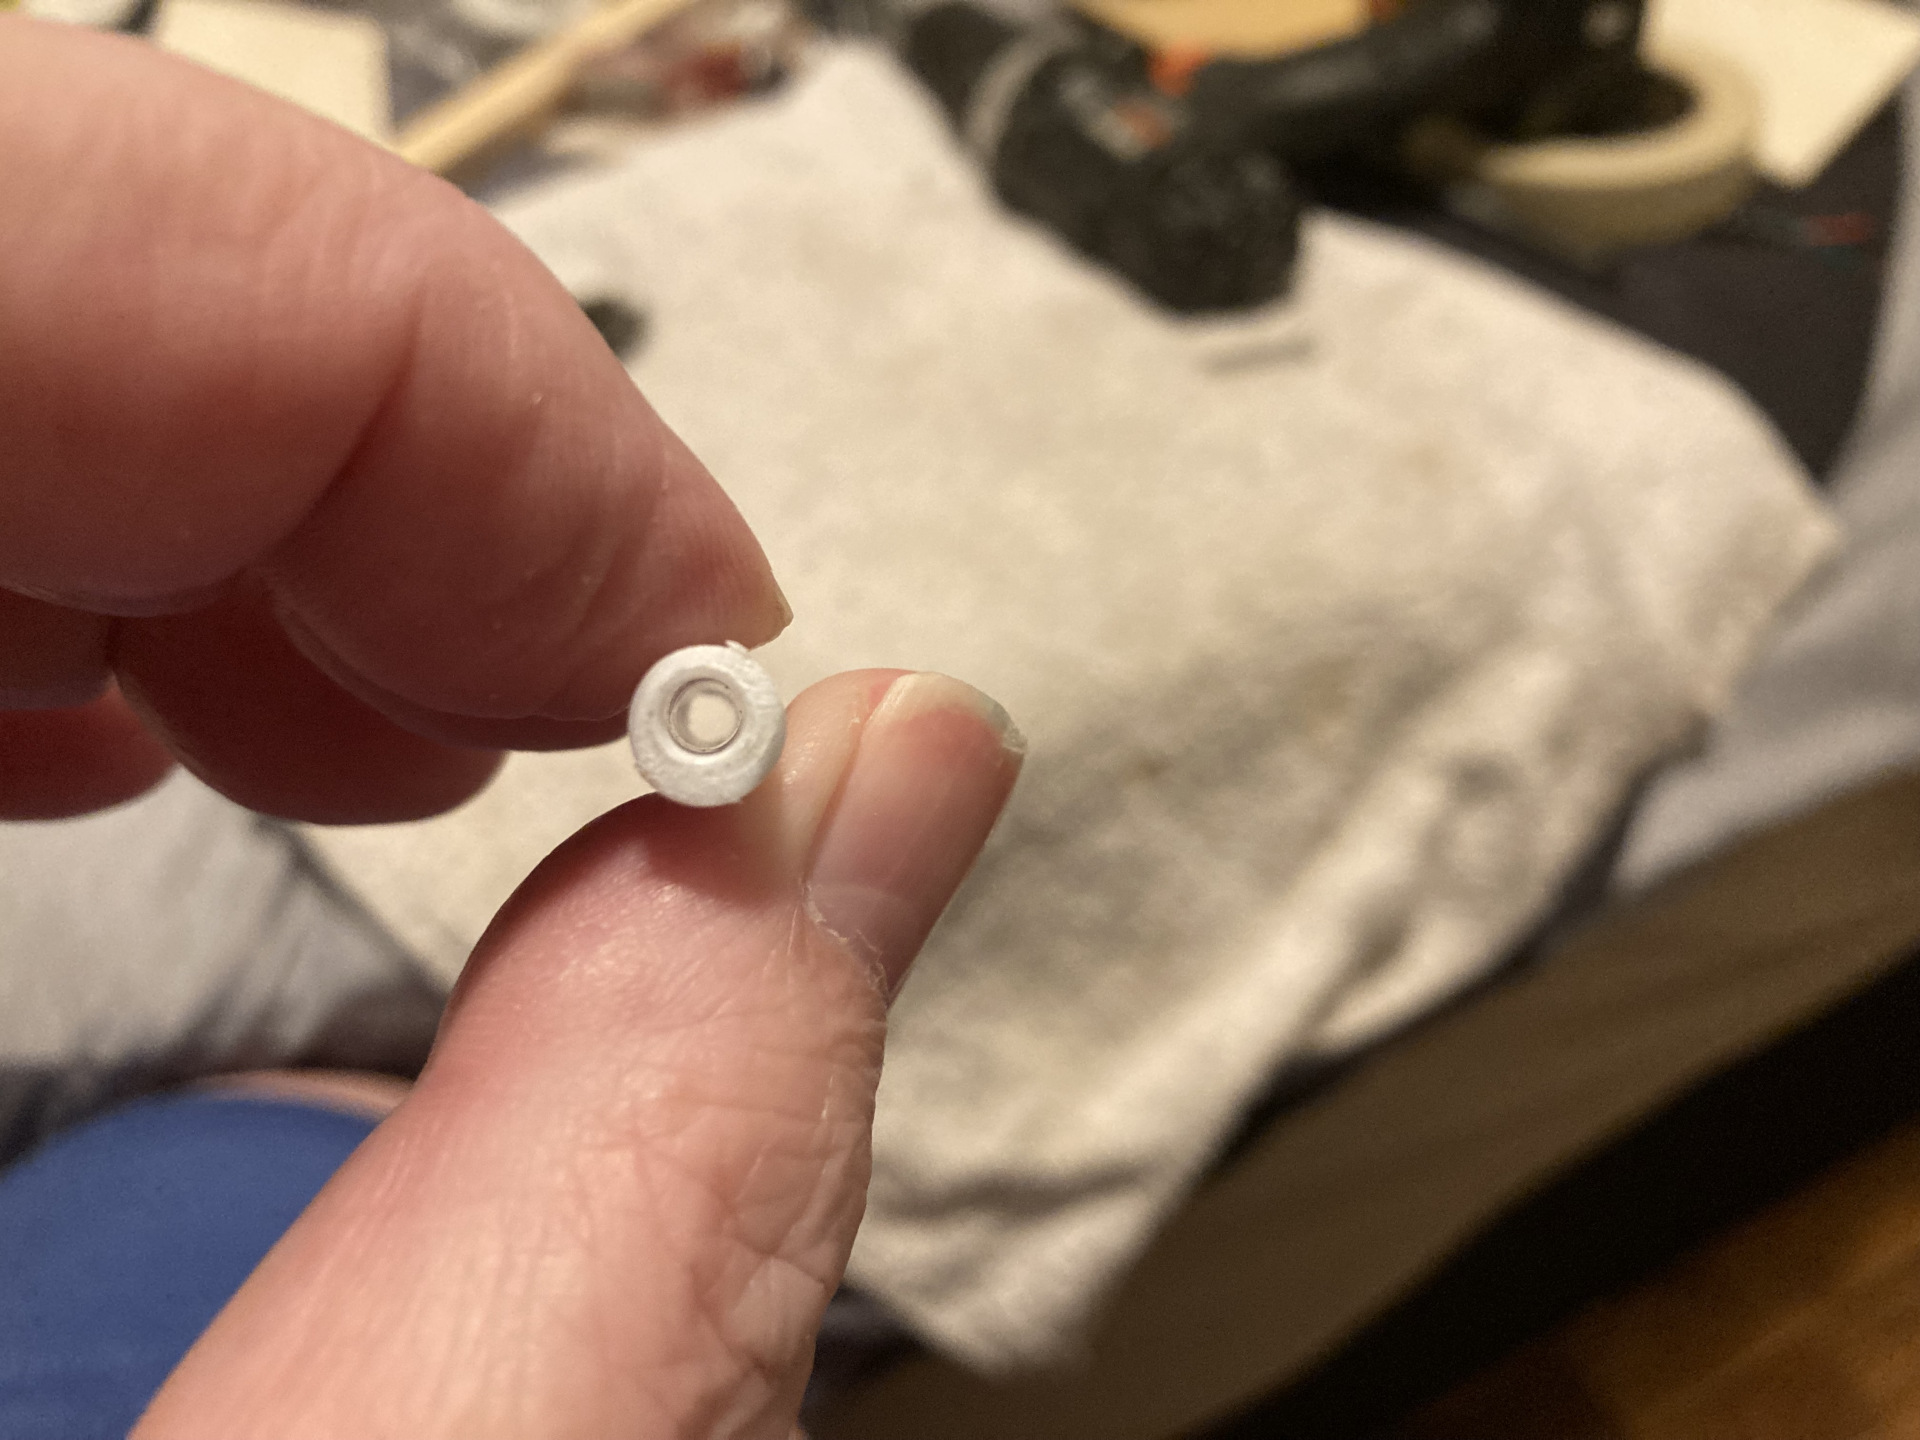
Making the feed-through insulators
Feed-through insulators
Next, I needed some way to feed the screws I had from the inside of the housing to
the outside to make contact with the antenna and counterpoise. I don't have a fancy
3D printer, so cutting a piece off of a plastic coat-hanger worked, although getting
a decently-centered hole through it was not the easiest with a hand drill.
Sanding the end of an insulator
Small hole first
...then the wider one
Gluing into the housing
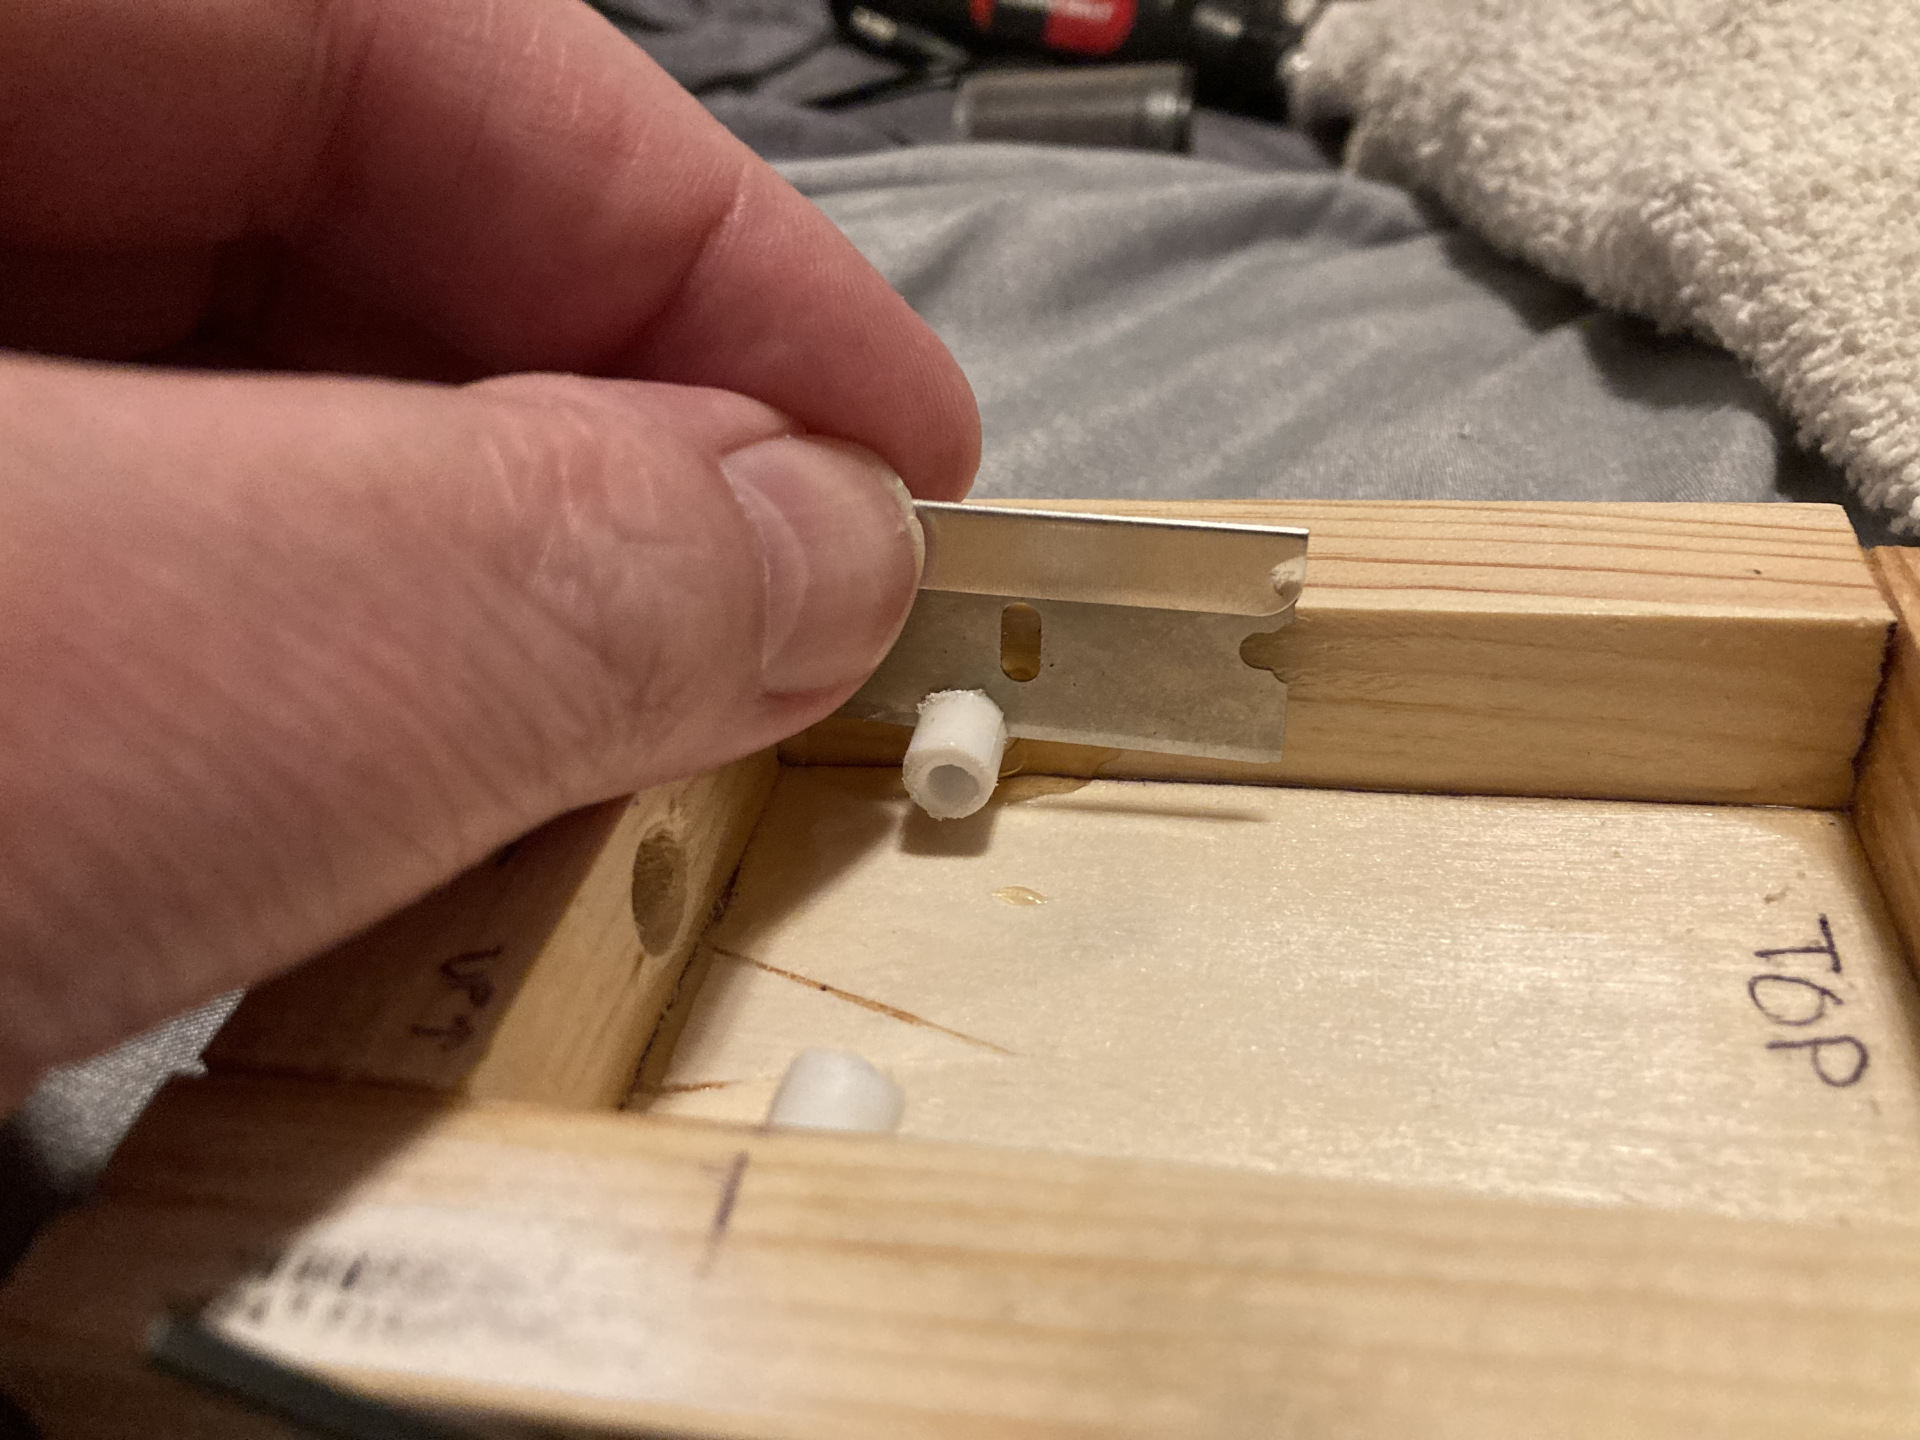
Trimming down to final size
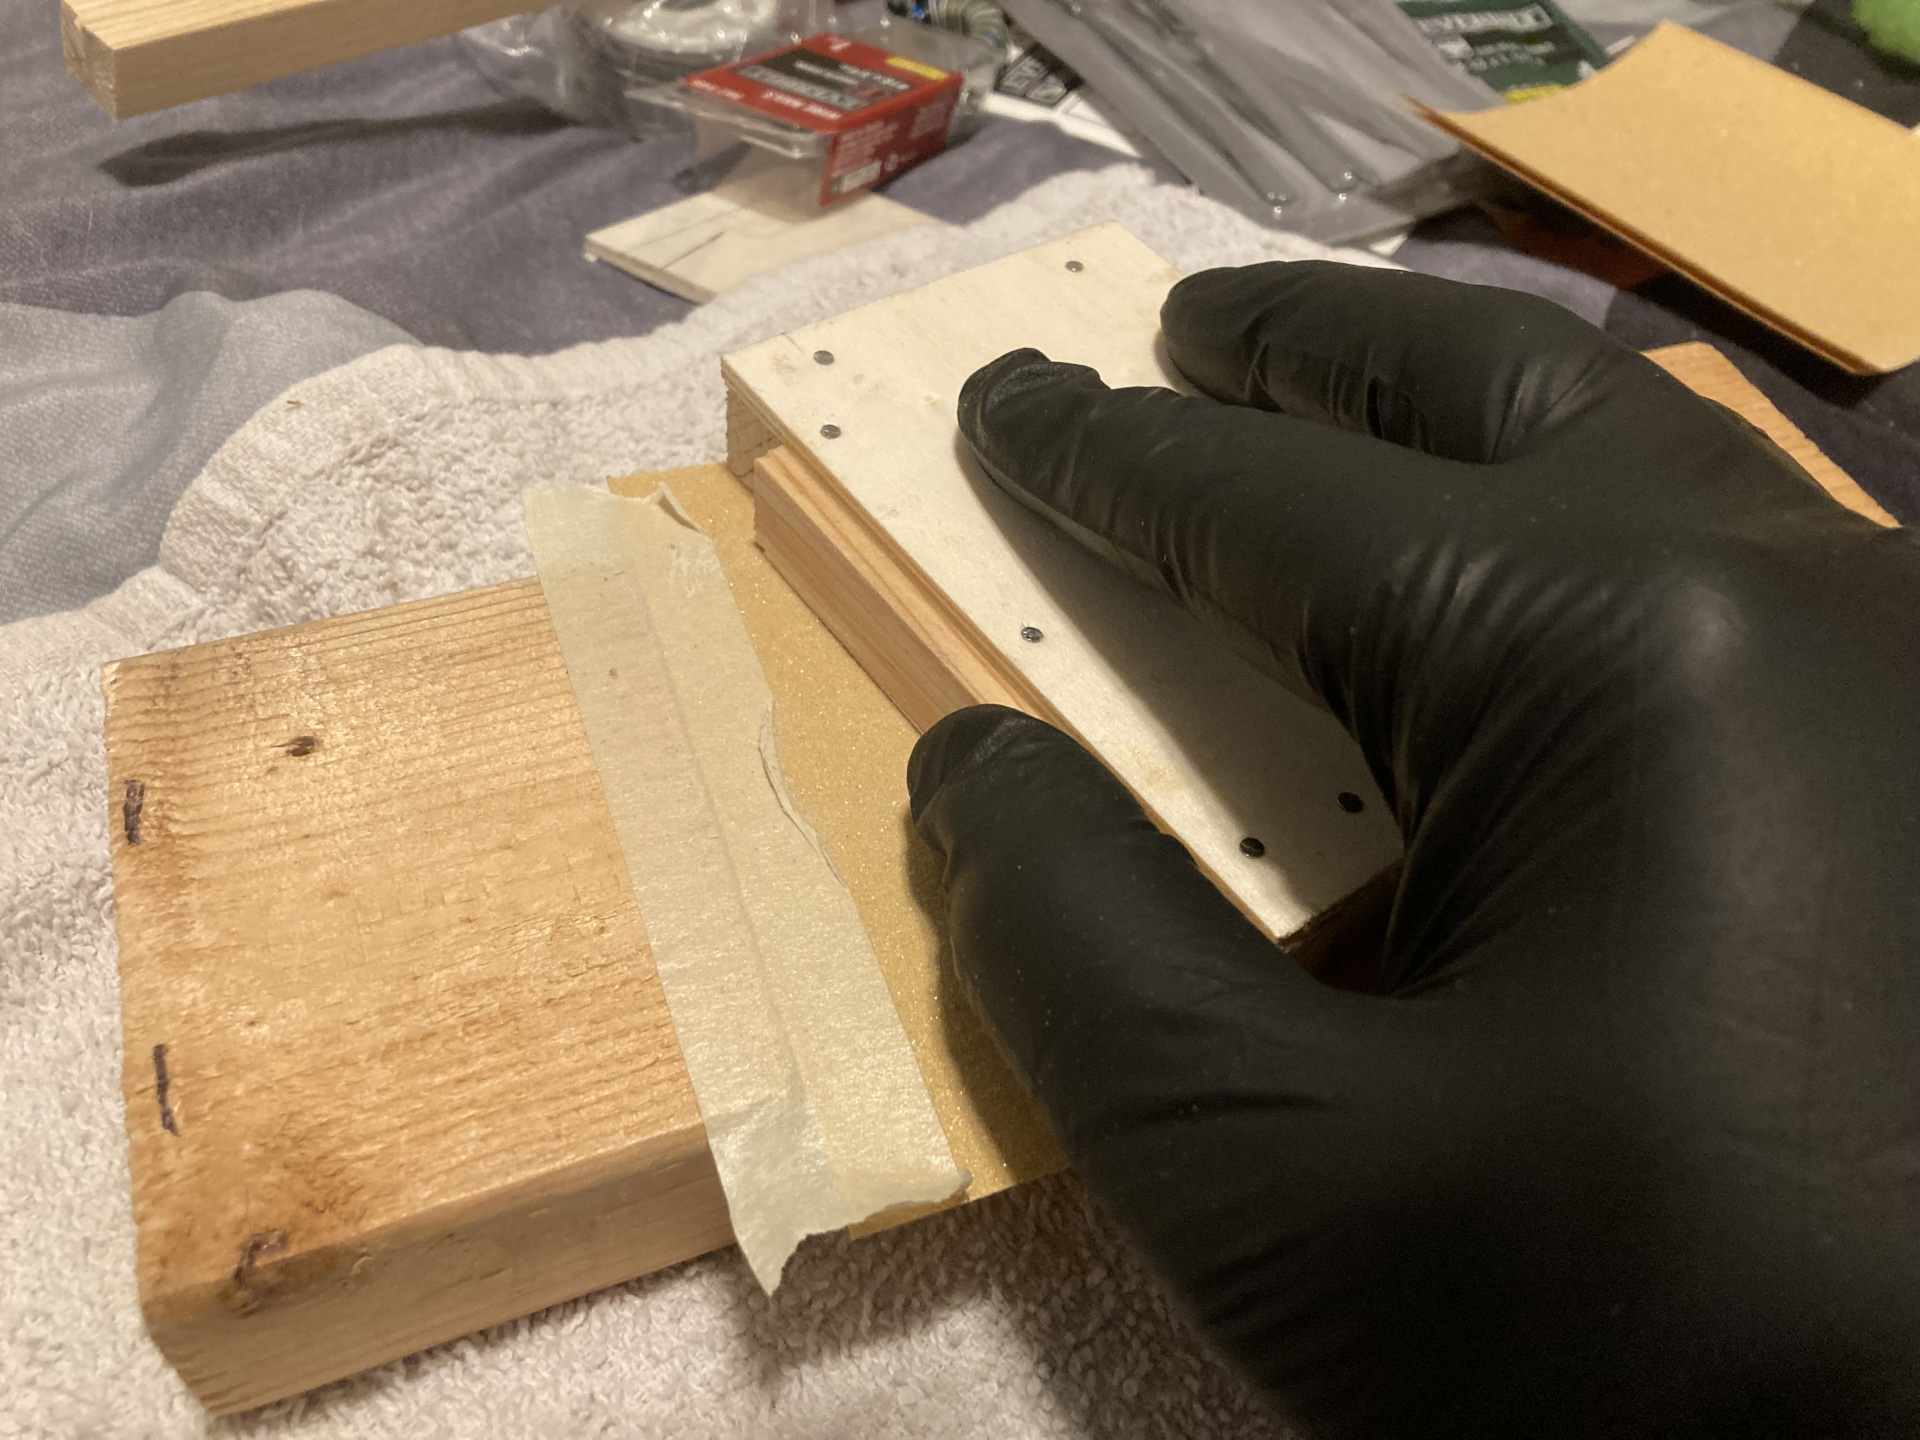
Sanding the frame
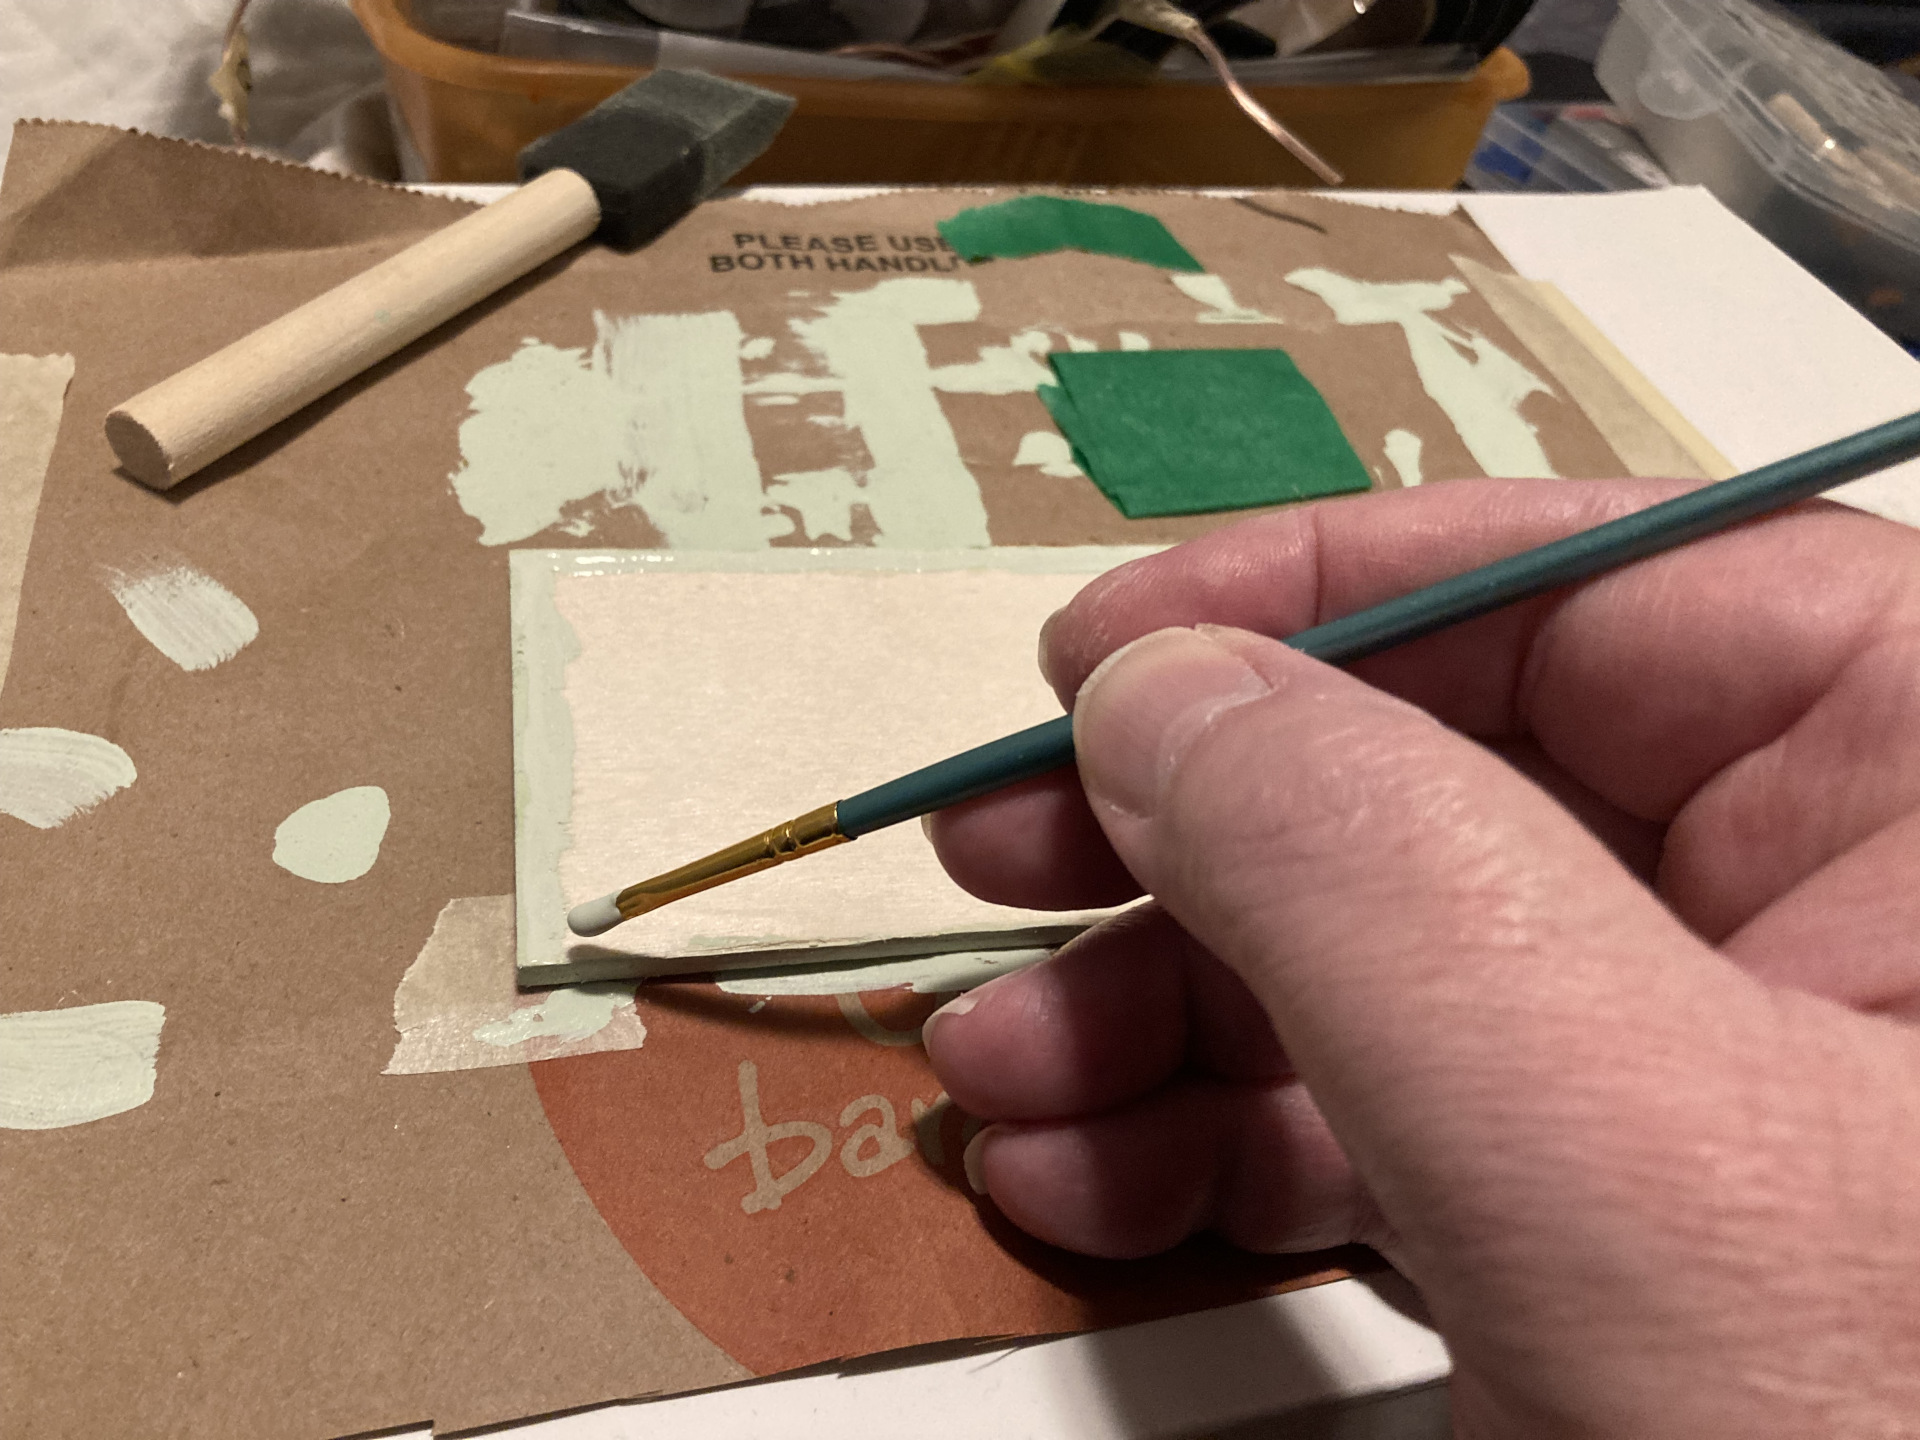
Now it was time to get the front cover cut and prepared.
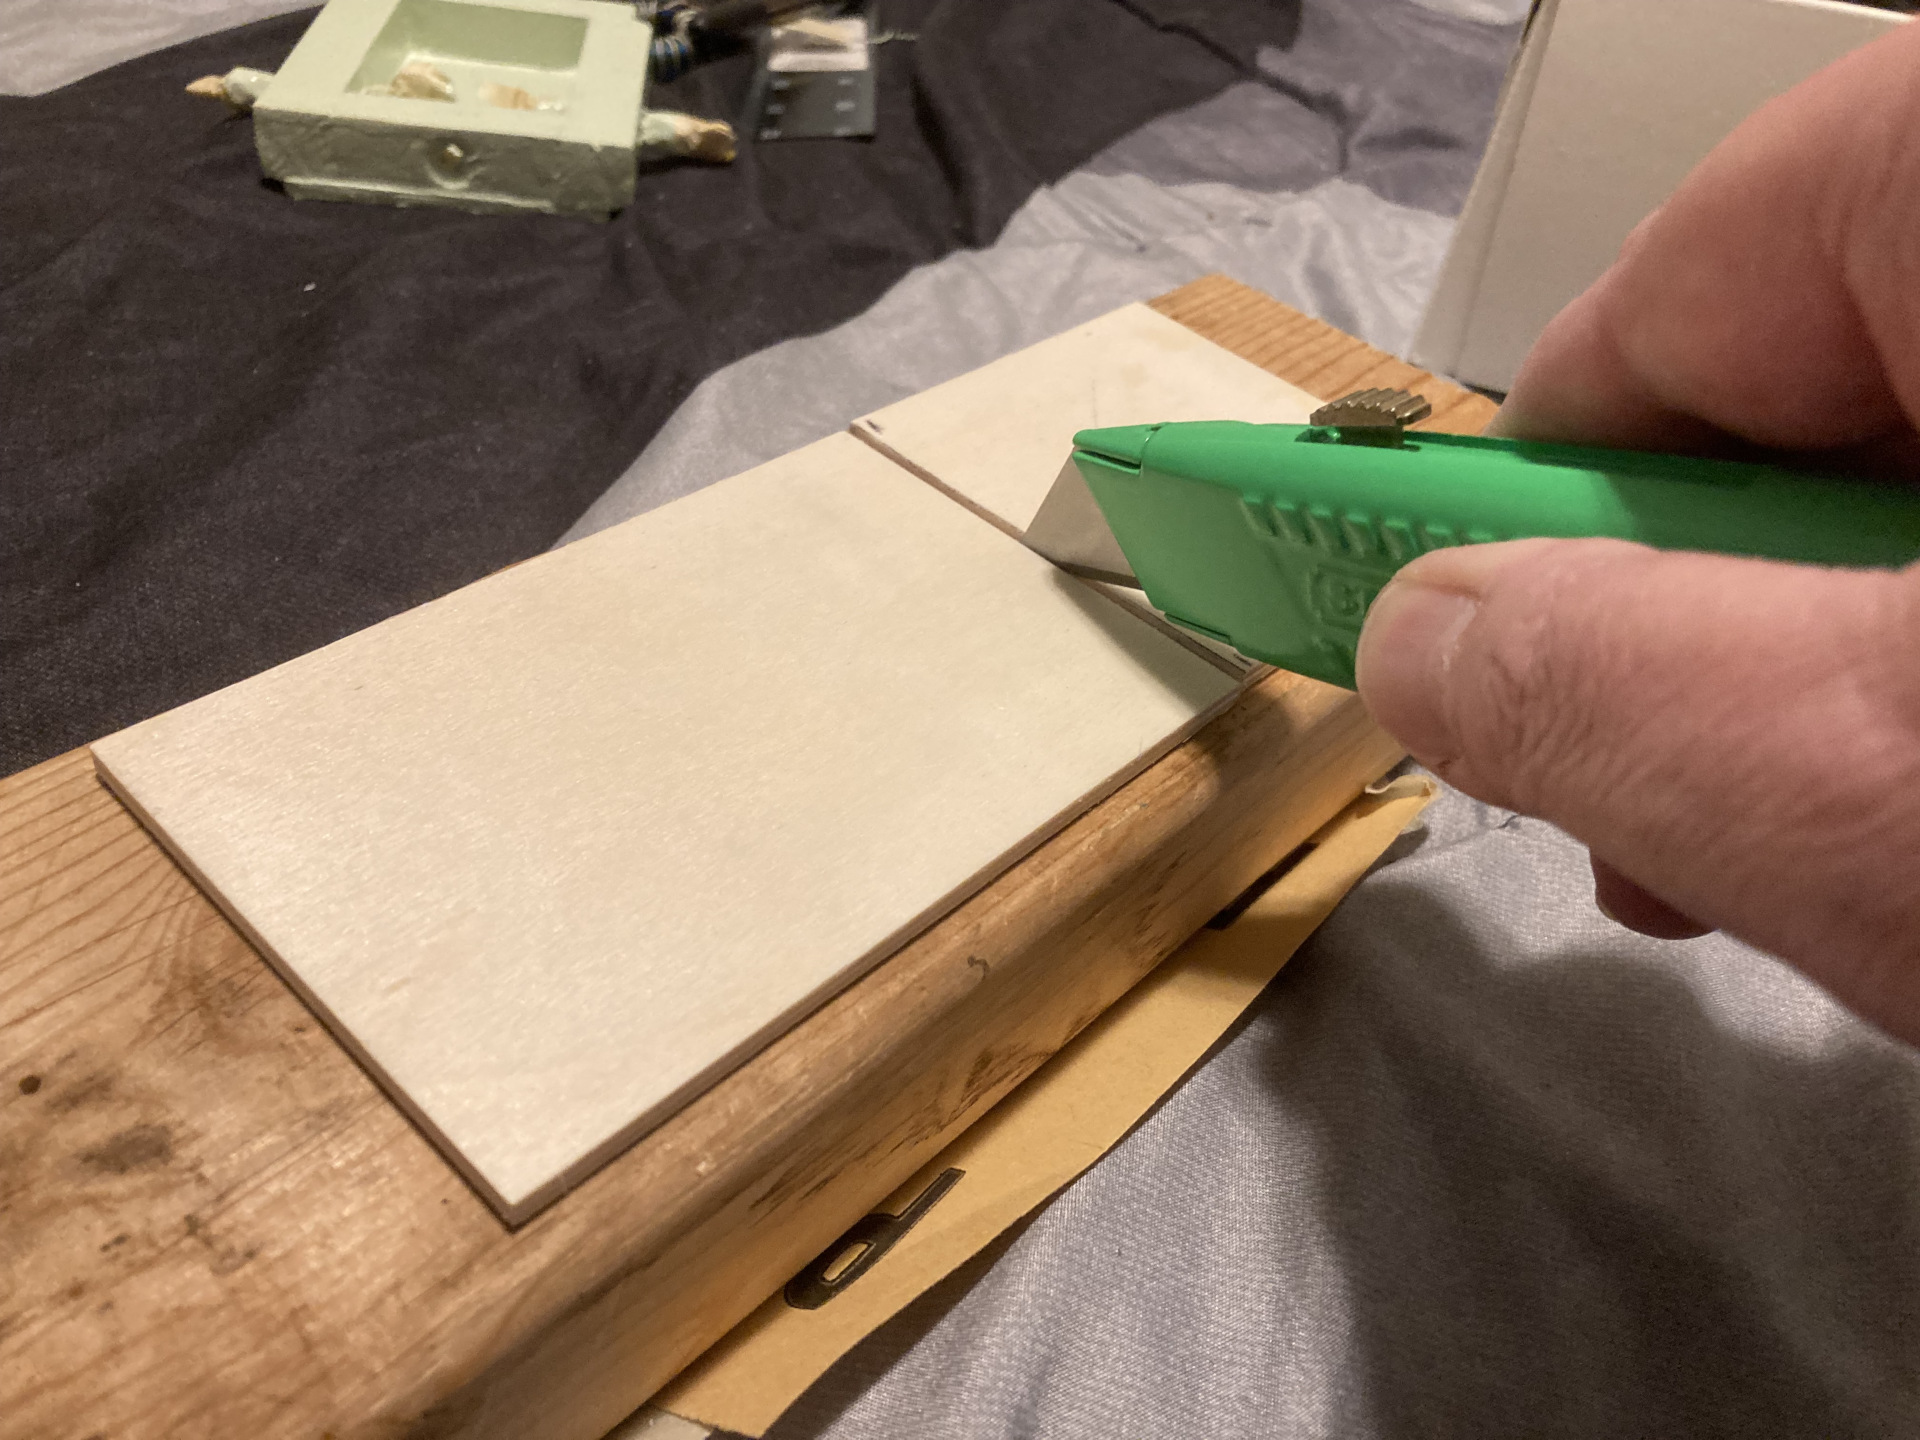
Cutting the front cover
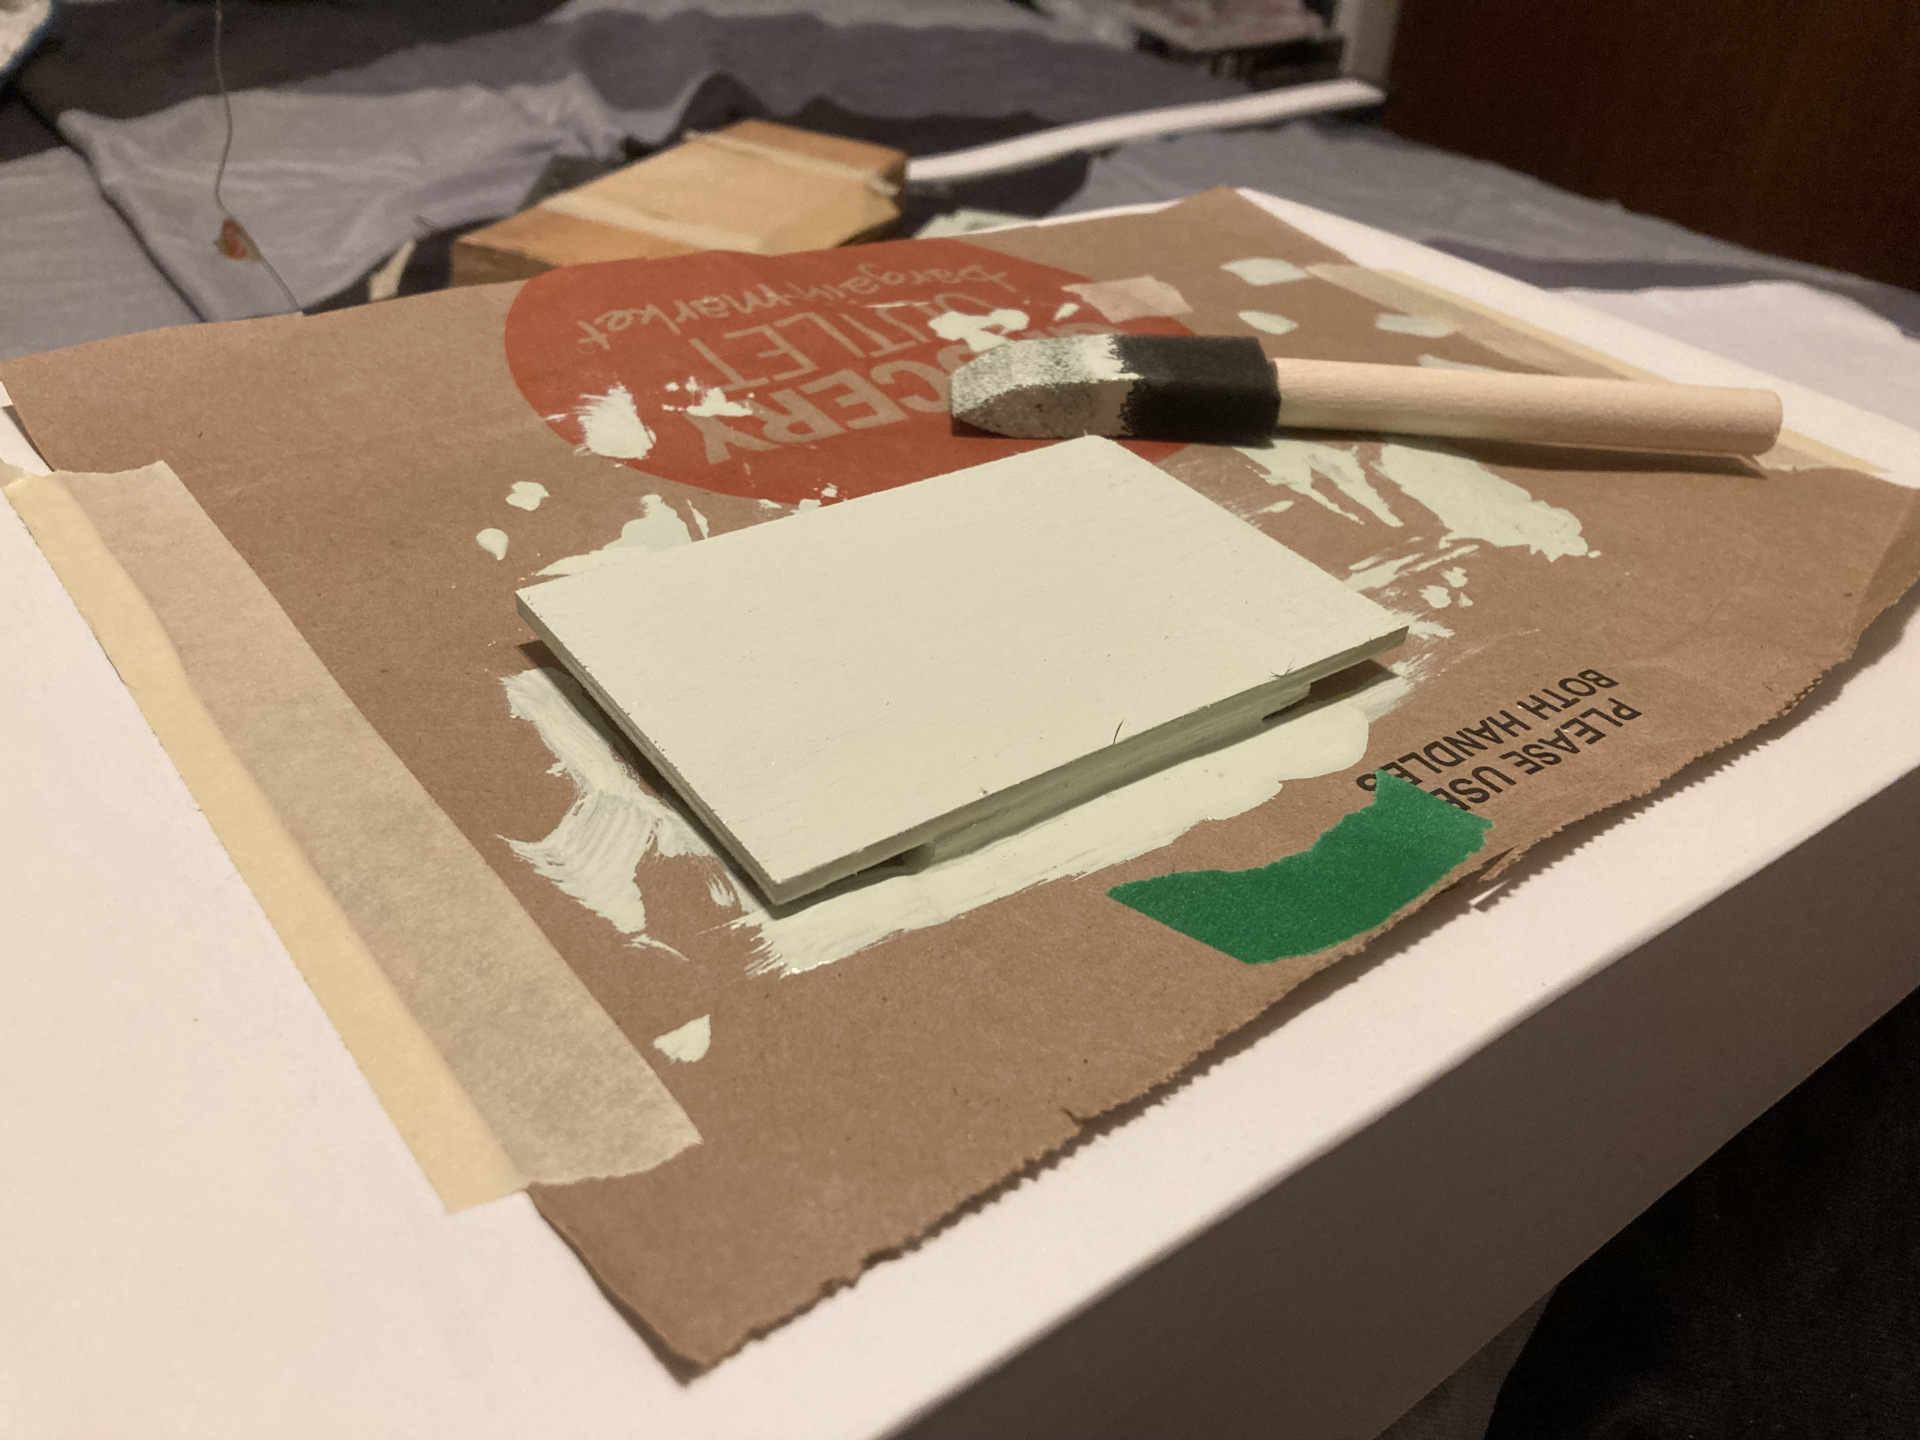
Front cover gets a coat of paint
Trying some foam weatherstripping
The rest of the housing is painted now and fasteners installed.
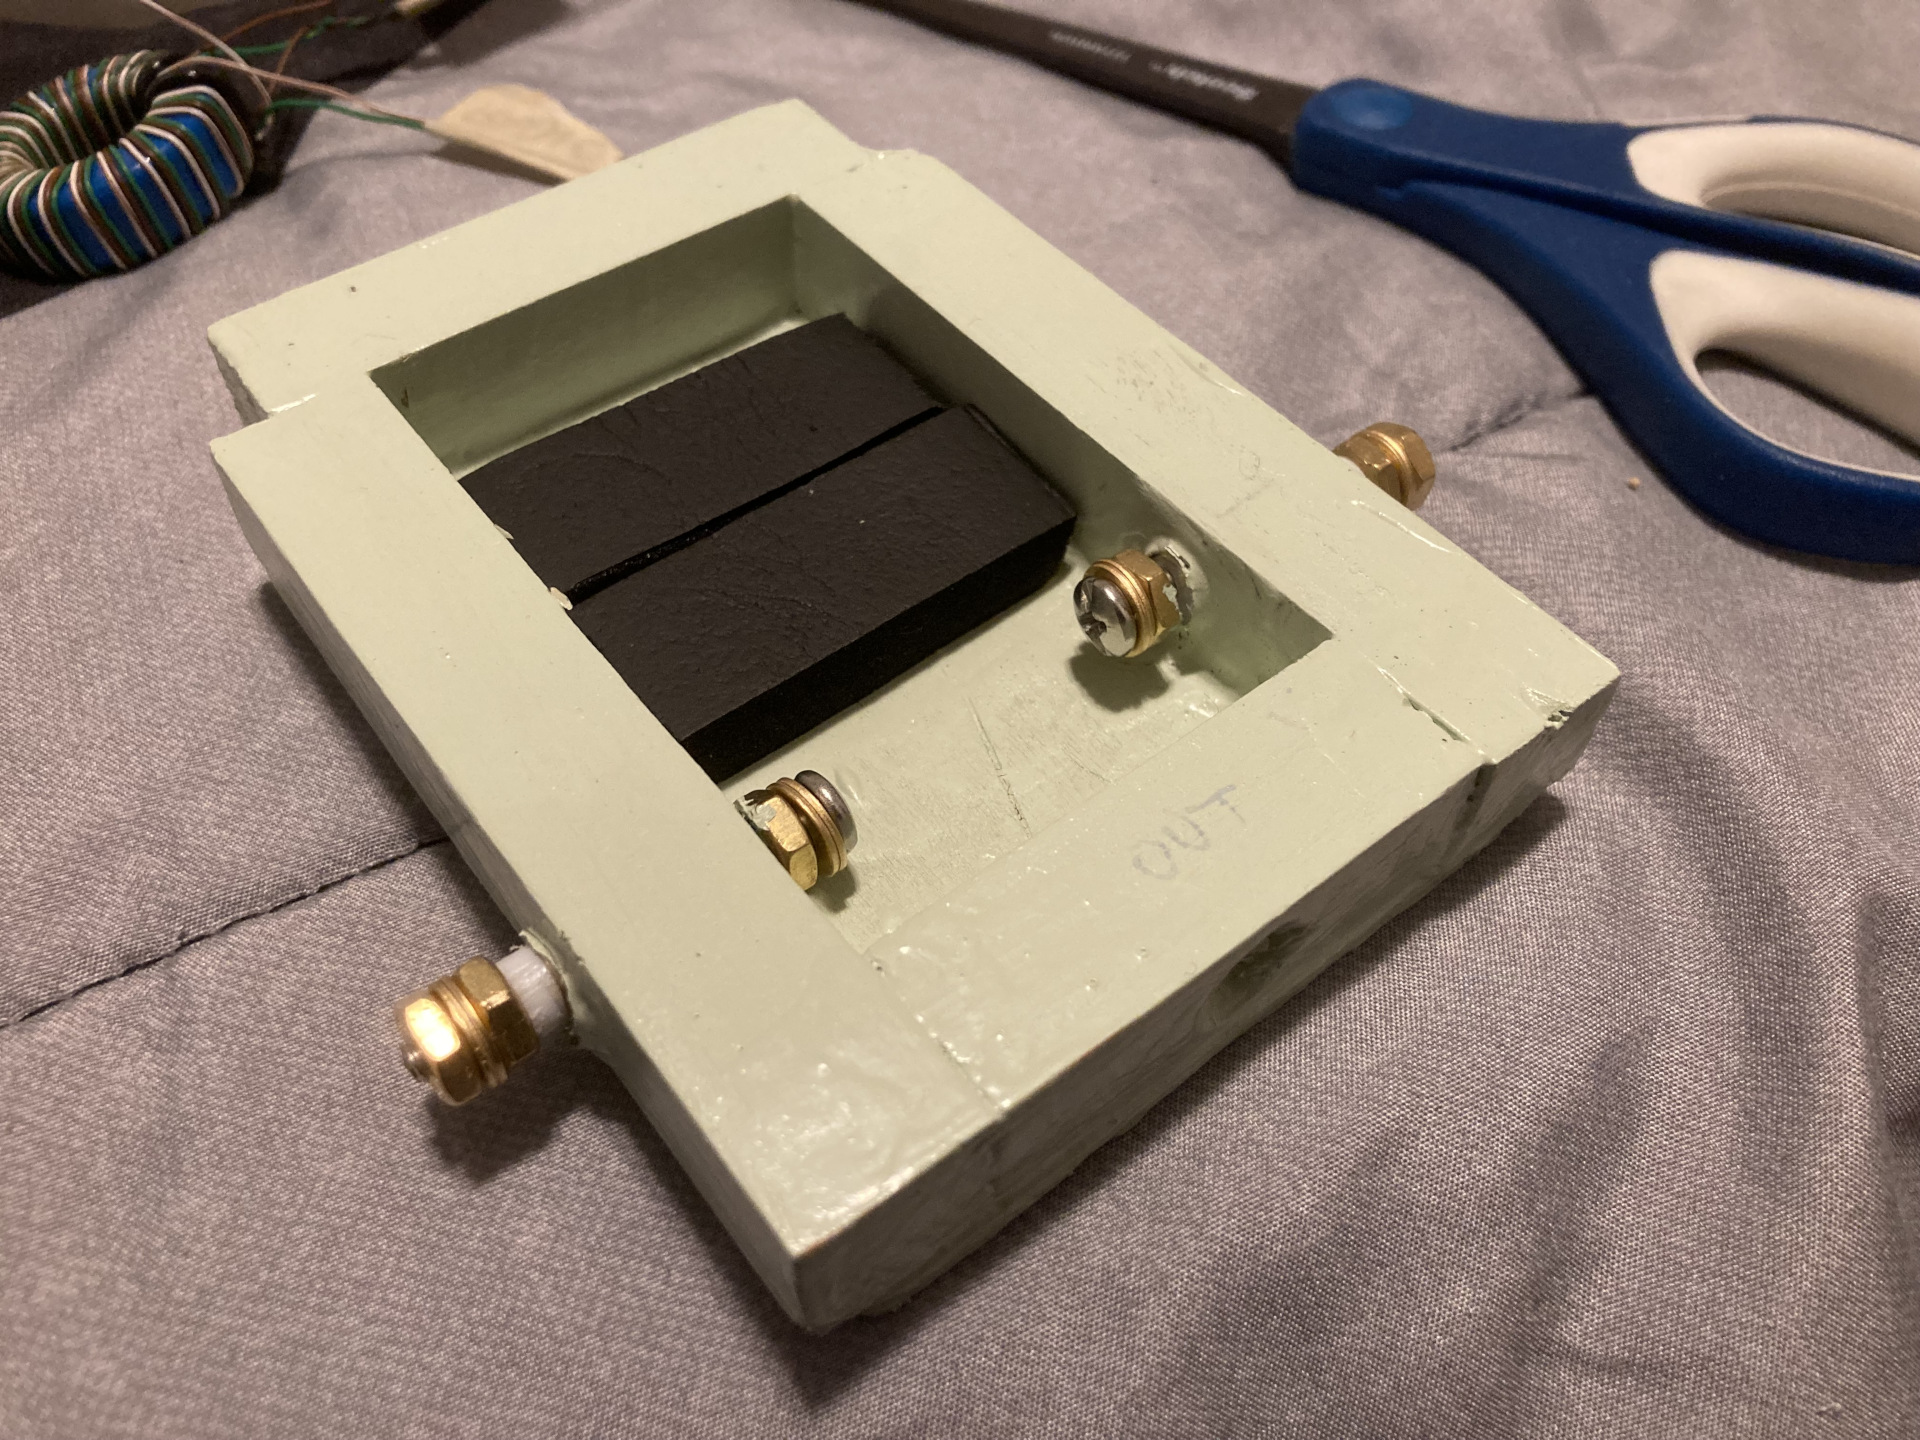
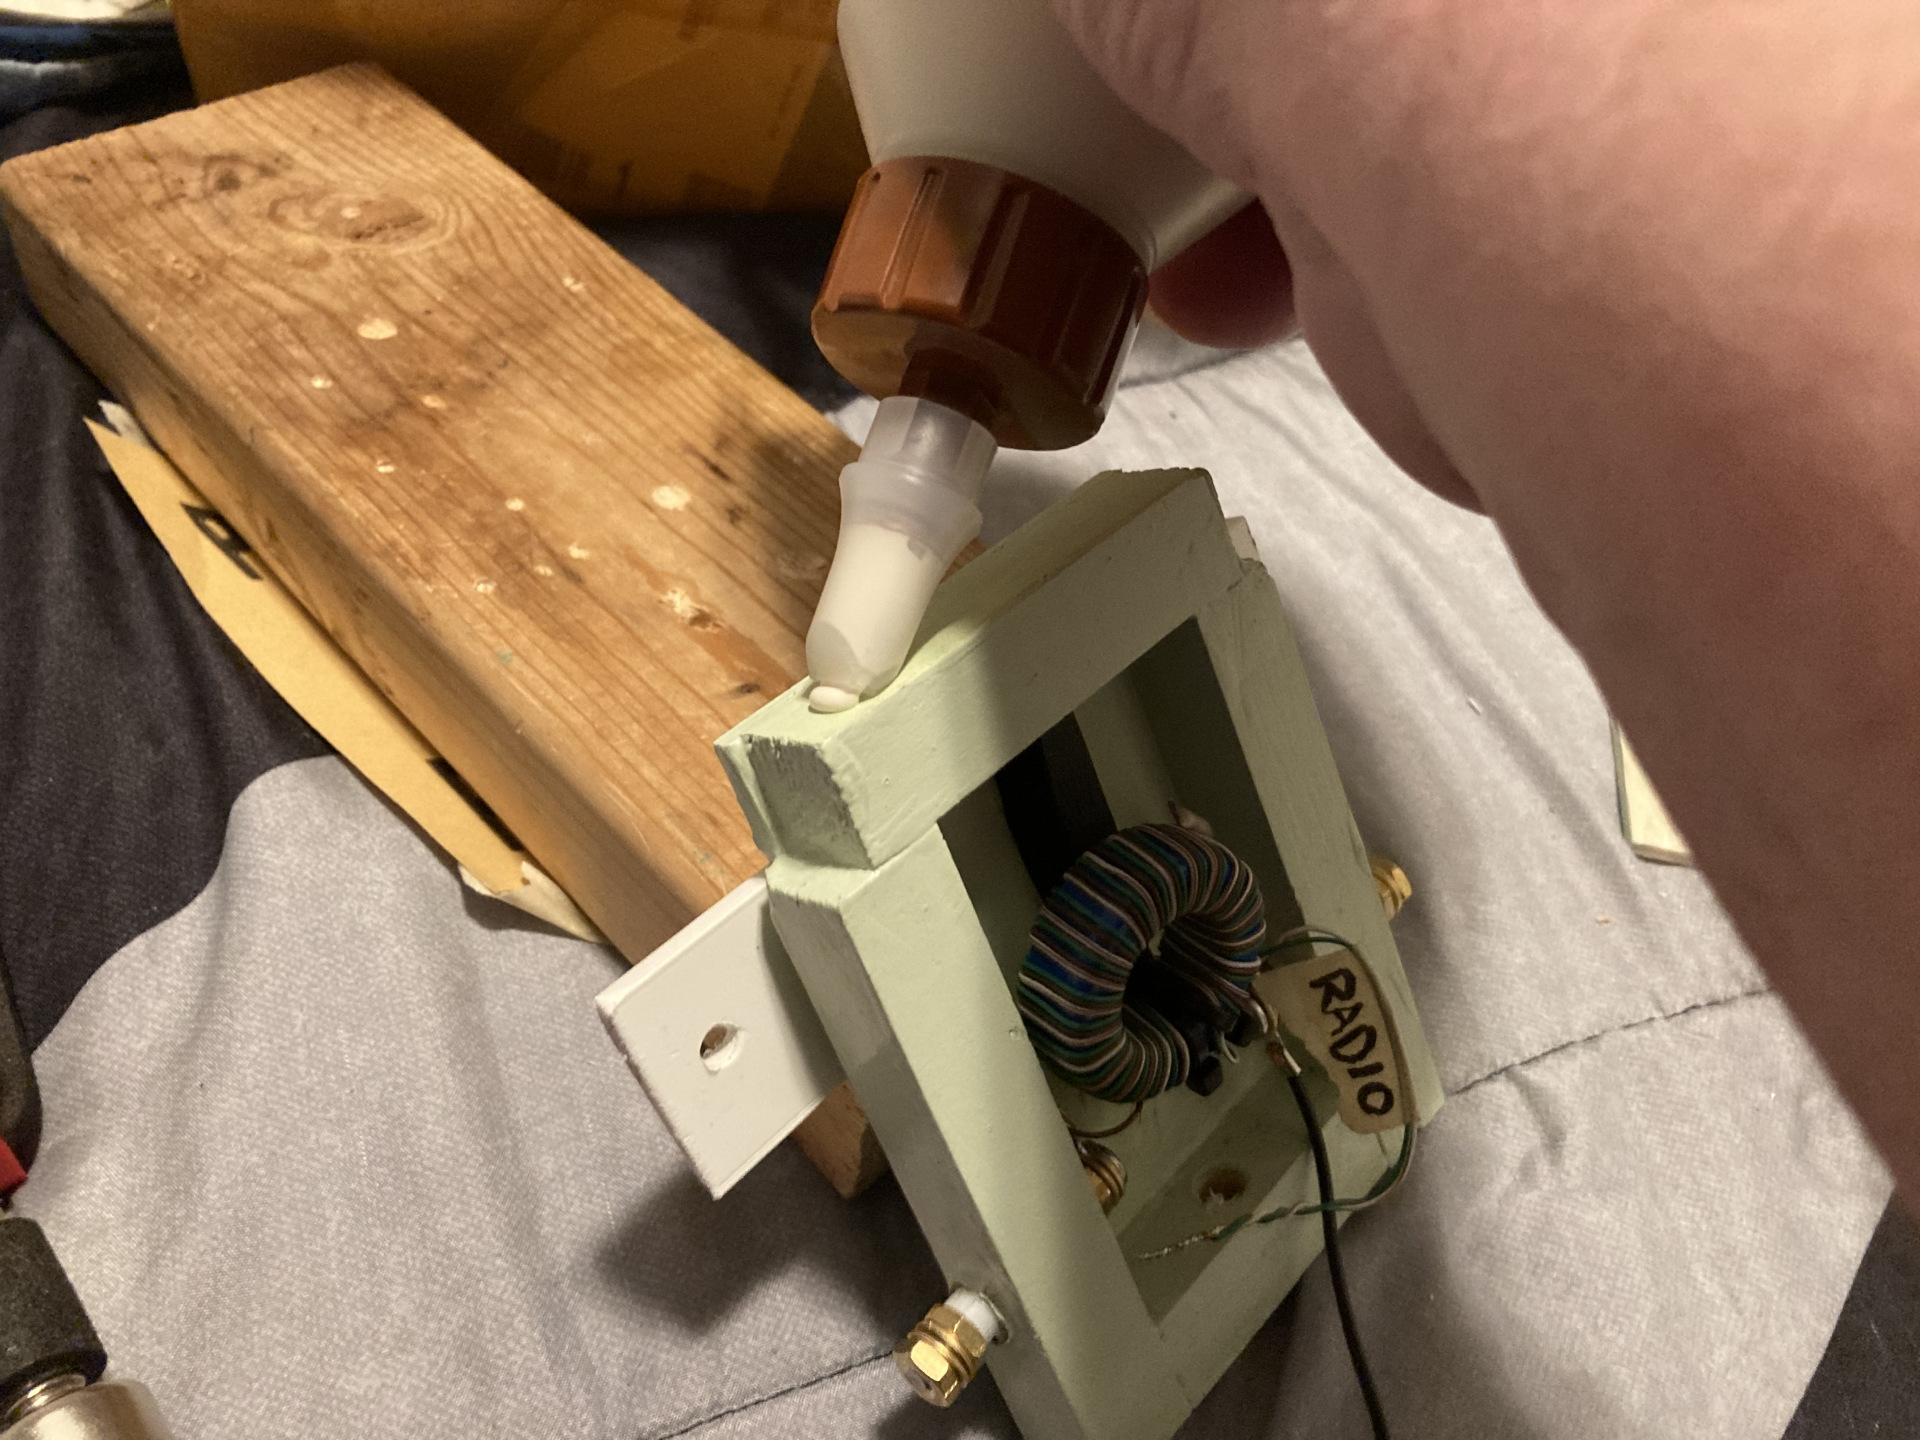
Securing the toroid / unun
I had gone round and round in my head, trying to come to a good solution for mounting
the toroid inside the housing without it being metalic or so firm that it would
cause damage. I tried weatherstripping foam first.
Weatherstripping was too thick and pushed the unun up too high
Unfortunately the weatherstripping was just too thick and didn't have enough 'give', so I tried cutting it down to just half of a strip instead of two full ones.
Just half a strip now
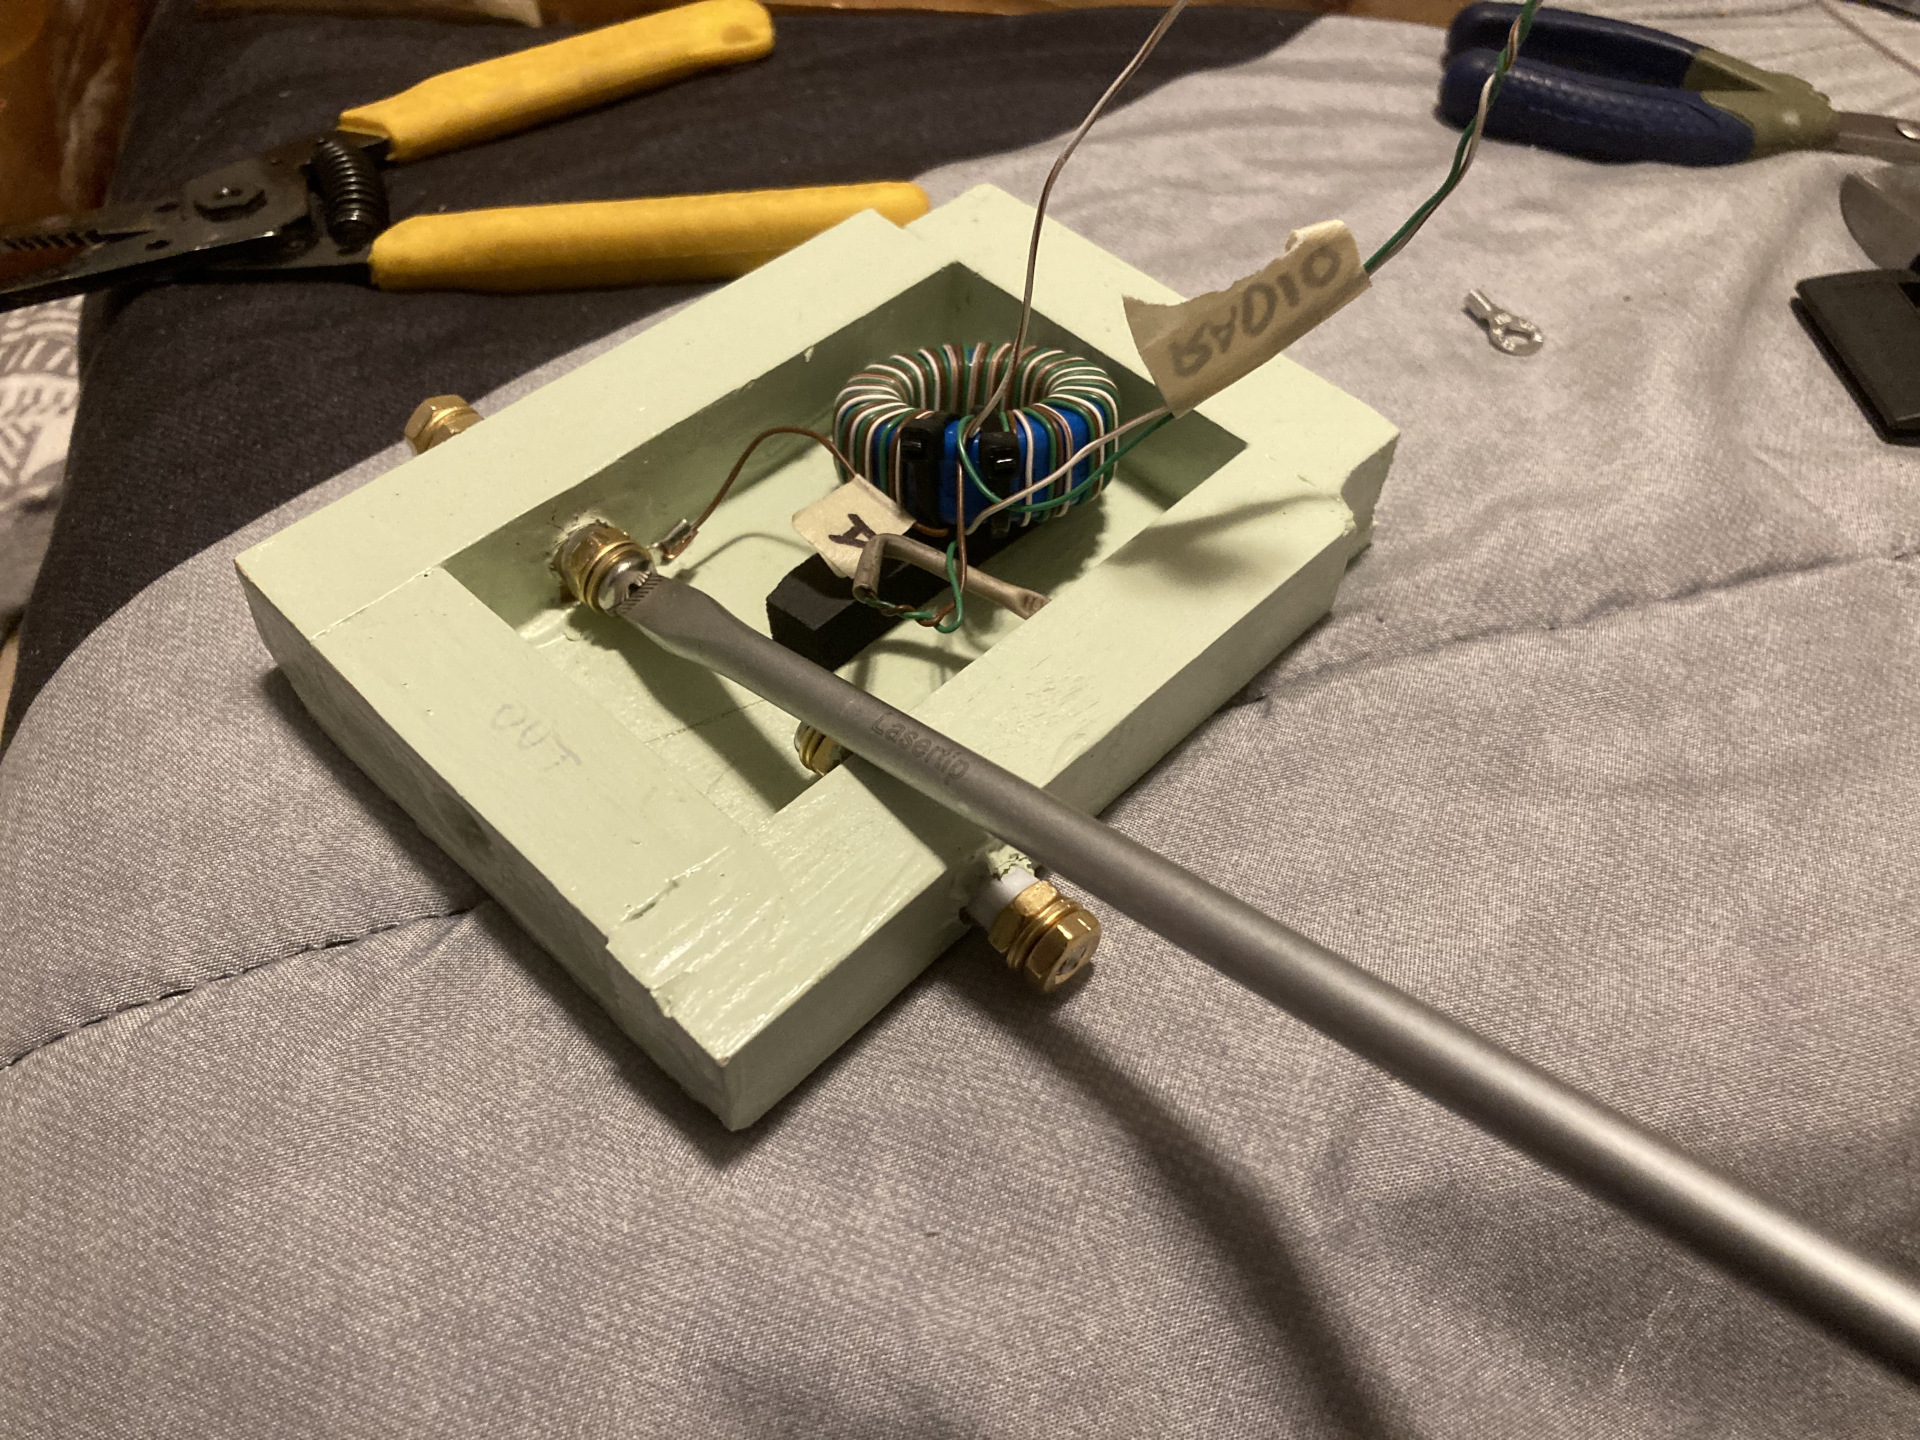
Connecting the unun to the screws
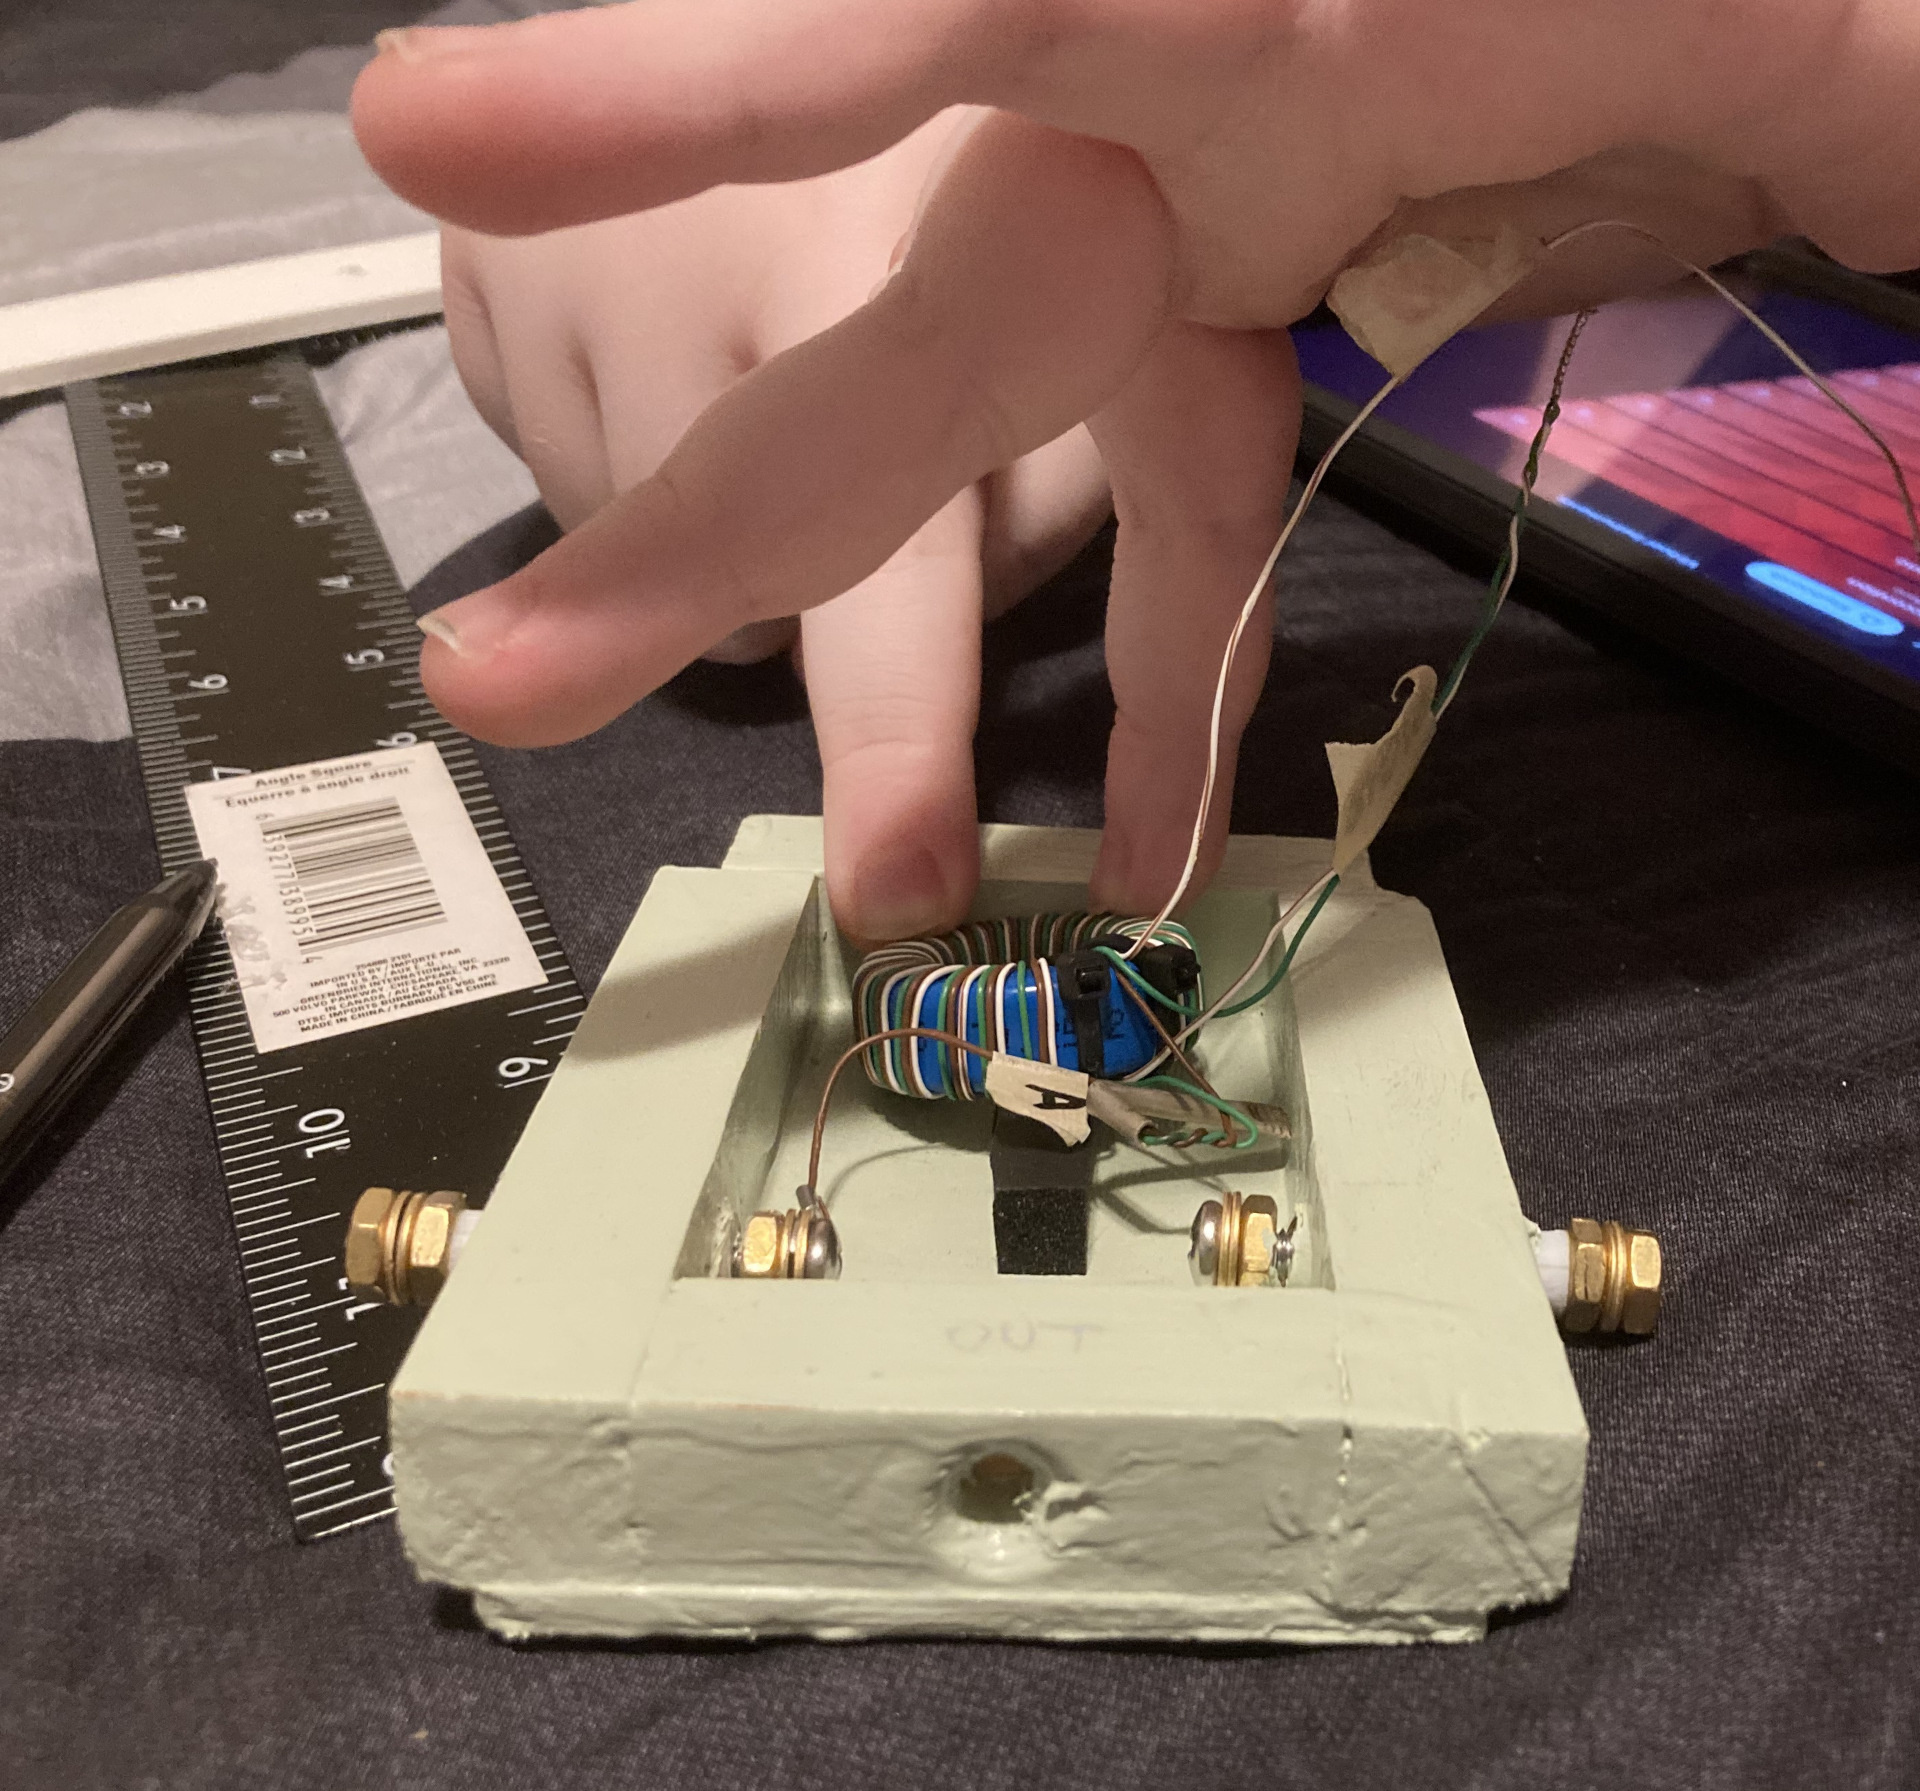
My 11-year-old son presses down on the toroid.
It's kind of a tradition
for him to push or point to the materials I'm working on with a project.
I didn't include a way to mount the housing in my original design
I tacked on some waste plastic trim material for mounting.
Painting a 'seal' to help prevent weather ingress when put together
Something else I forgot in the initial design.
A top overhang cover to protect
against water running over the front cover.
Putting down glue.
Clamping the overhang cover.
Everything painted and ready for the next step.
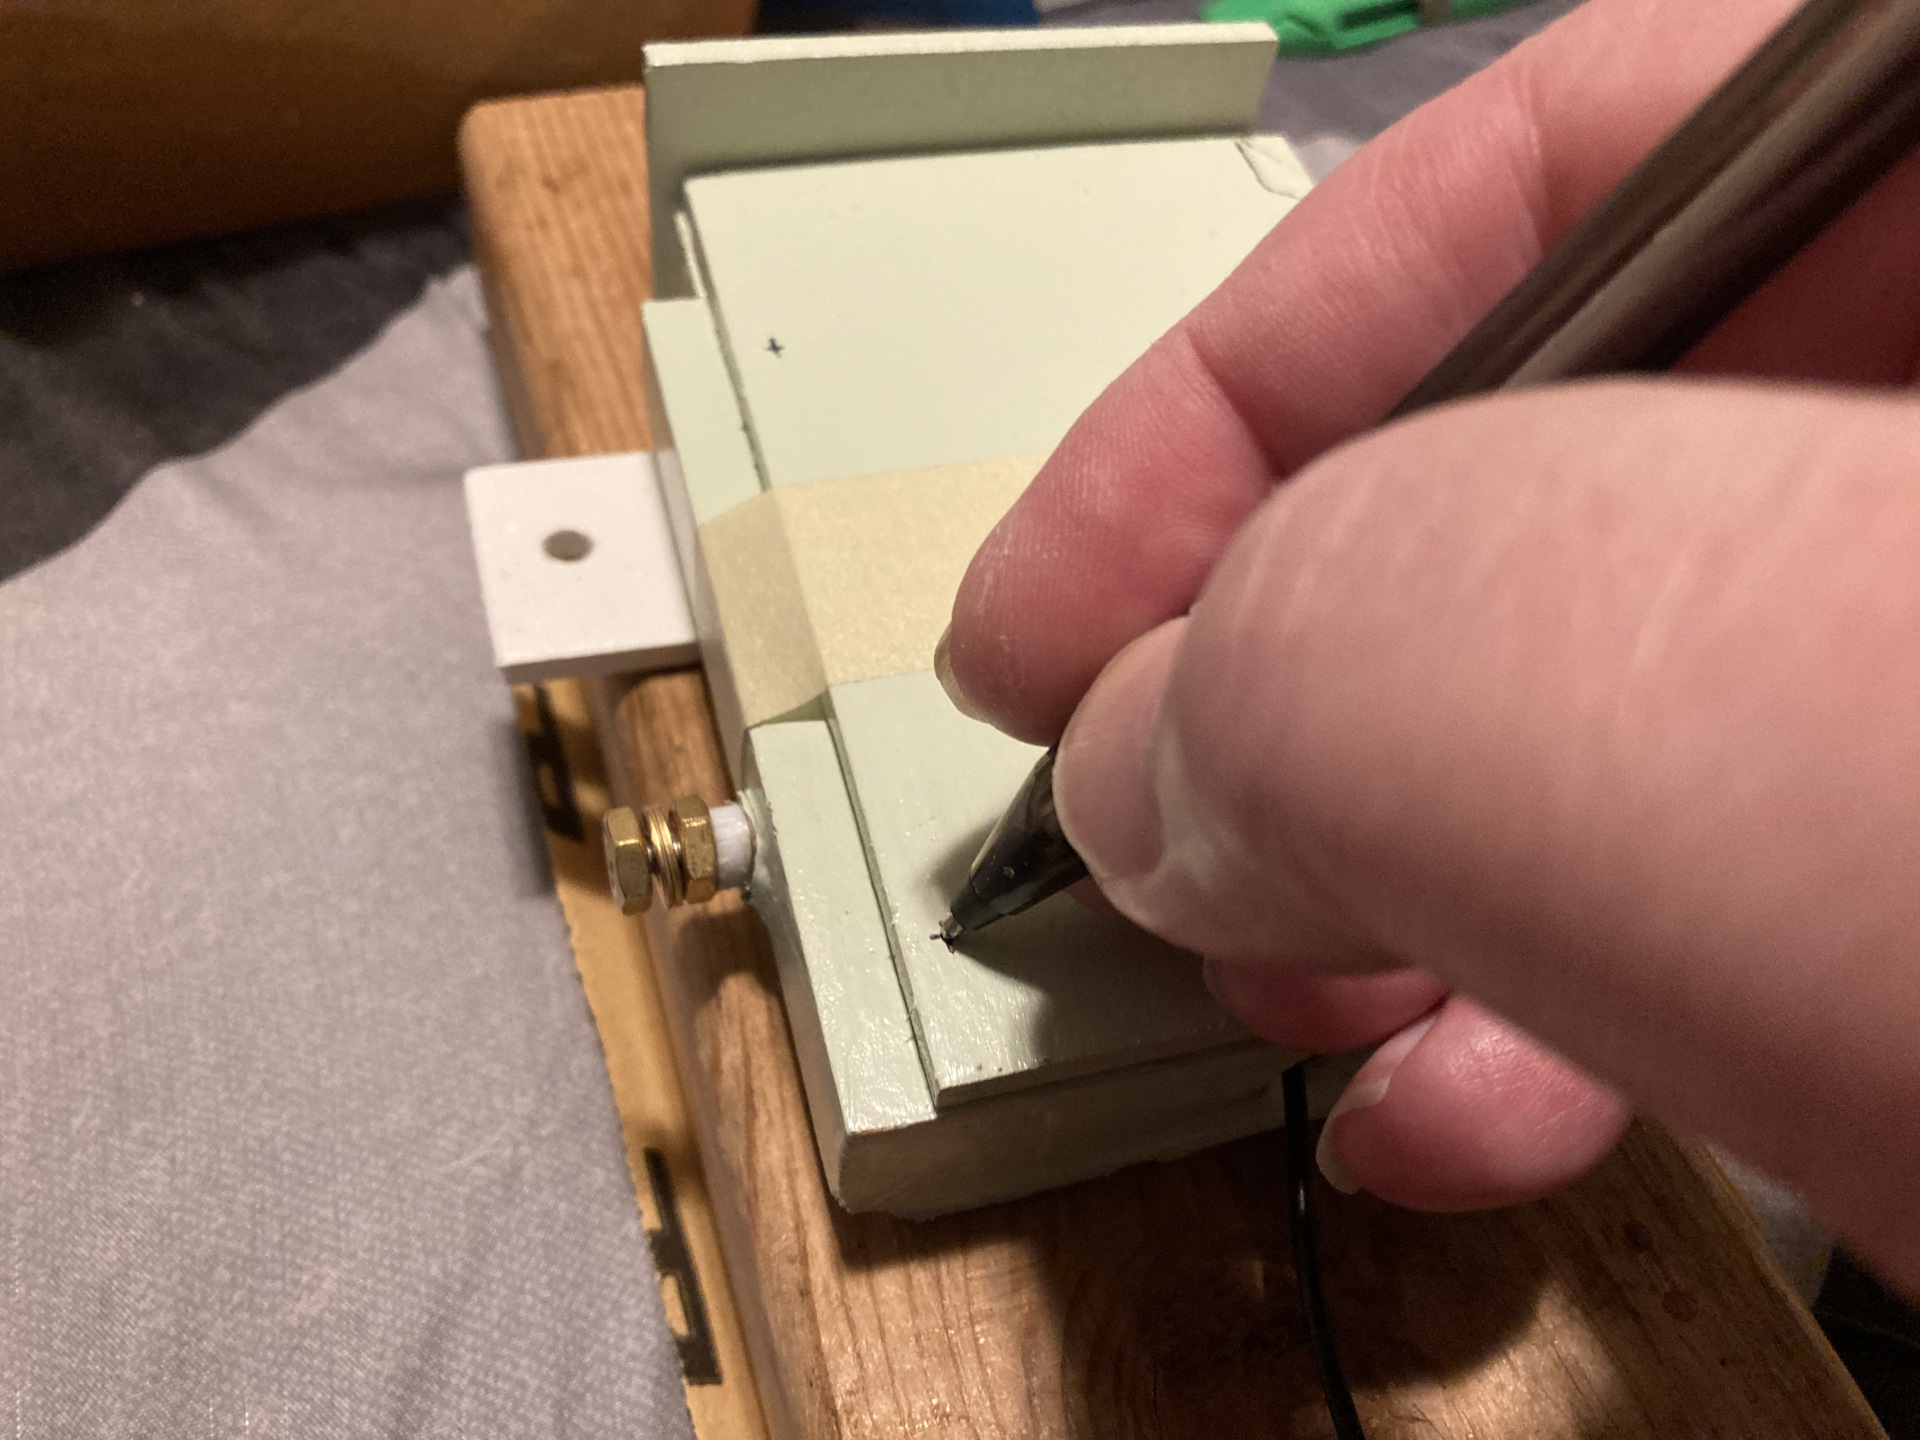
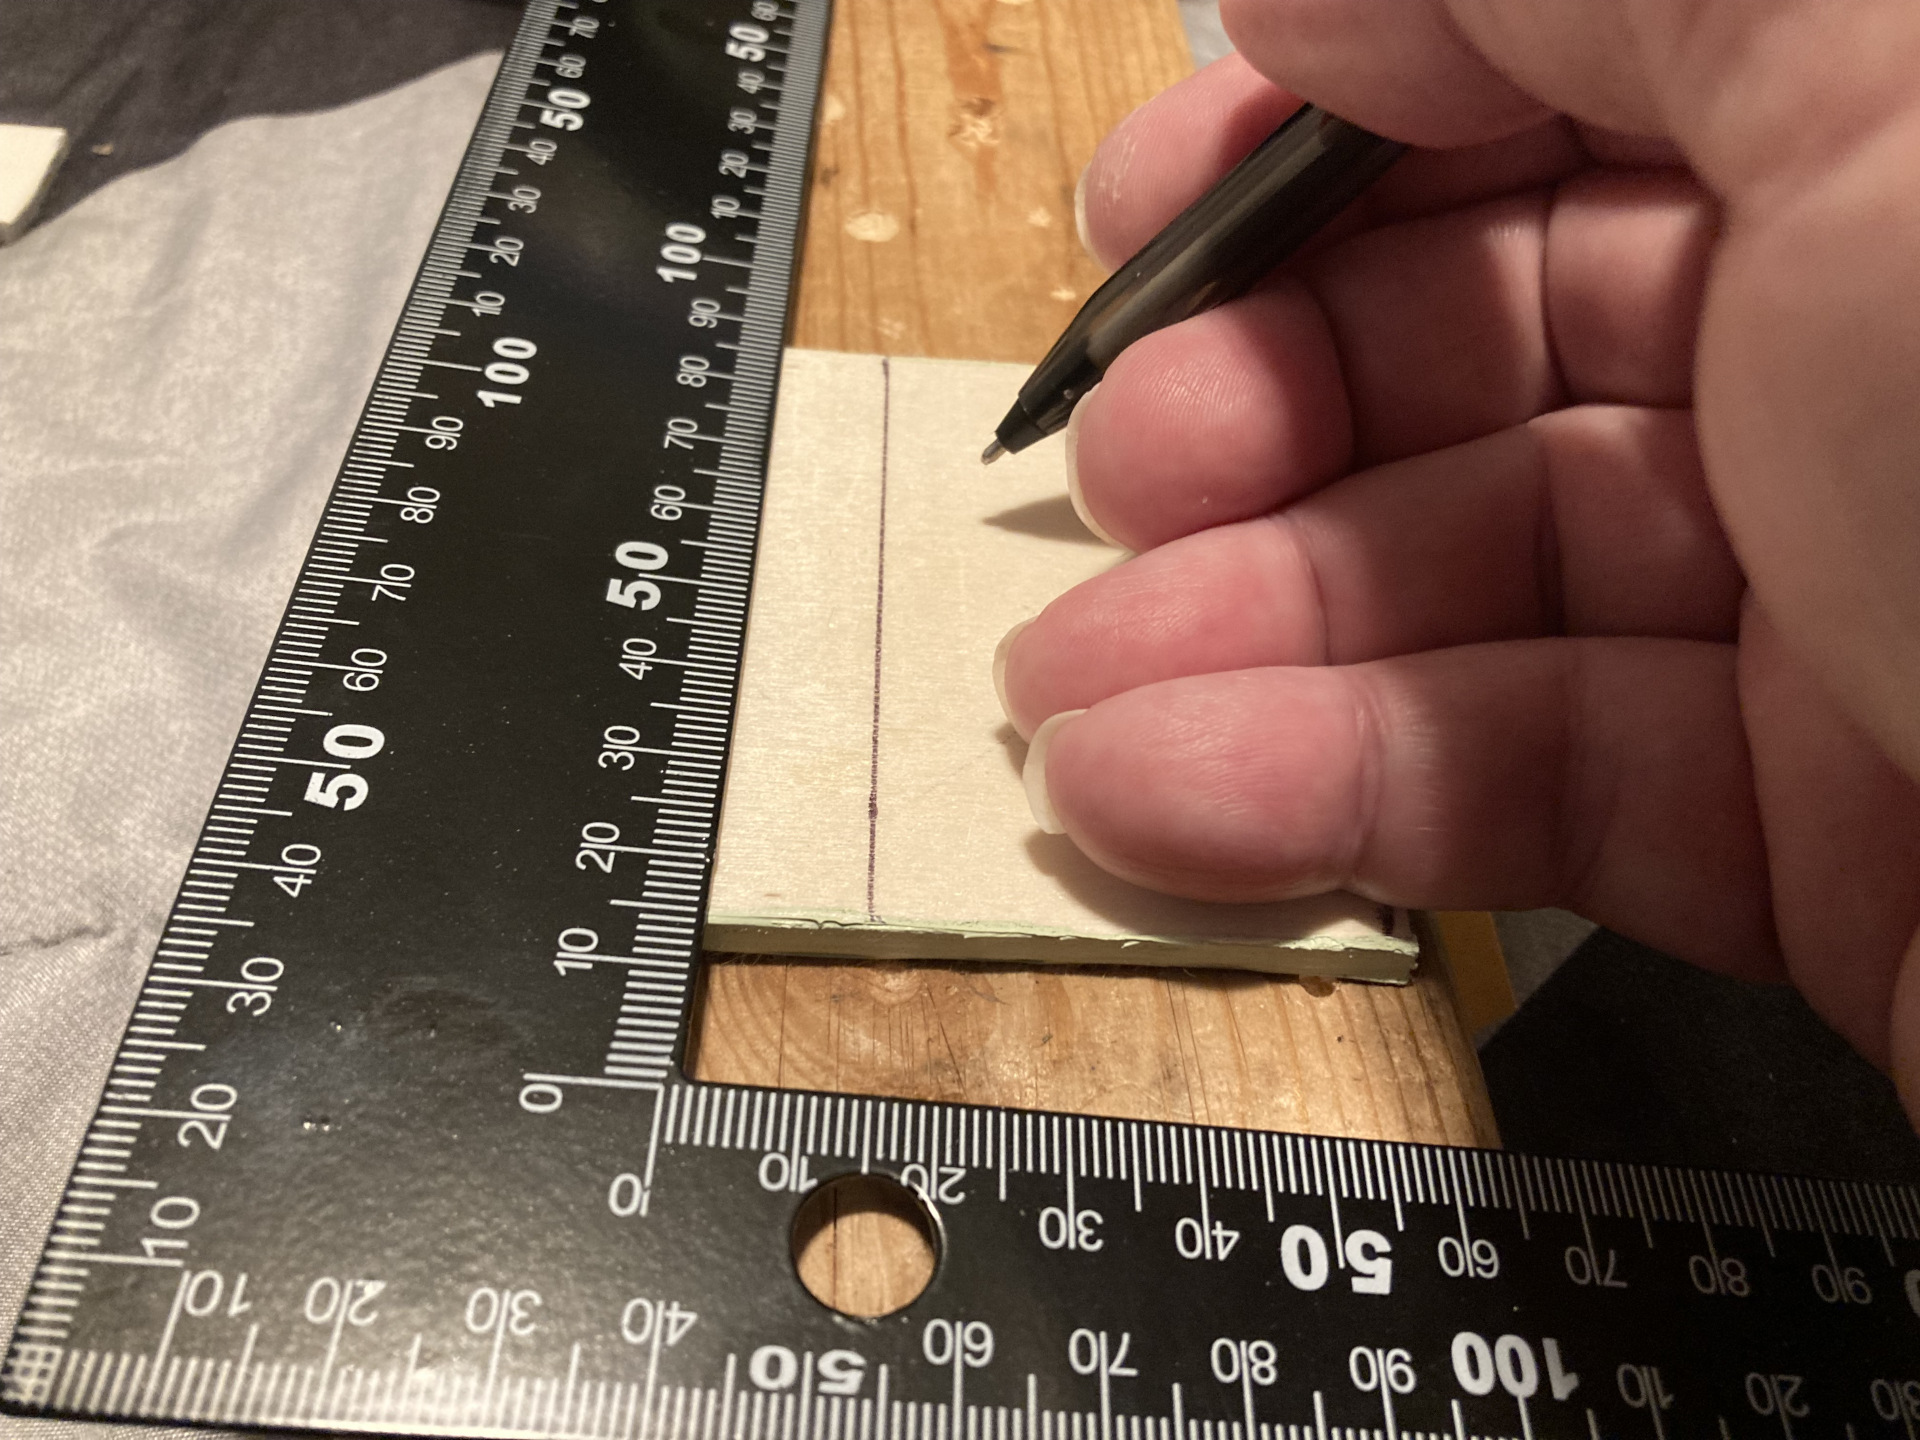
Marking where front cover screws will go.

'Premium' countersinking job.
Also note that I marked a spot on the
top-right part of the front cover that needed to be trimmed off.
Guy line insulators
Next steps were to create some insulators for the guy lines / cords. We had some waste
plastic trim pieces from a home-improvement project laying around, so that seemed to be
the perfect answer -- much better than using painted wood or something.
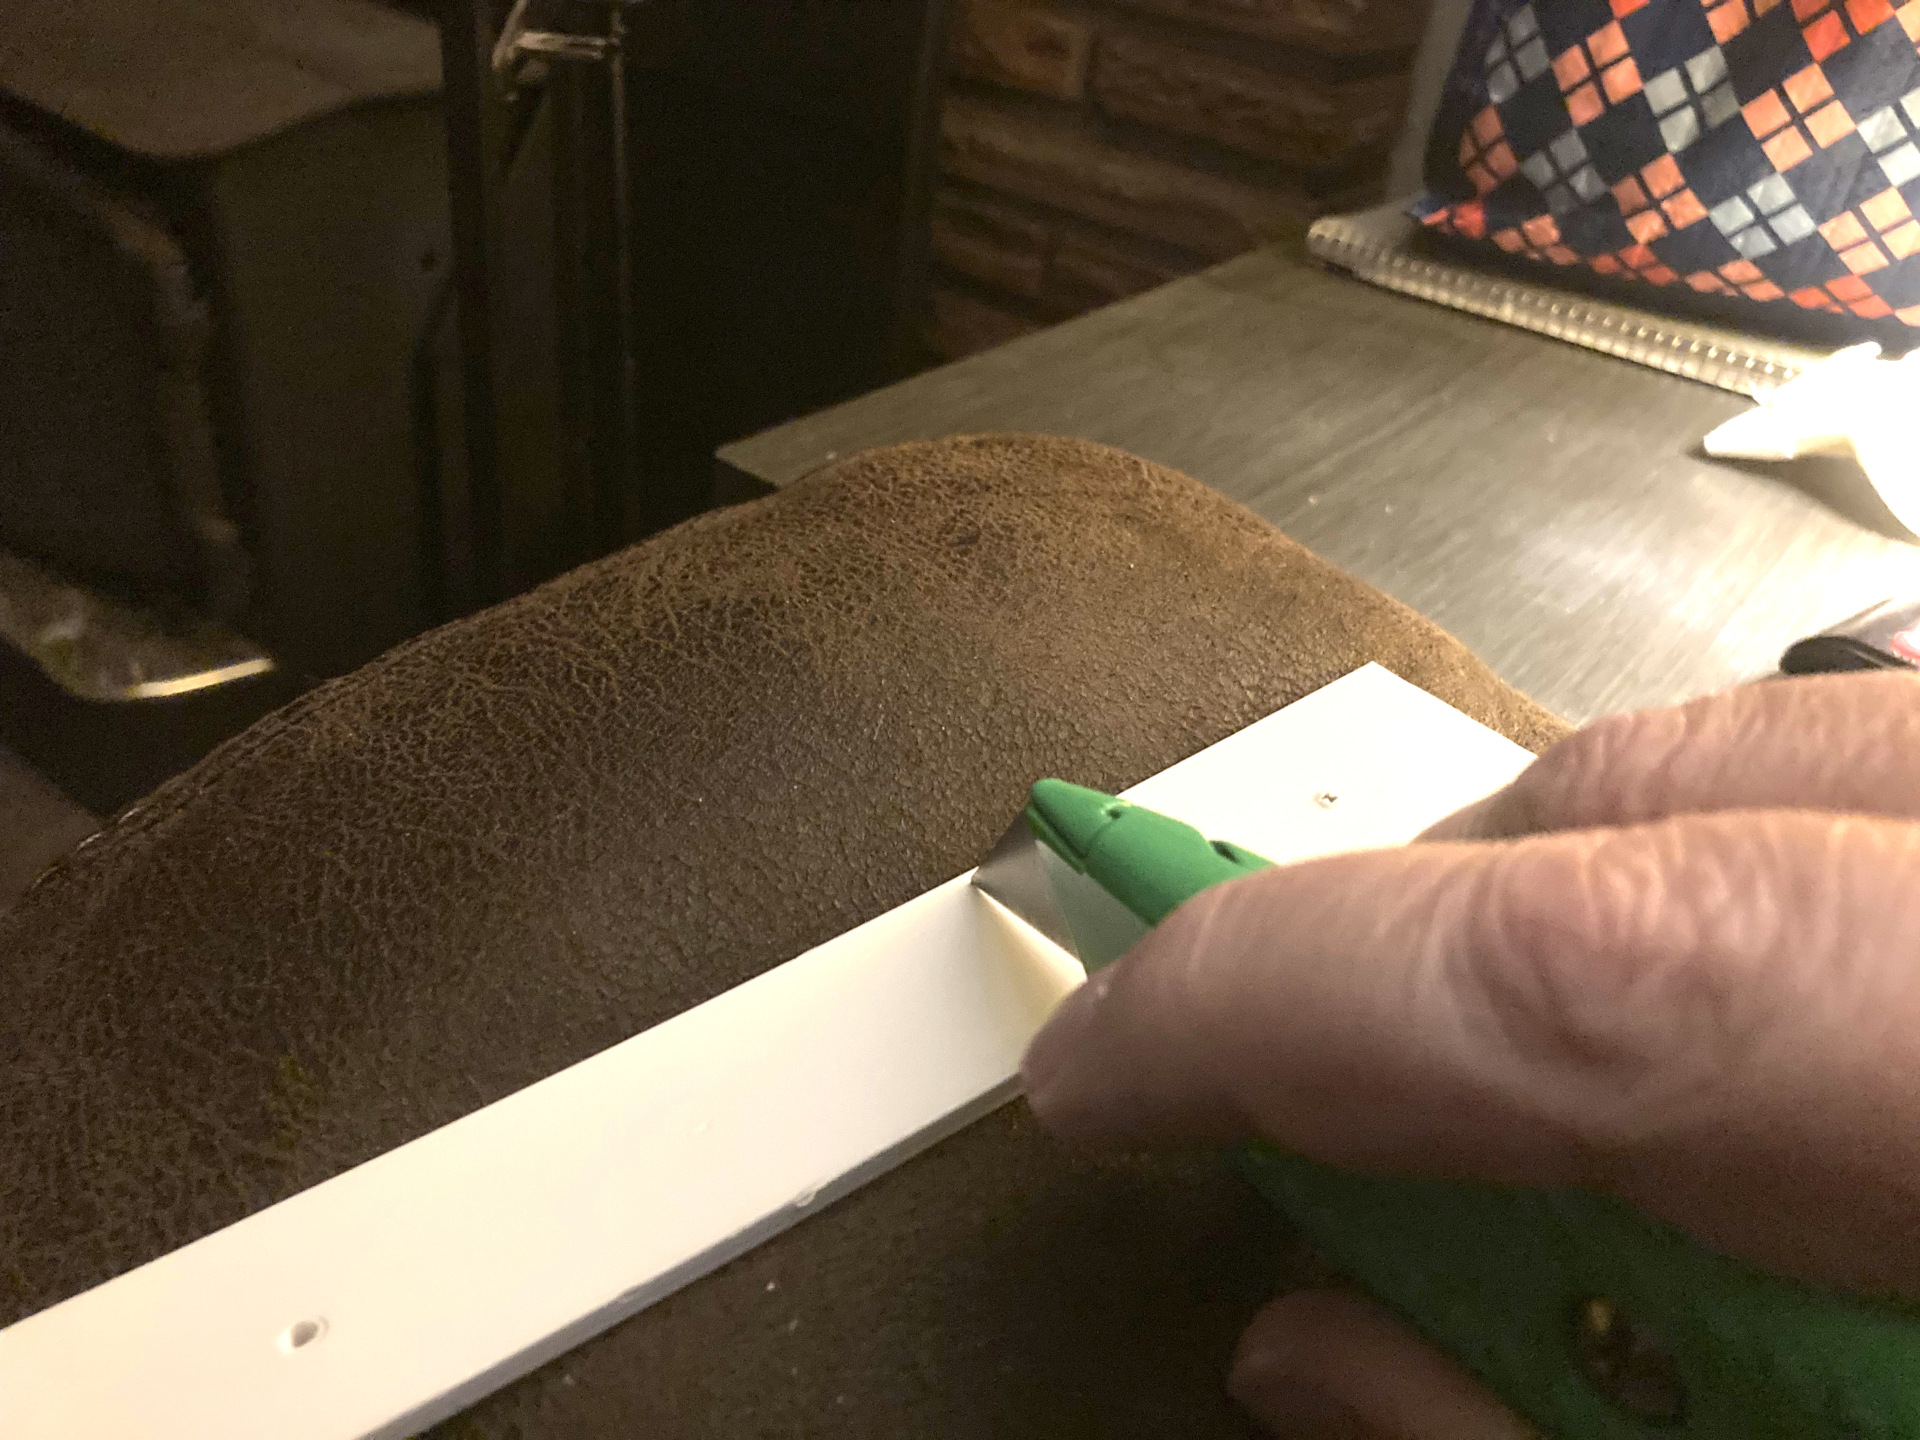
Cutting some waste plastic trim for guy insulators.
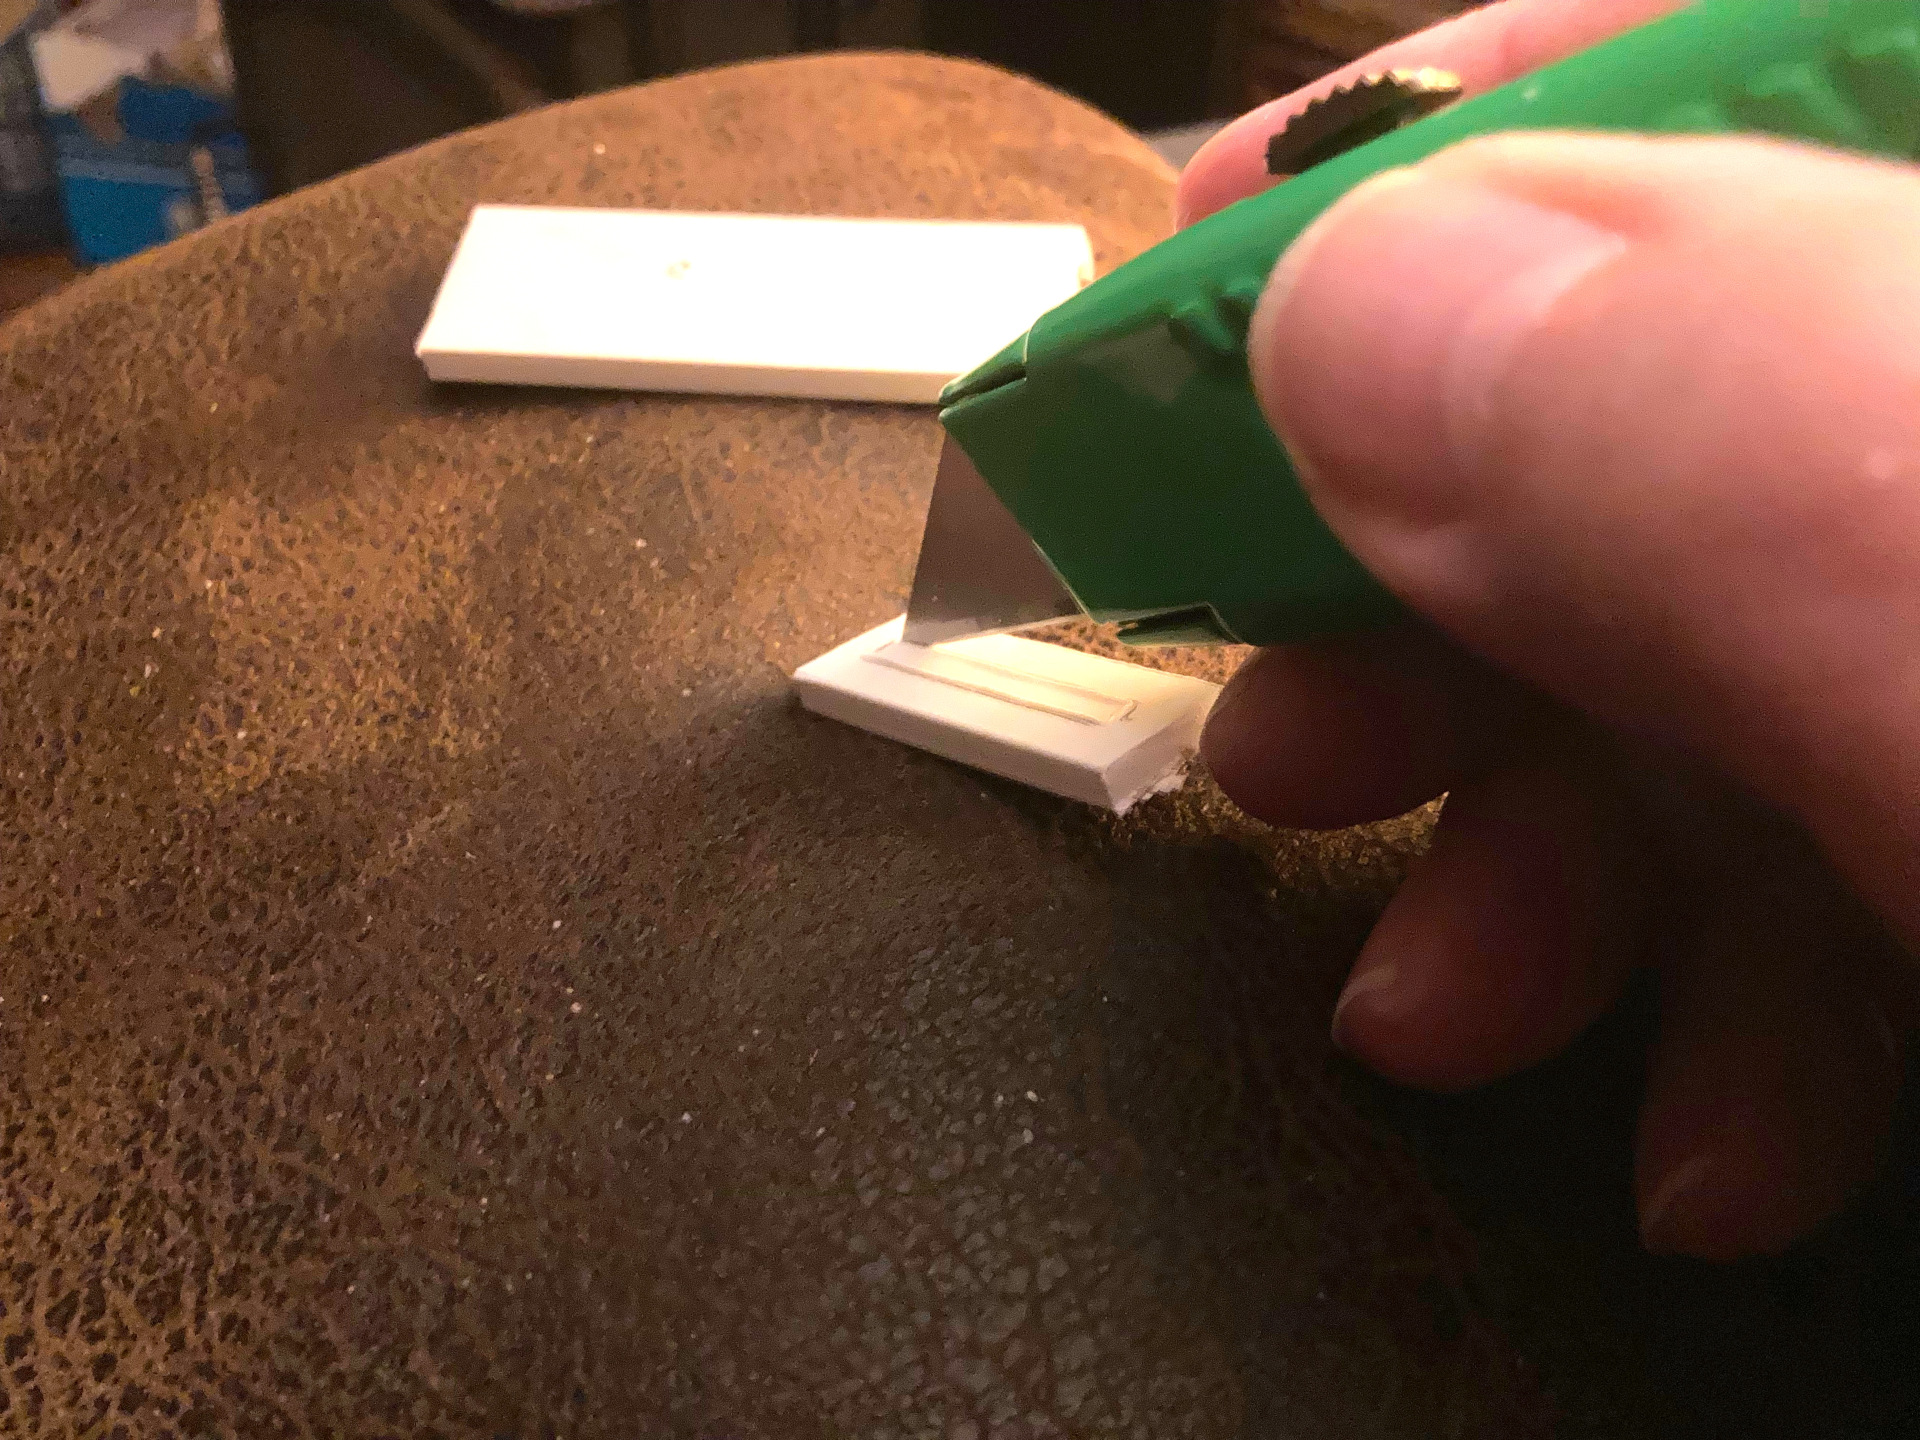
Cutting out slots for the inner pieces.
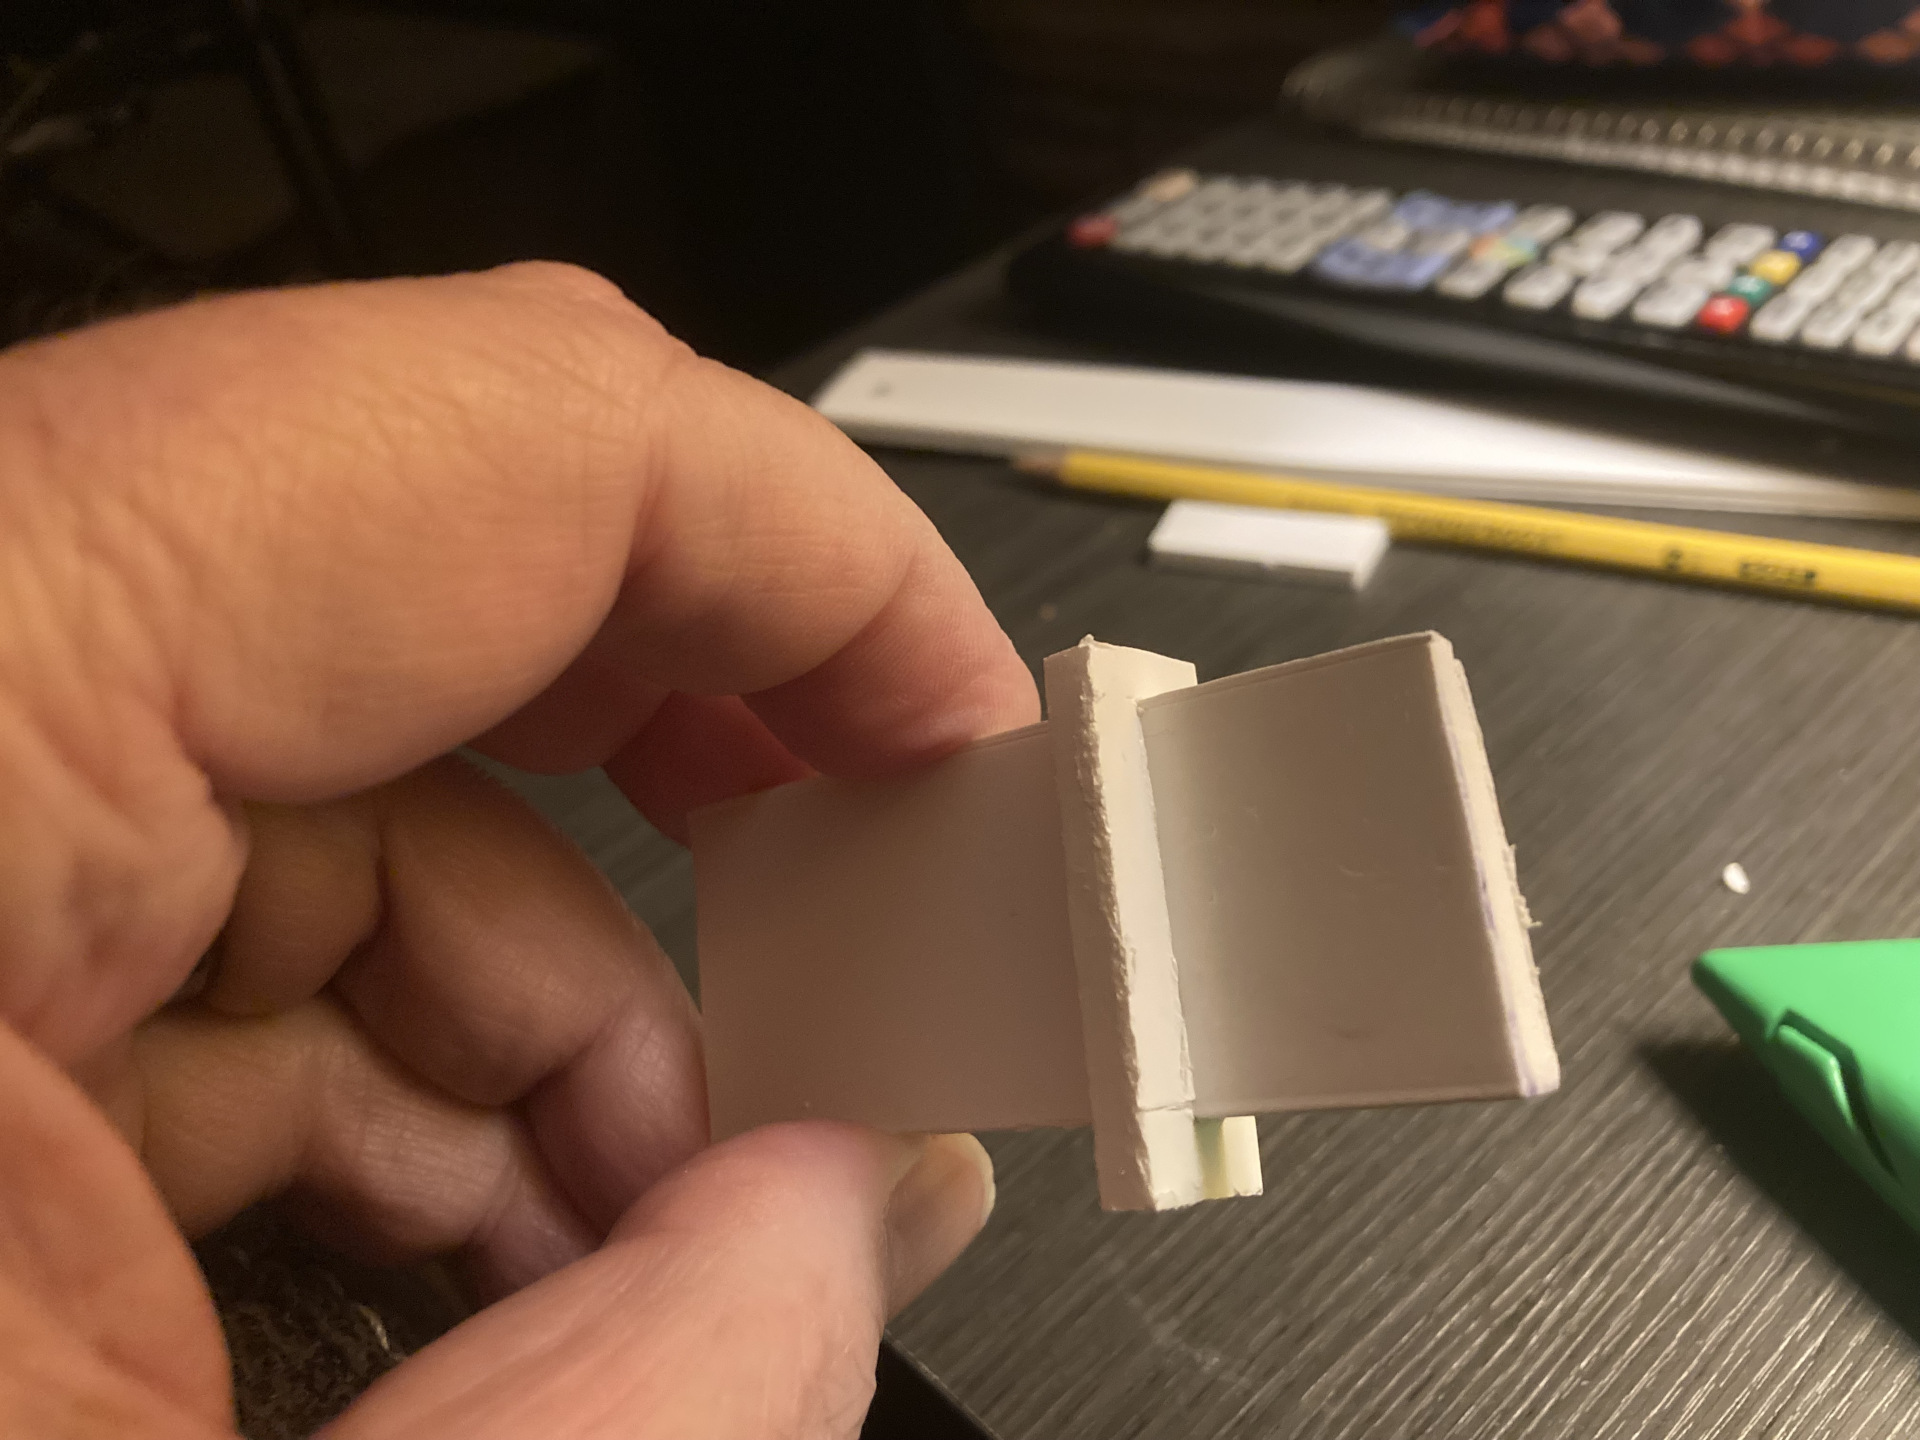
Cool - they fit!
Yes, I was sitting at my couch to do this part.
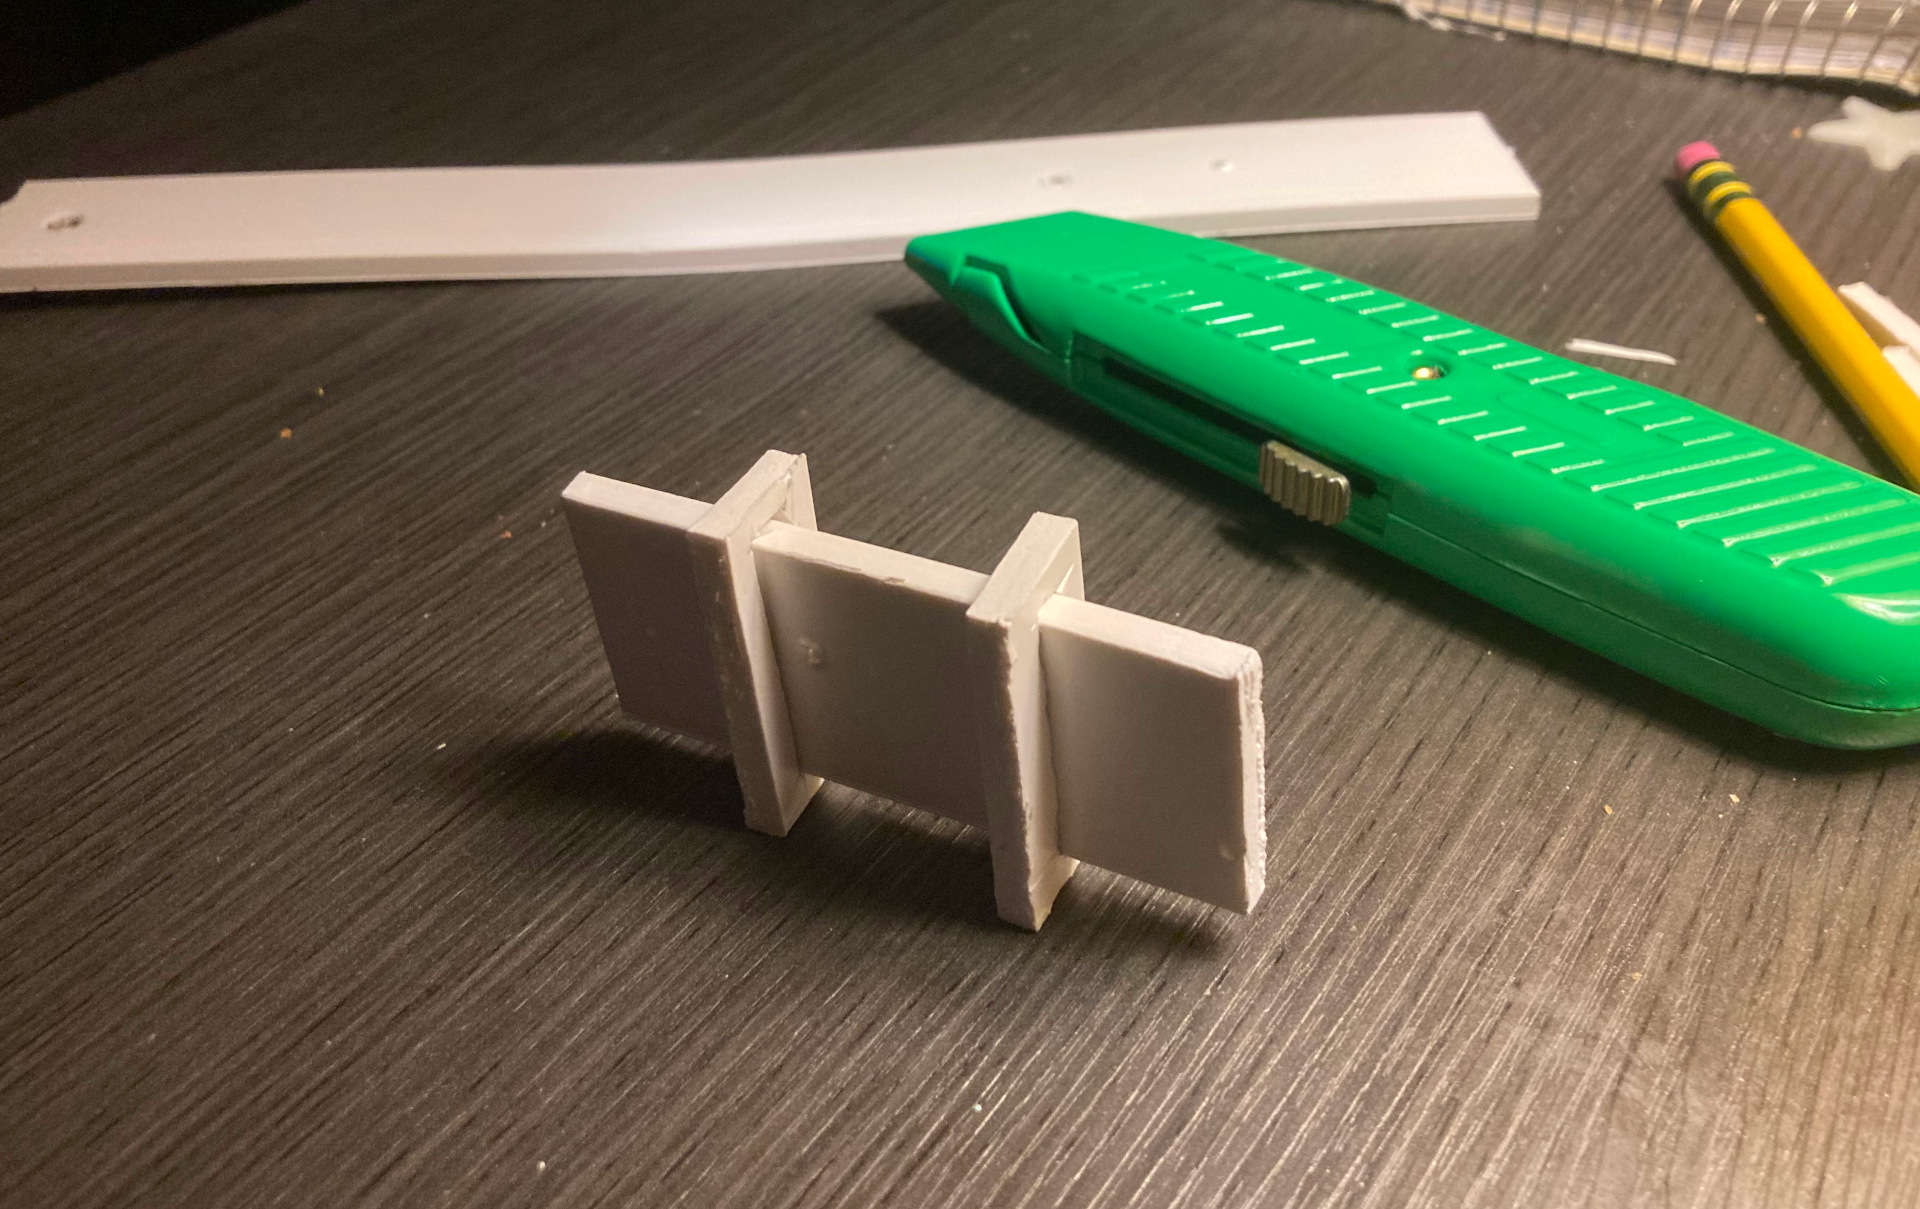
One insulator unit completely cut out.
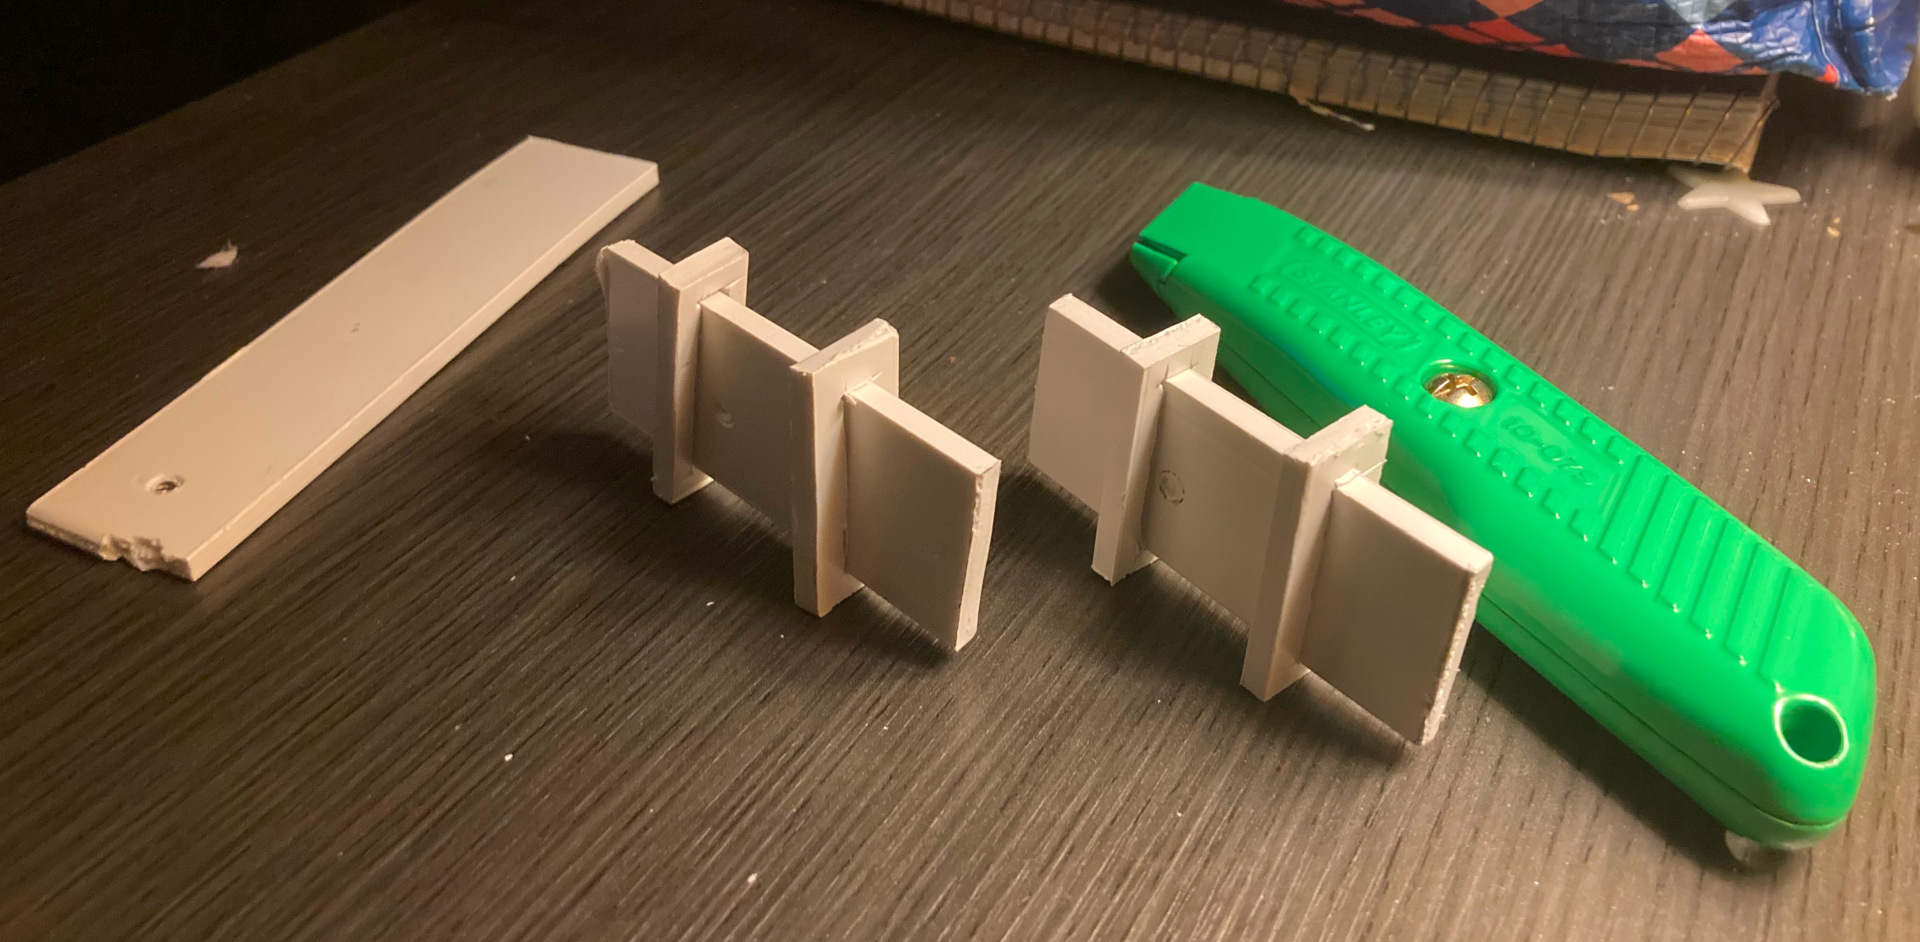
Both now completely cut out.
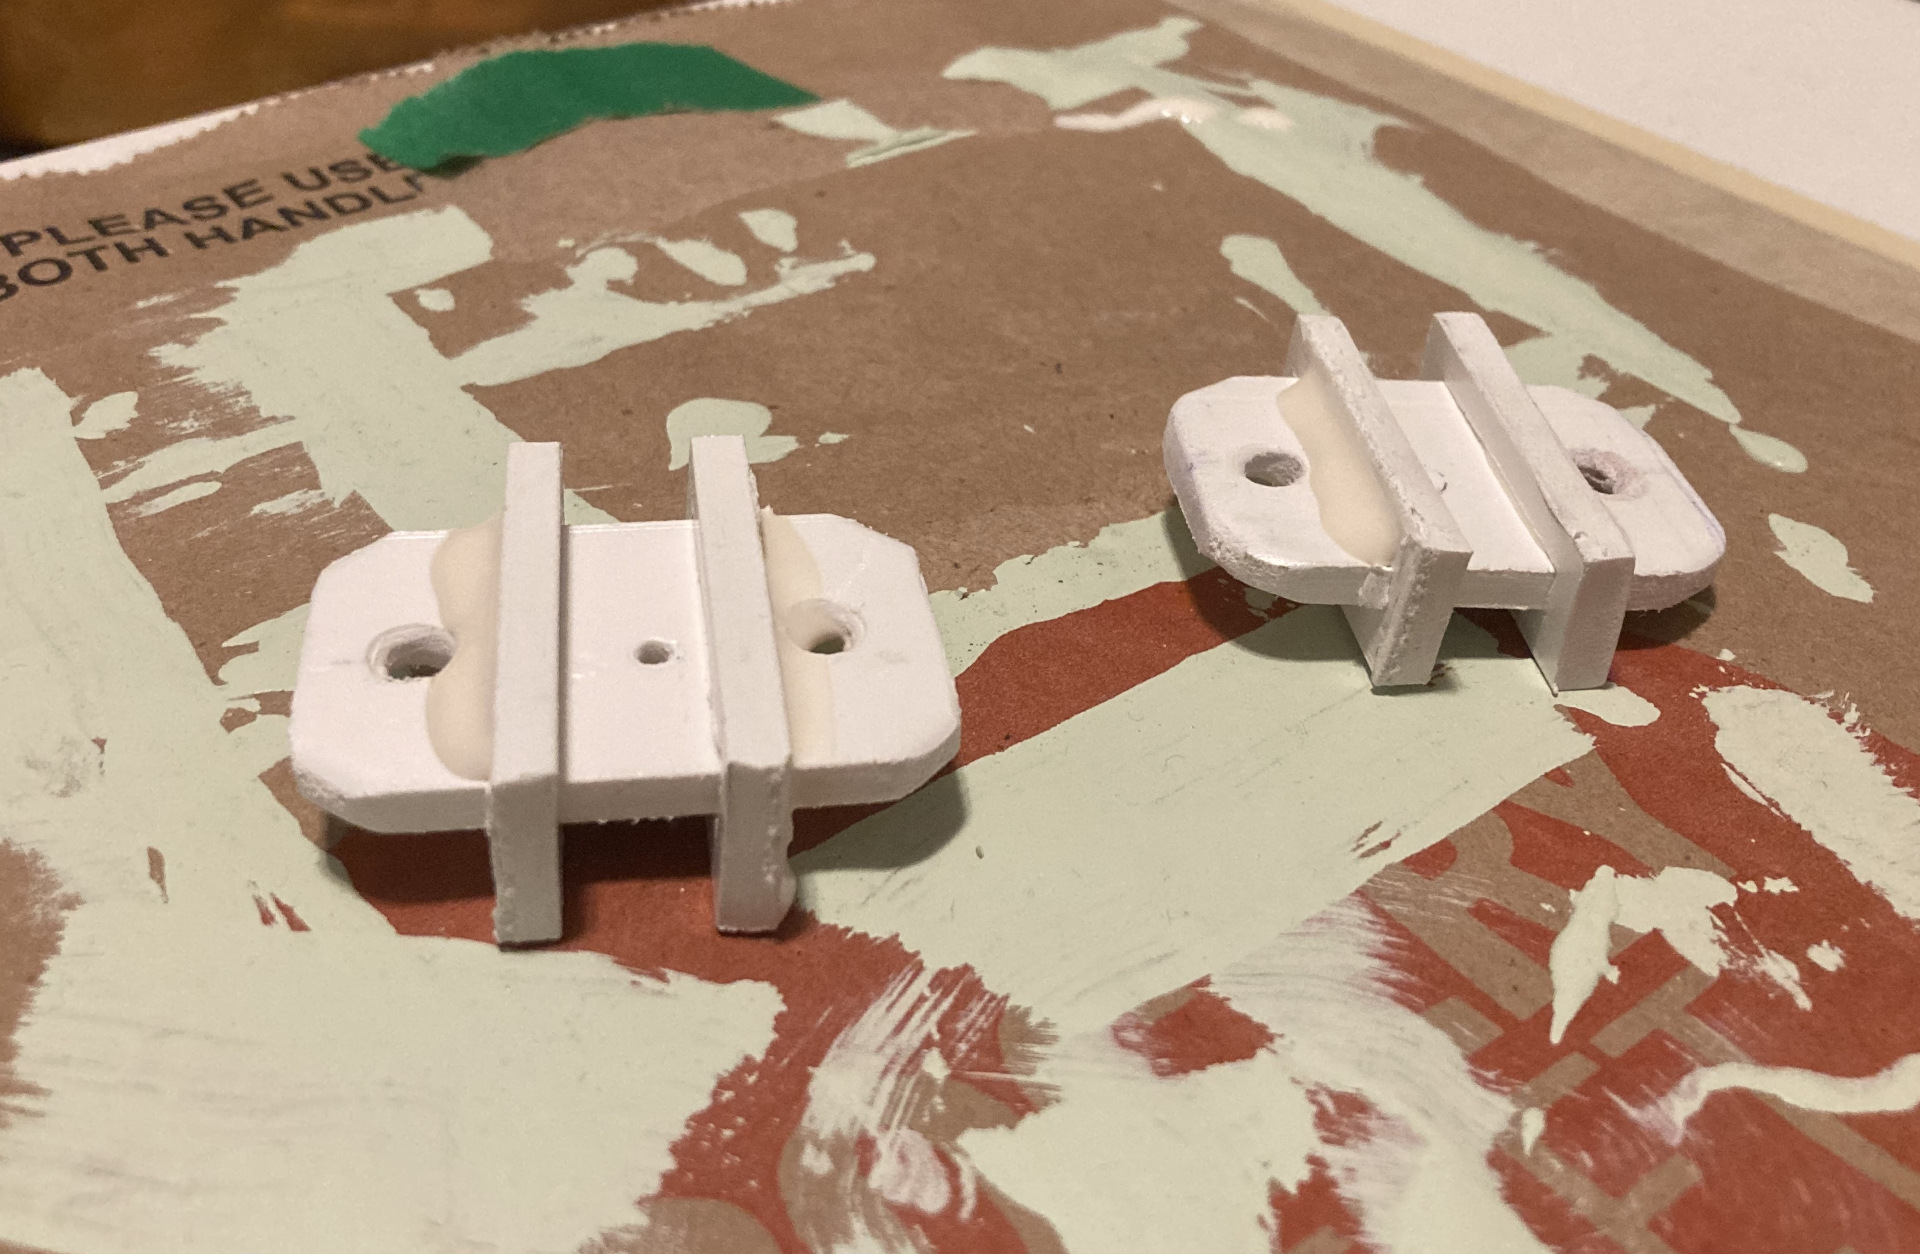
Gluing the pieces so they'll stay put.
Also holes have been drilled and corners rounded.
Yes, I know, they are comically large for the small guy cord I will use.
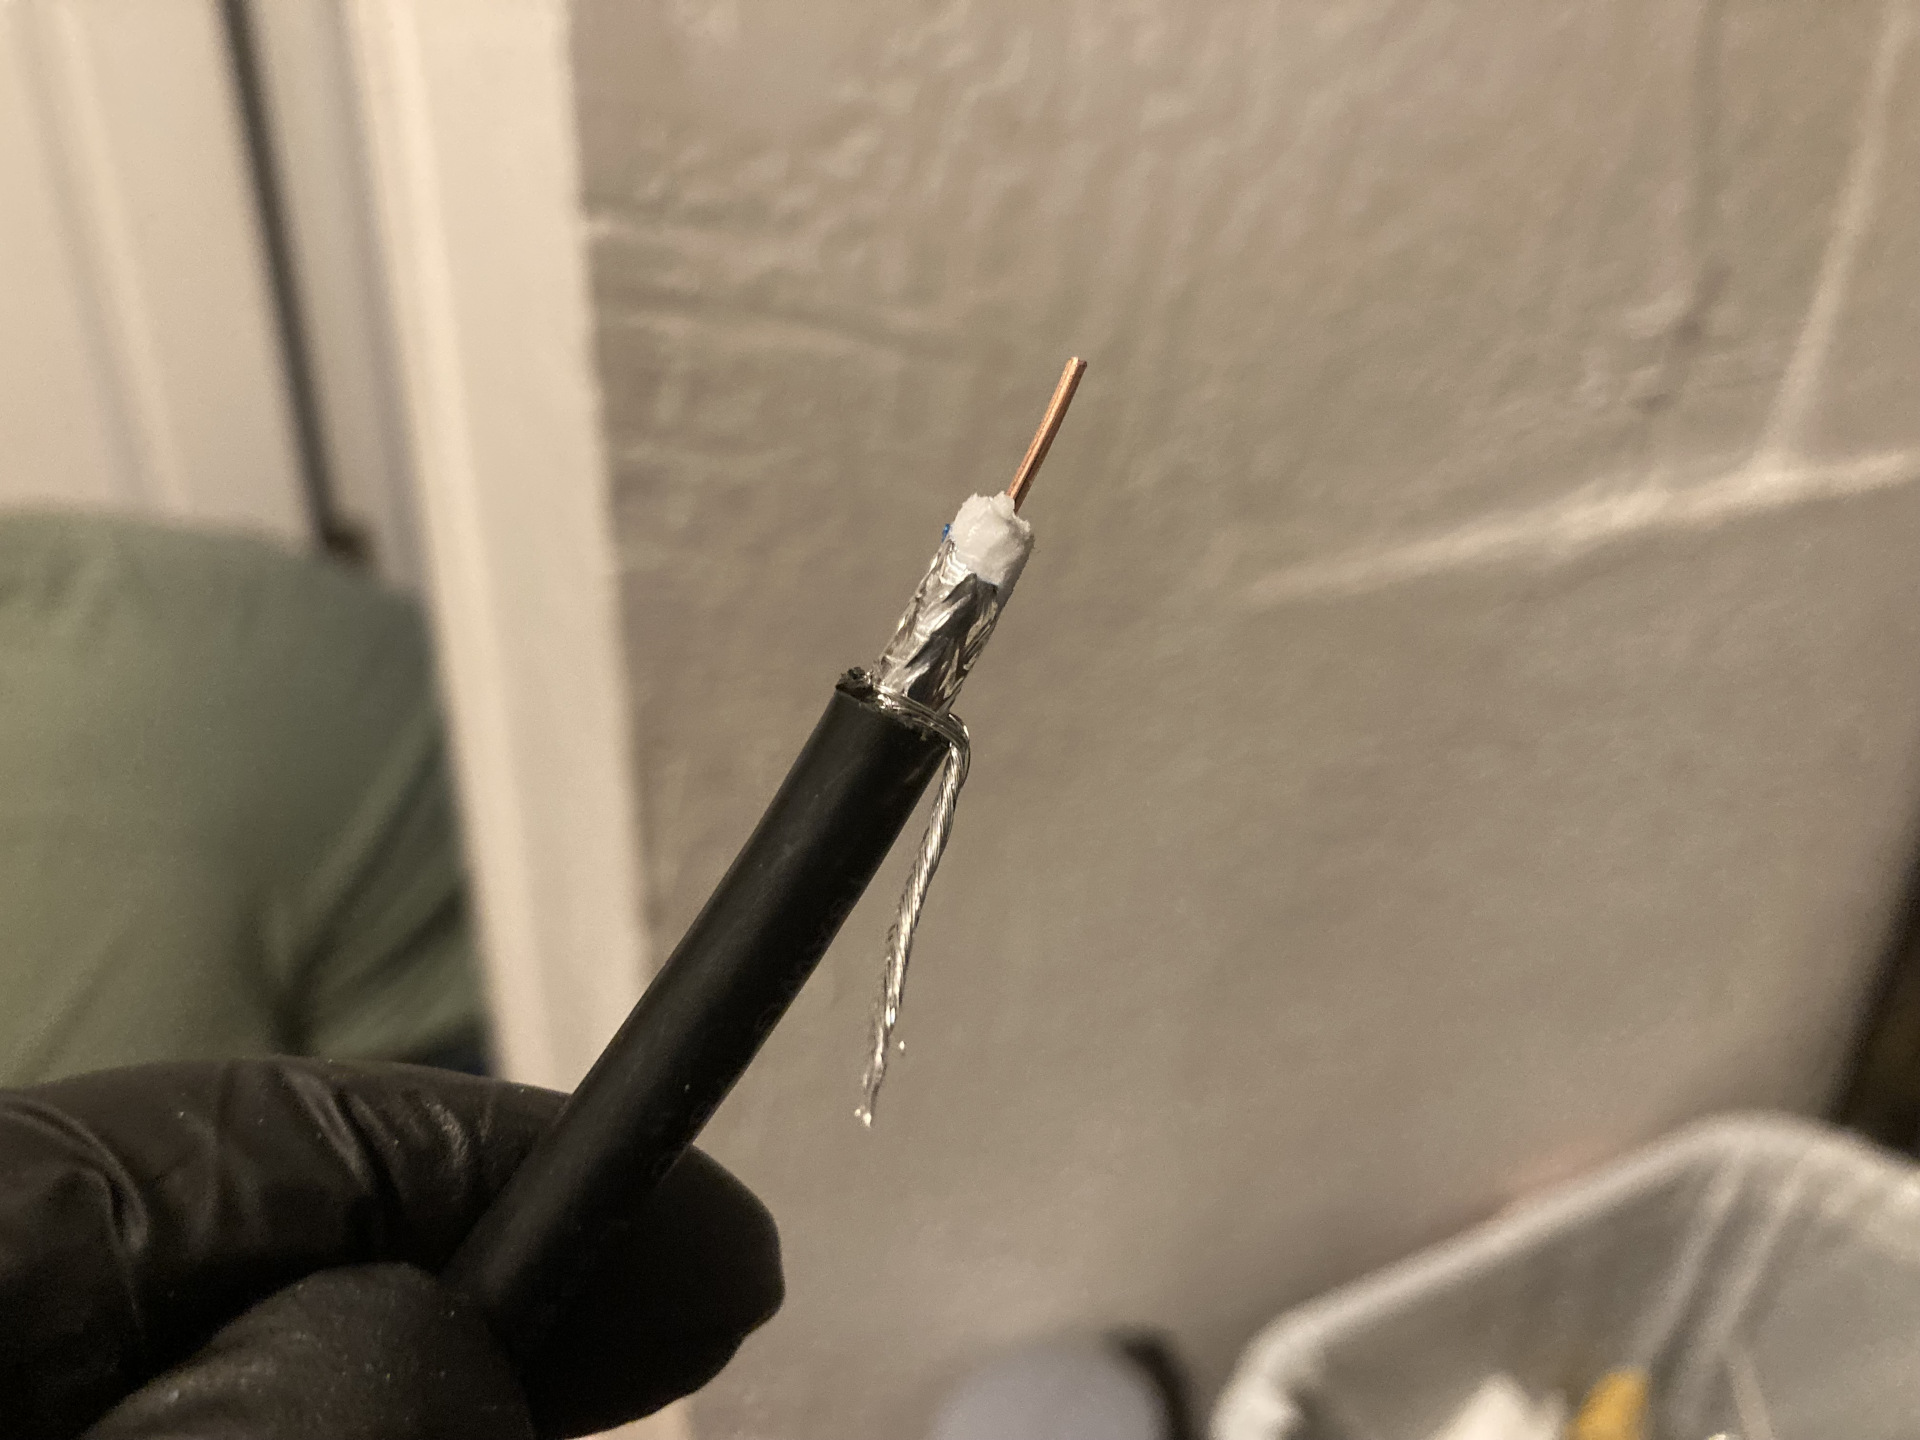
Time to connect the coax!
Coax connection time
I didn't have the luxury of buying amateur-radio-specific coax cable -- I only had some
left-over cable-TV coax laying around, so that would have to do. I know it's 75
ohms instead of 50. C'est la vie!
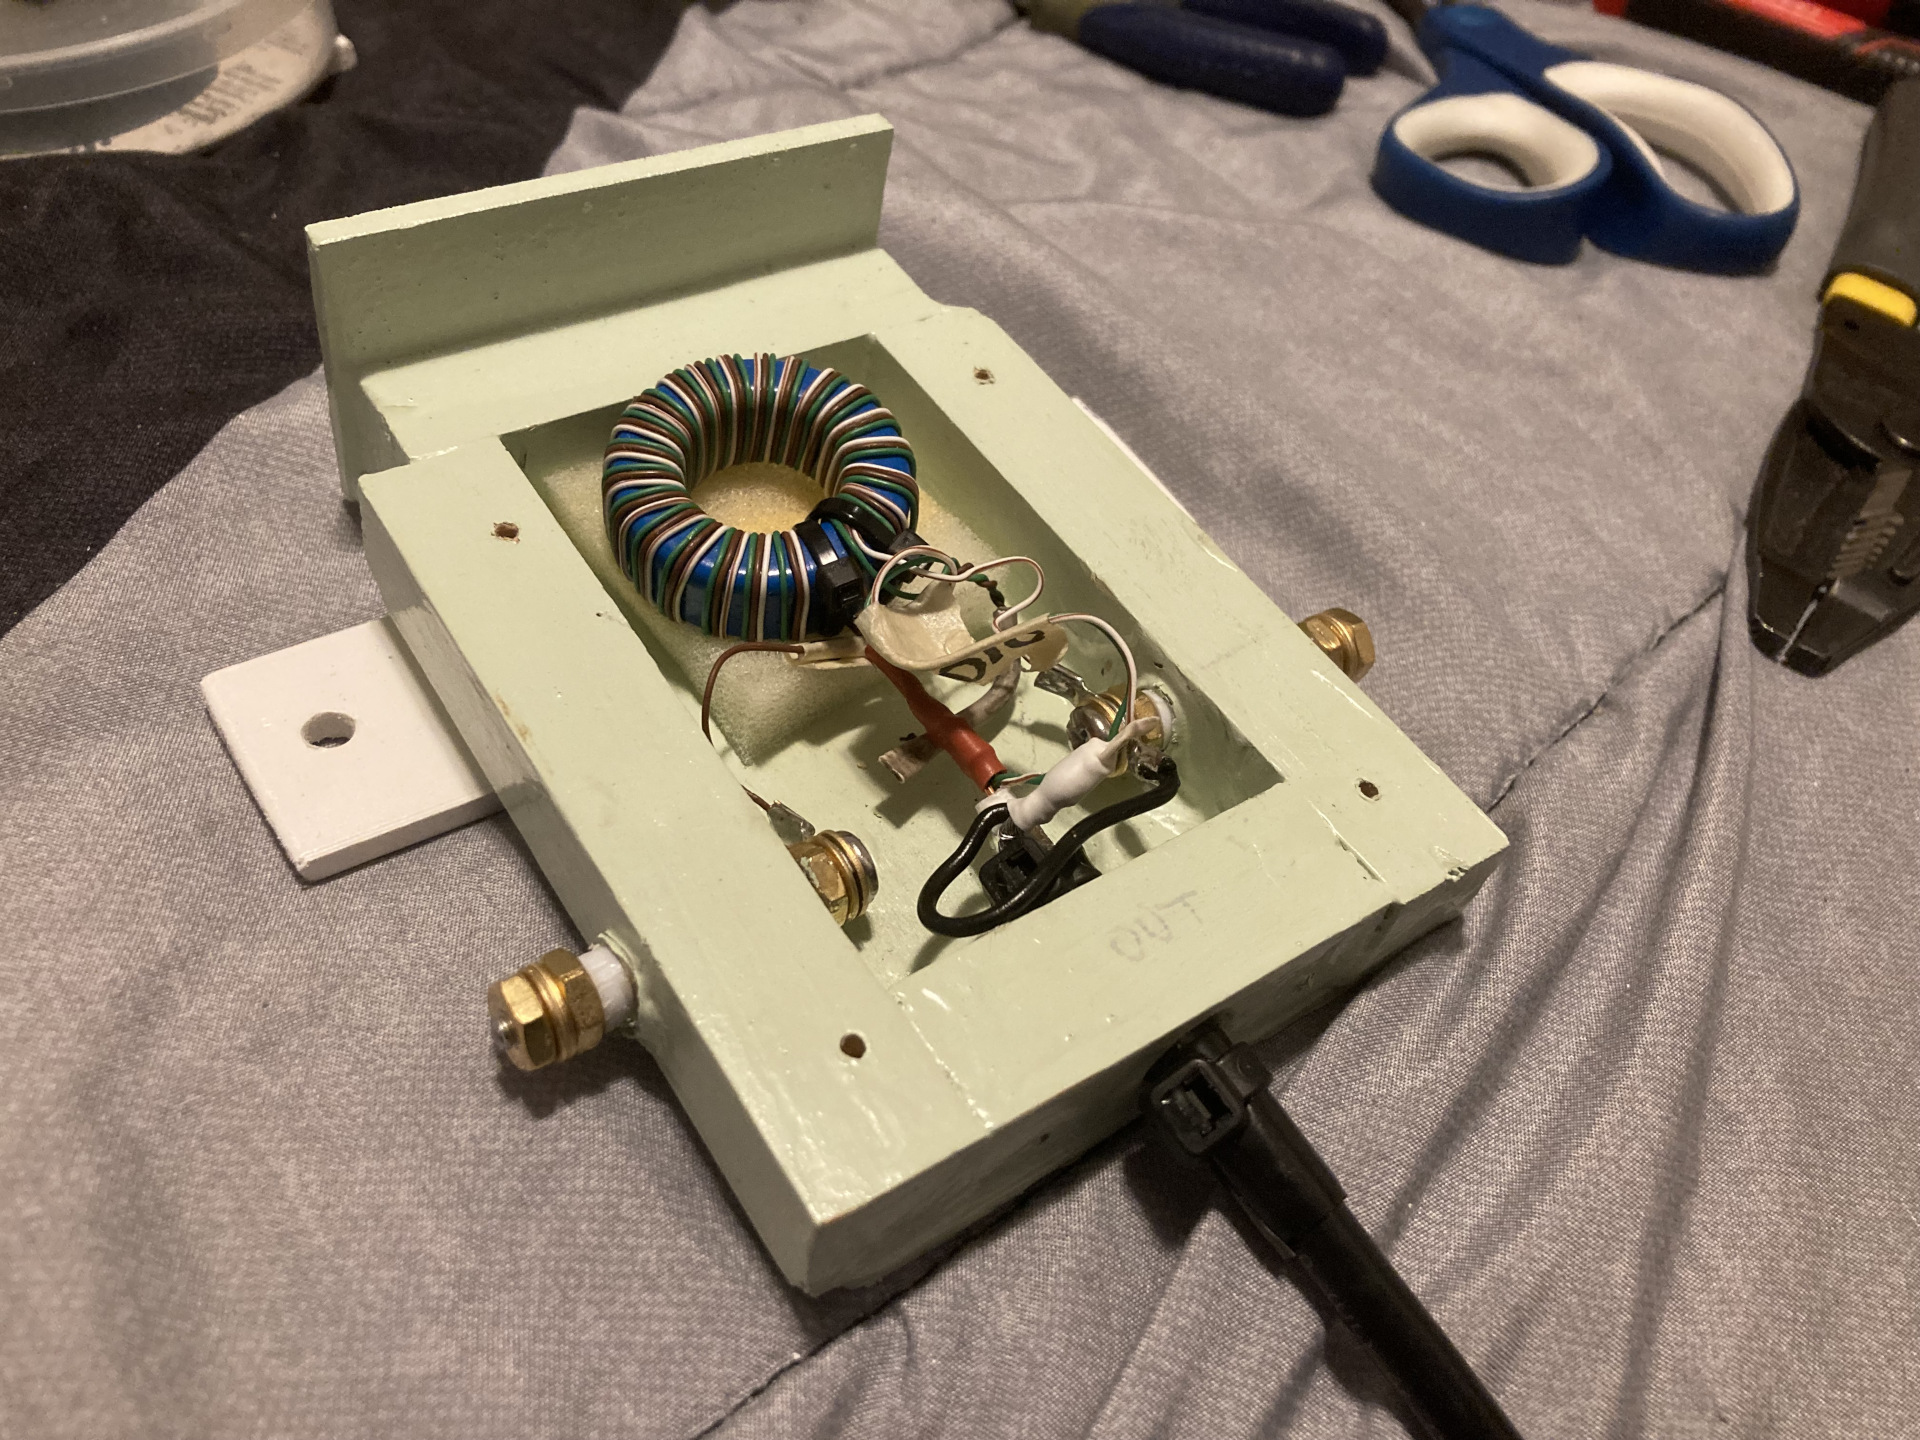
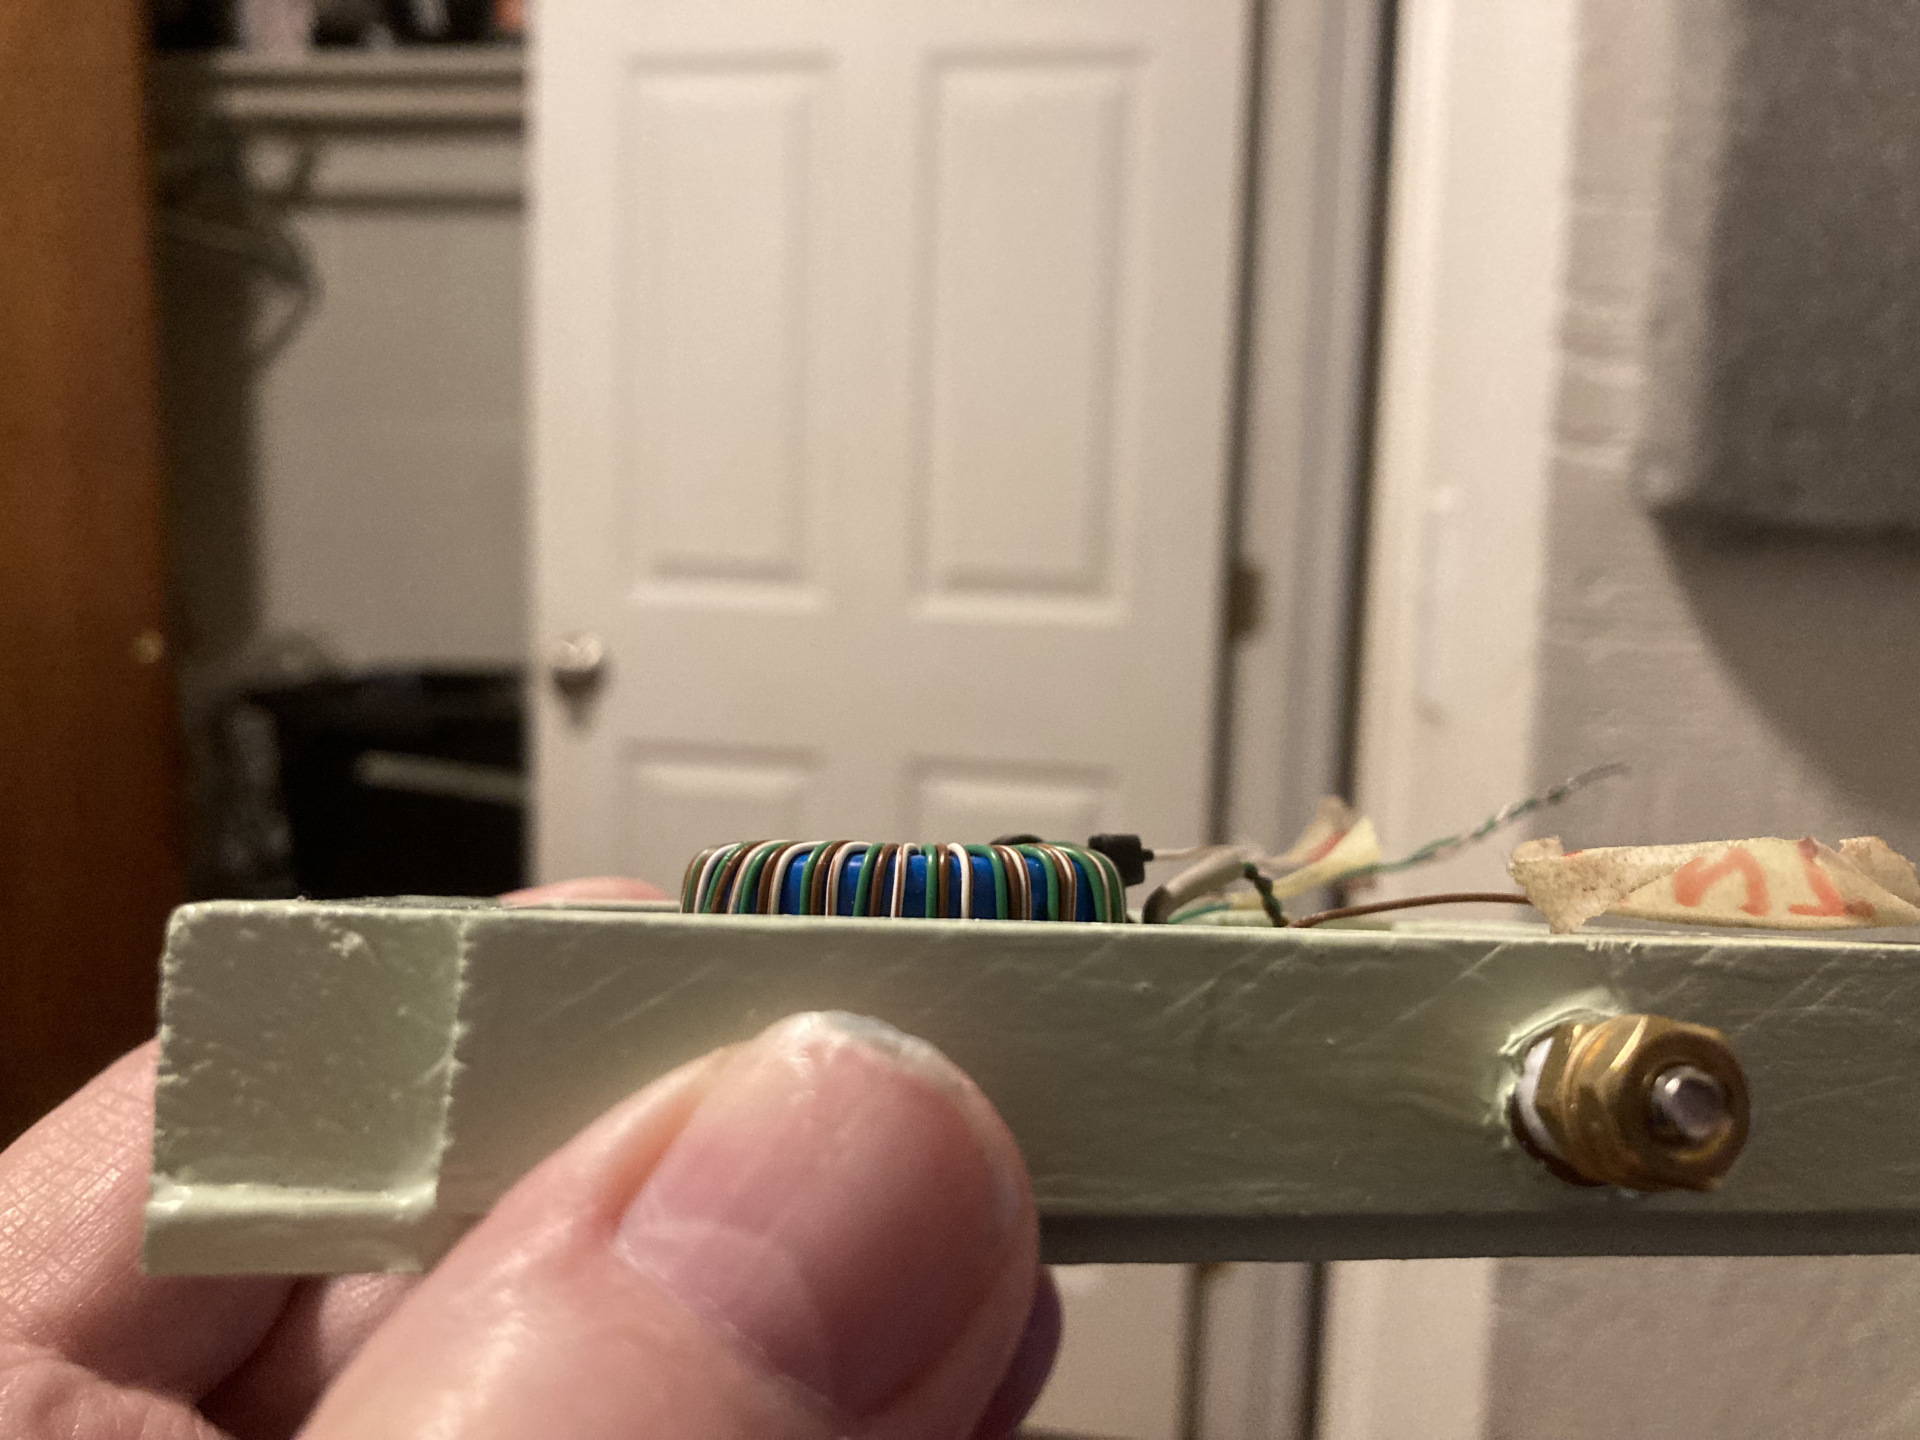
Coax connected and ready to go.
Note that I switched to wider and softer foam to hold the toroid
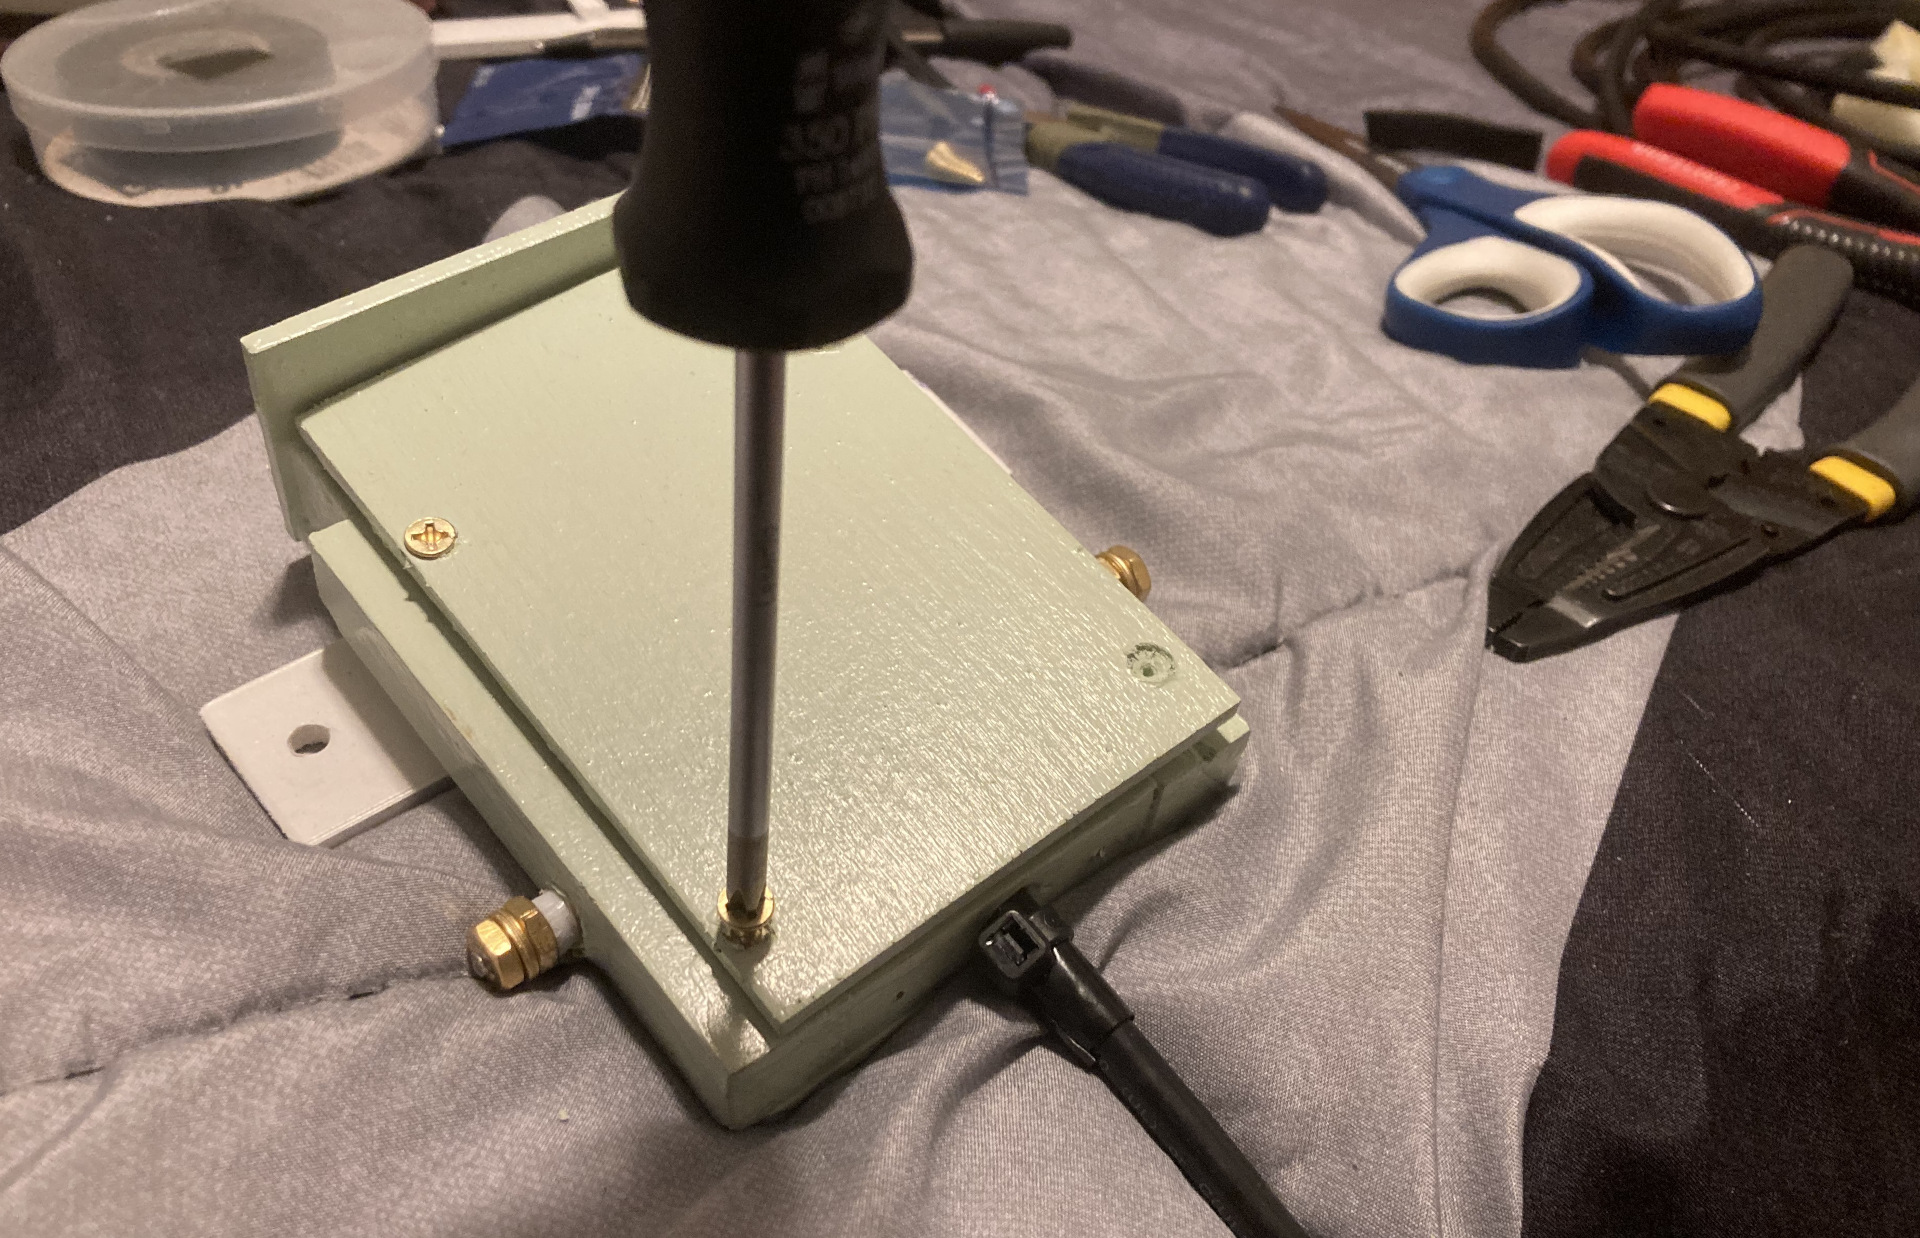
Screwing the front cover on.
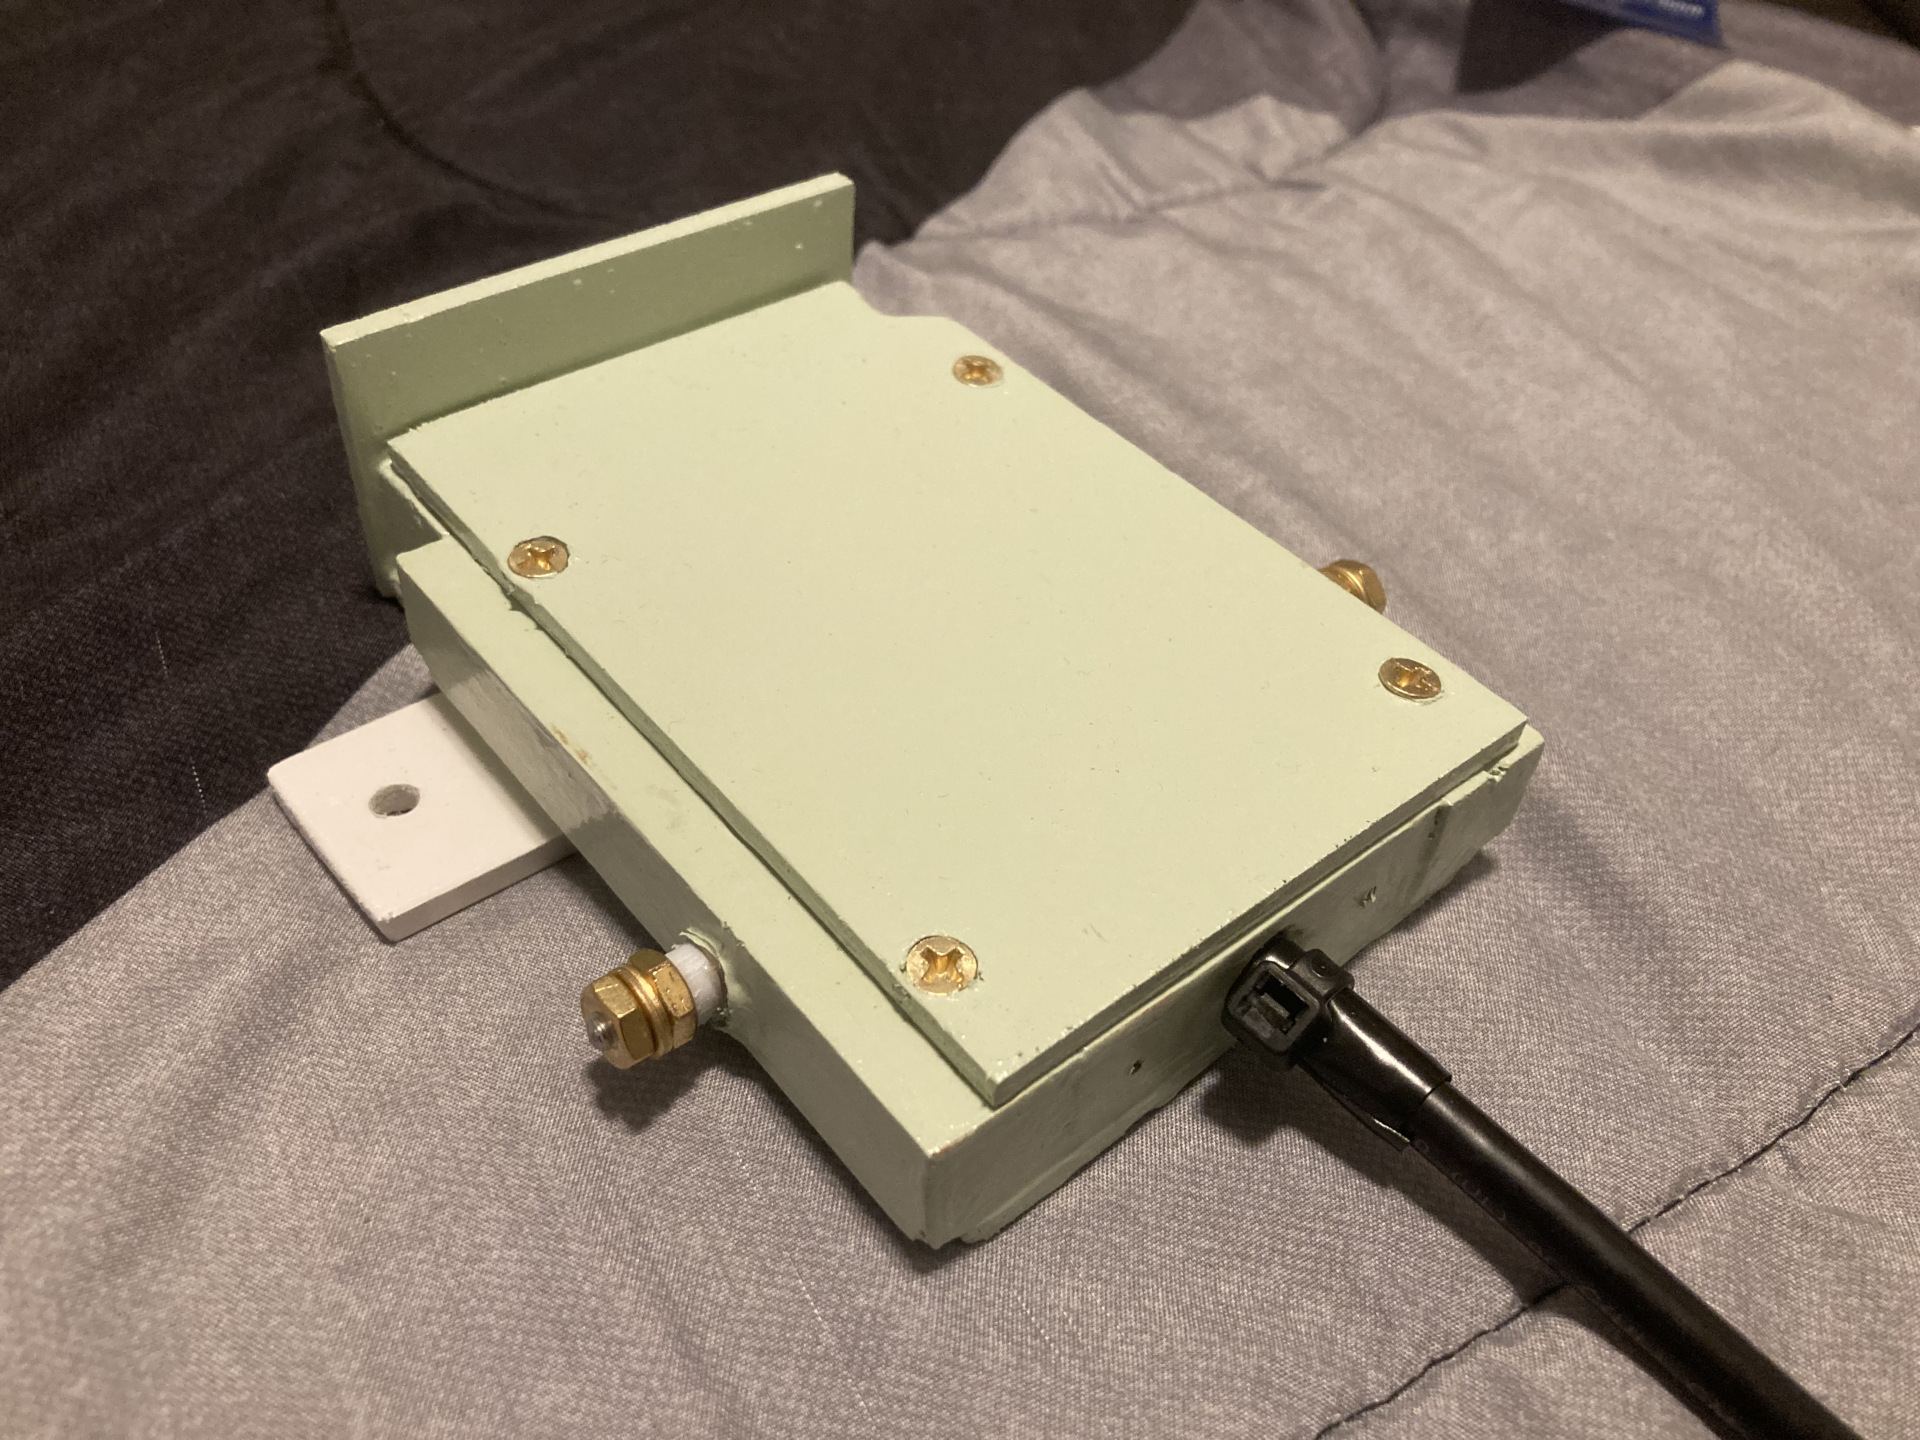
Unun and housing done!
Or so I thought...
All done? Not quite yet...
So I thought I was done with the unun and housing, but after moving the whole thing -
the housing and large coil of coax - around my room a few times, it was evident that
the simple cable-tie on the inside and outside wasn't going to cut it. The coax cable
freely rotated and I was concerned it would damage the connections inside. I ended up
using the snipped ends of some cable-ties and shoving them into the coax hole on either
side of the coax, and this provided enough friction to keep the coax from rotating or
otherwise moving in the hole.
Trying a different way...
...by shoving tie-strap ends on each side of the coax
Hat tip to Paul, OM0ET, for recommending small breather holes at the bottom.

Making some smaller insulators for the antenna wire.
Another thing that I had rolled around in my mind, maybe a little too much, was the way the speaker wire antenna would be joined to the guy cord. After much deliberation I decided on threading each end of the wire antenna into a narrow insulator, covering those with some Gorilla tape to protect from UV and then tying the guy cord to the other end.
Threading the antenna wire through the insulator.
Threading the antenna wire through the insulator - side view.
Completed end insulator.
The zero with a slash indicates which end is the origin.
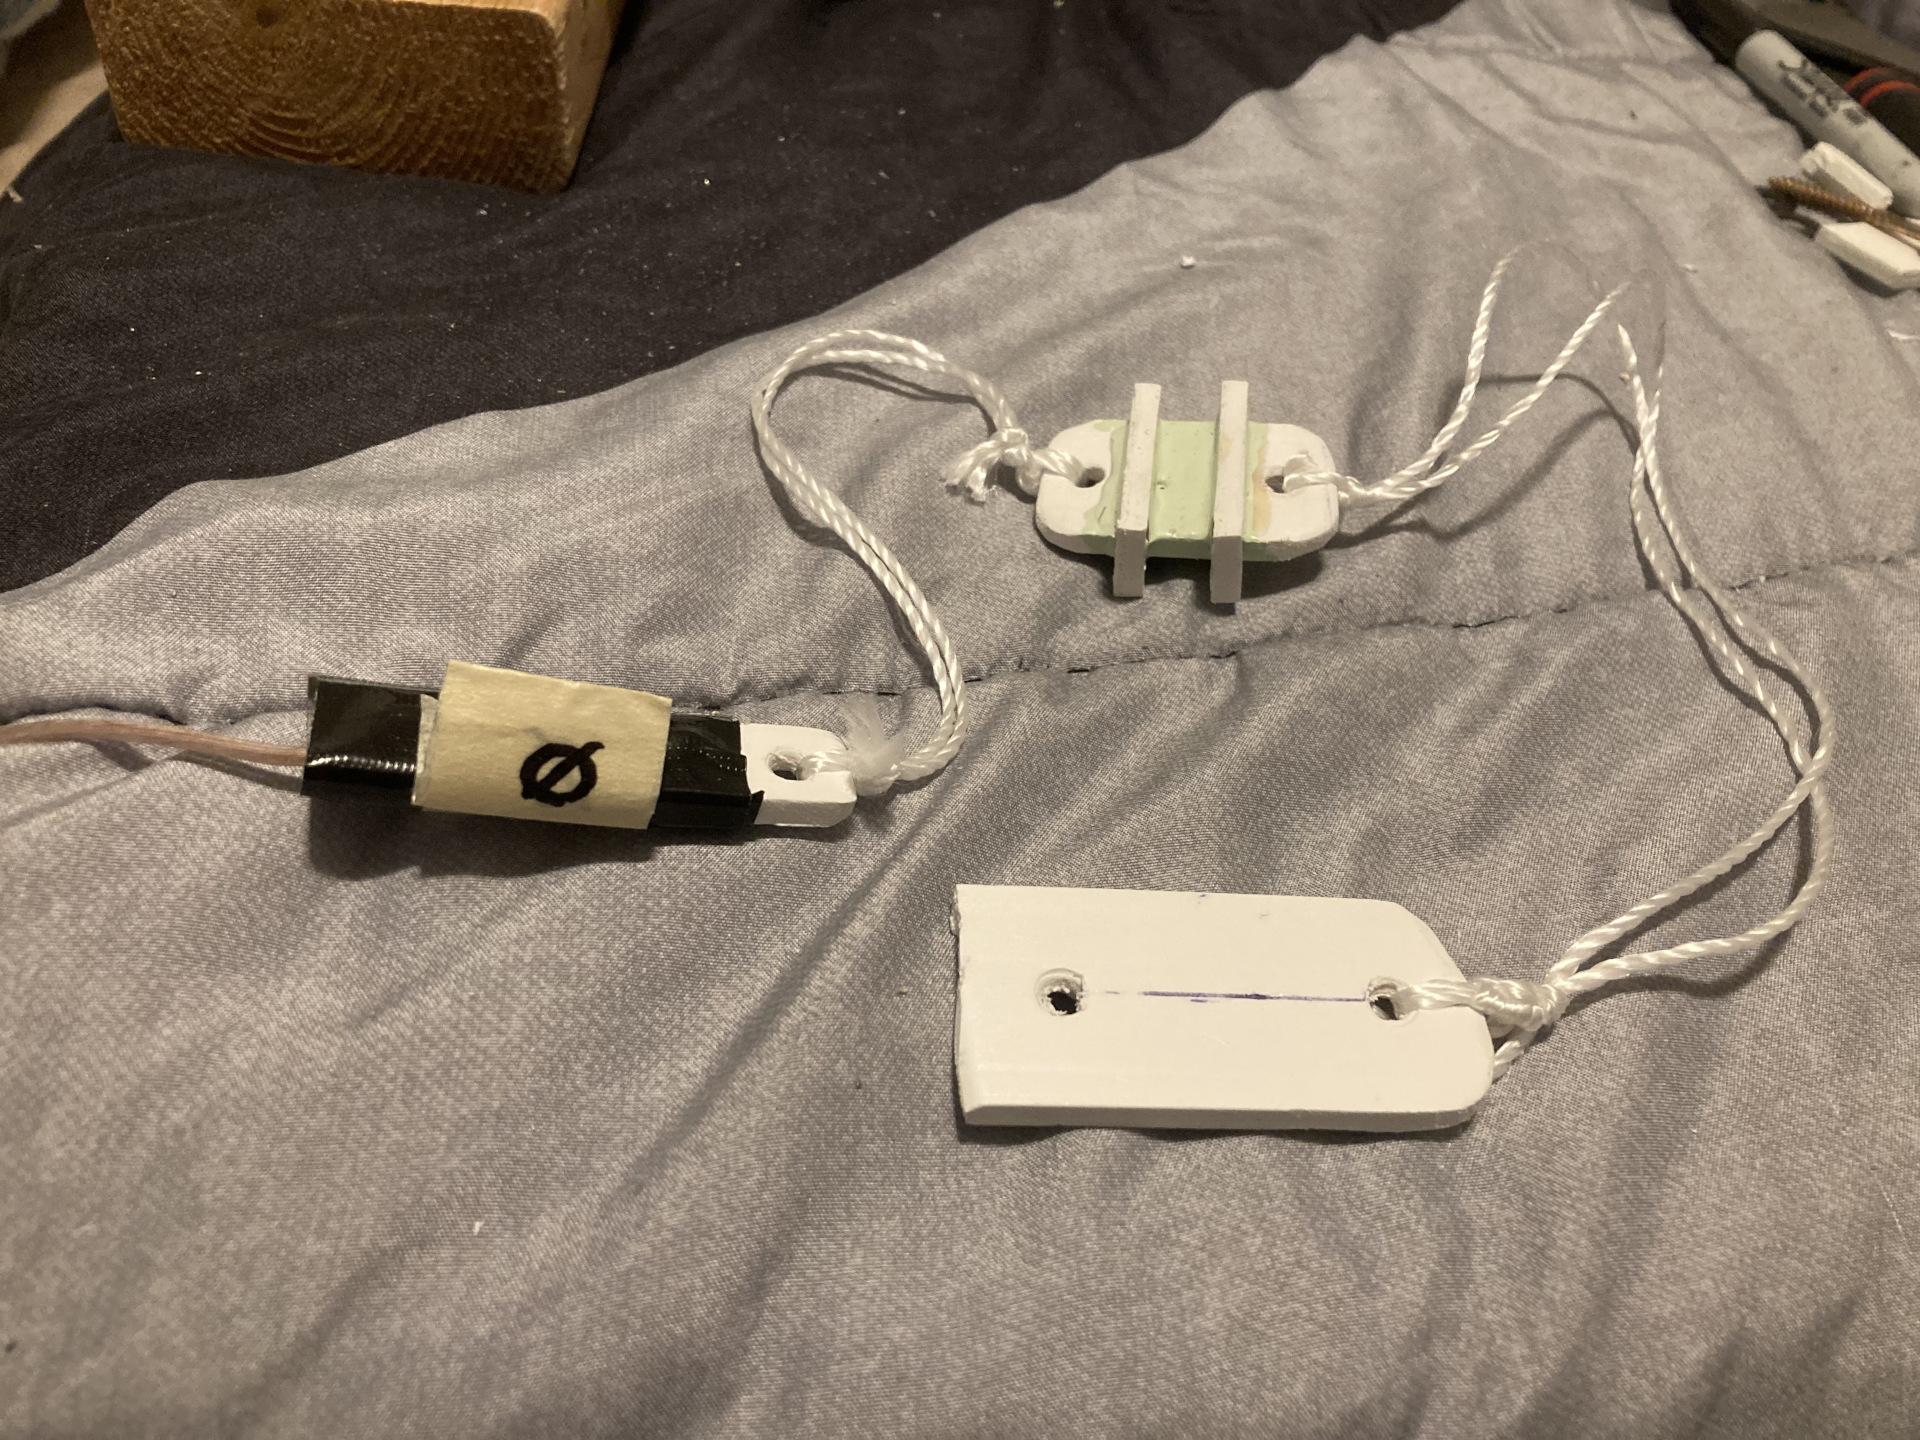
The complete wire end mounting solution.
Wire, insulator, guy cords, big insulator and mounting piece
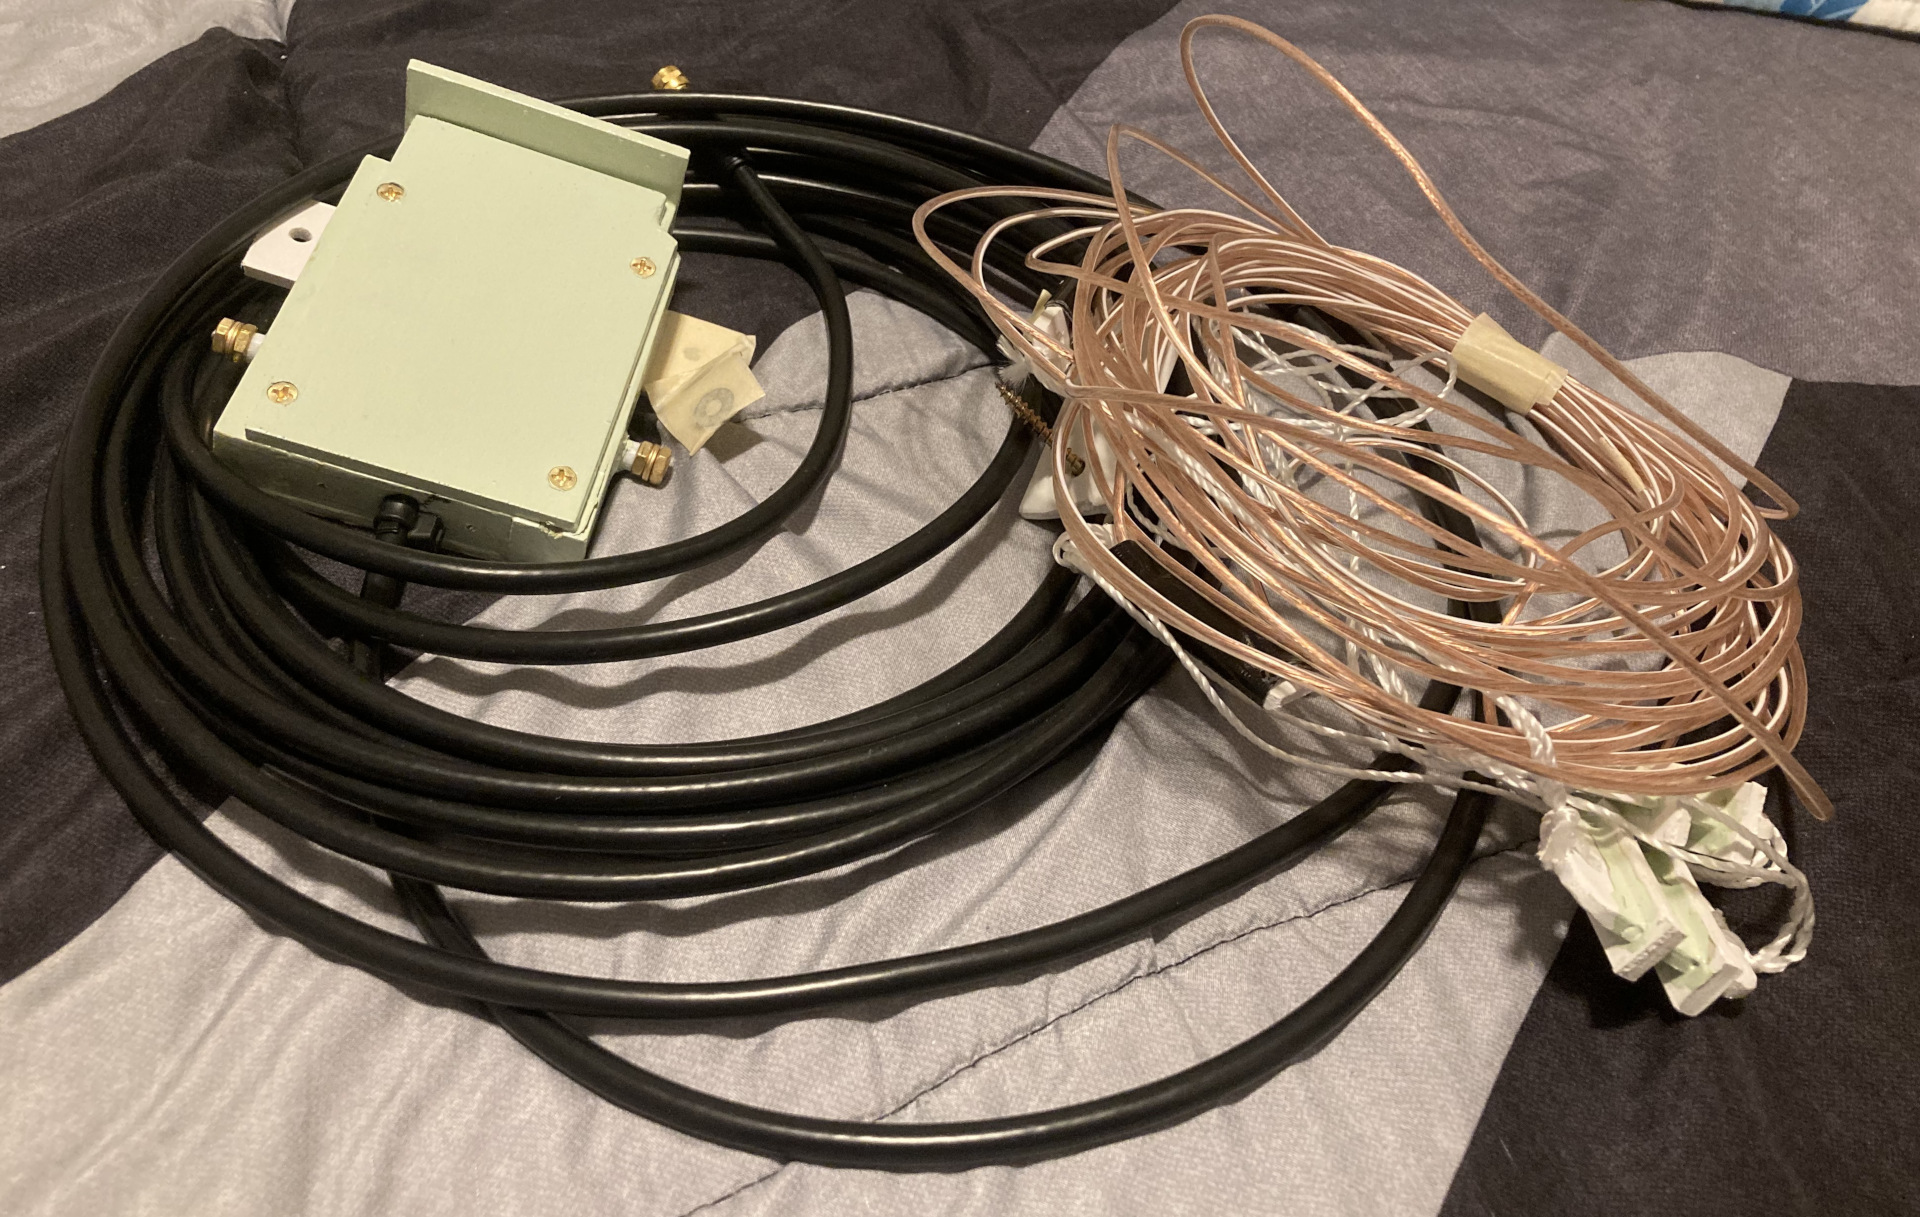
The whole completed mess of wire, coax, insulators and housing.
Several eternities later...
A few months passed before I could move on to the next phase of the project, which was
to mount the unun and housing and hang my antenna outside. As usual, many a night I
laid in bed, and between prayers for loved ones, neighbors, customers and others I also
tried to figure out how I was going to mount this thing up to our house. We
have a very basic ladder, but because of my health issues, I often get dizzy and sometimes
fall down -- falling from a ladder would be unpleasant and dangerous.
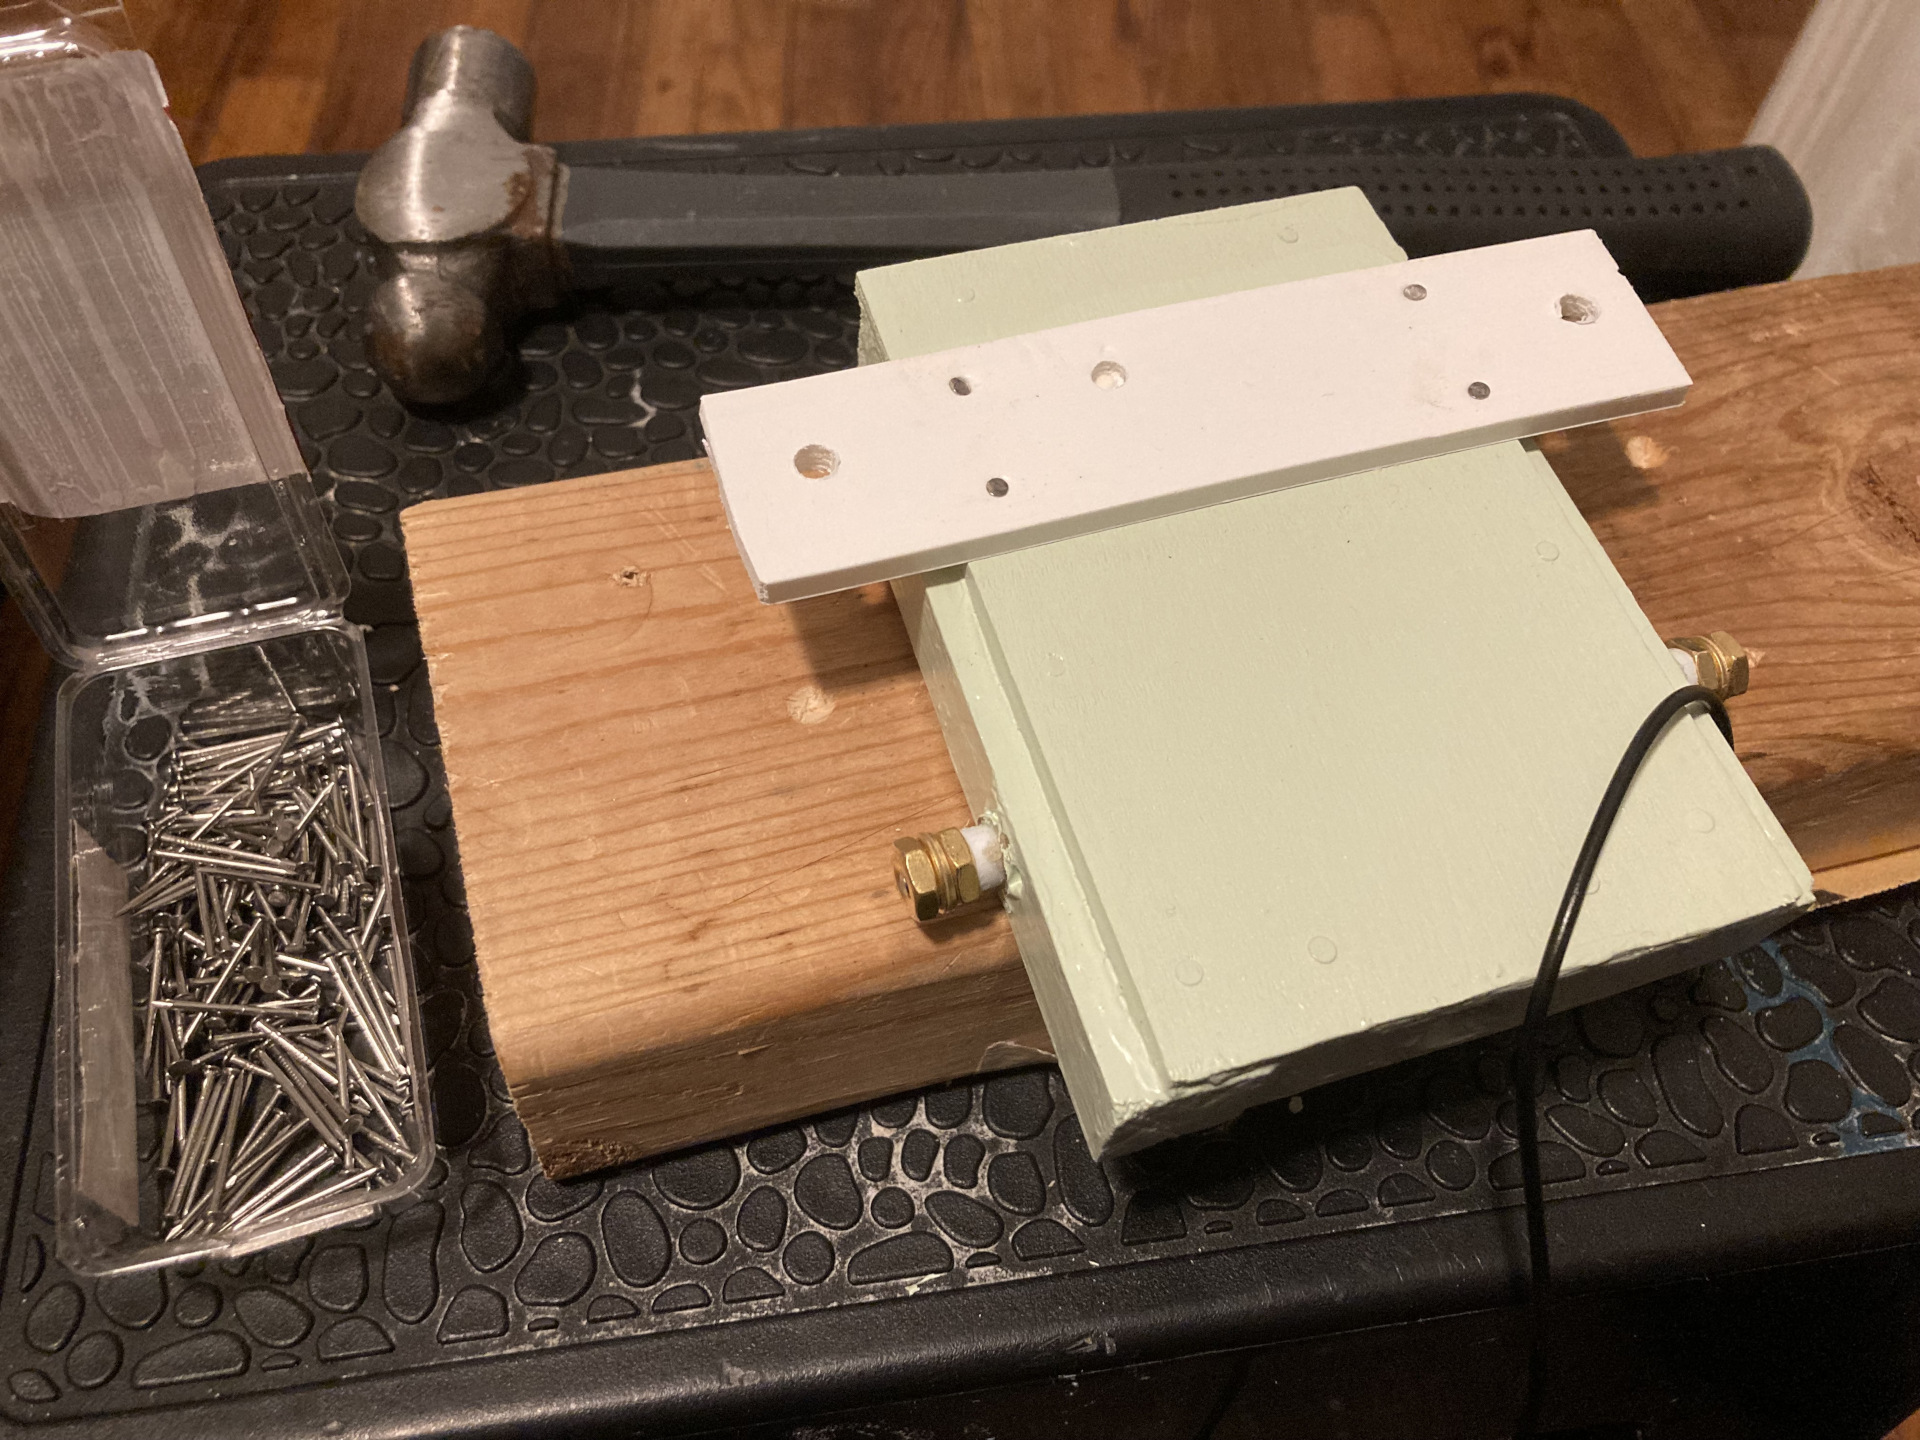
I settled on mounting the unun housing with one end of the antenna to a wood plank
about 6 foot long. I would then get up on a small step-stool and raise the housing end
of the plank as high as I could safely reach then screw the plank onto the side of the
house with a few long screws. The other end of the antenna would be on a 5 foot long
piece of wood that would screw into to our fence. It was the safest and least-frustrating
way I could think of. God is certainly good and gives us solutions to problems!!
![]()
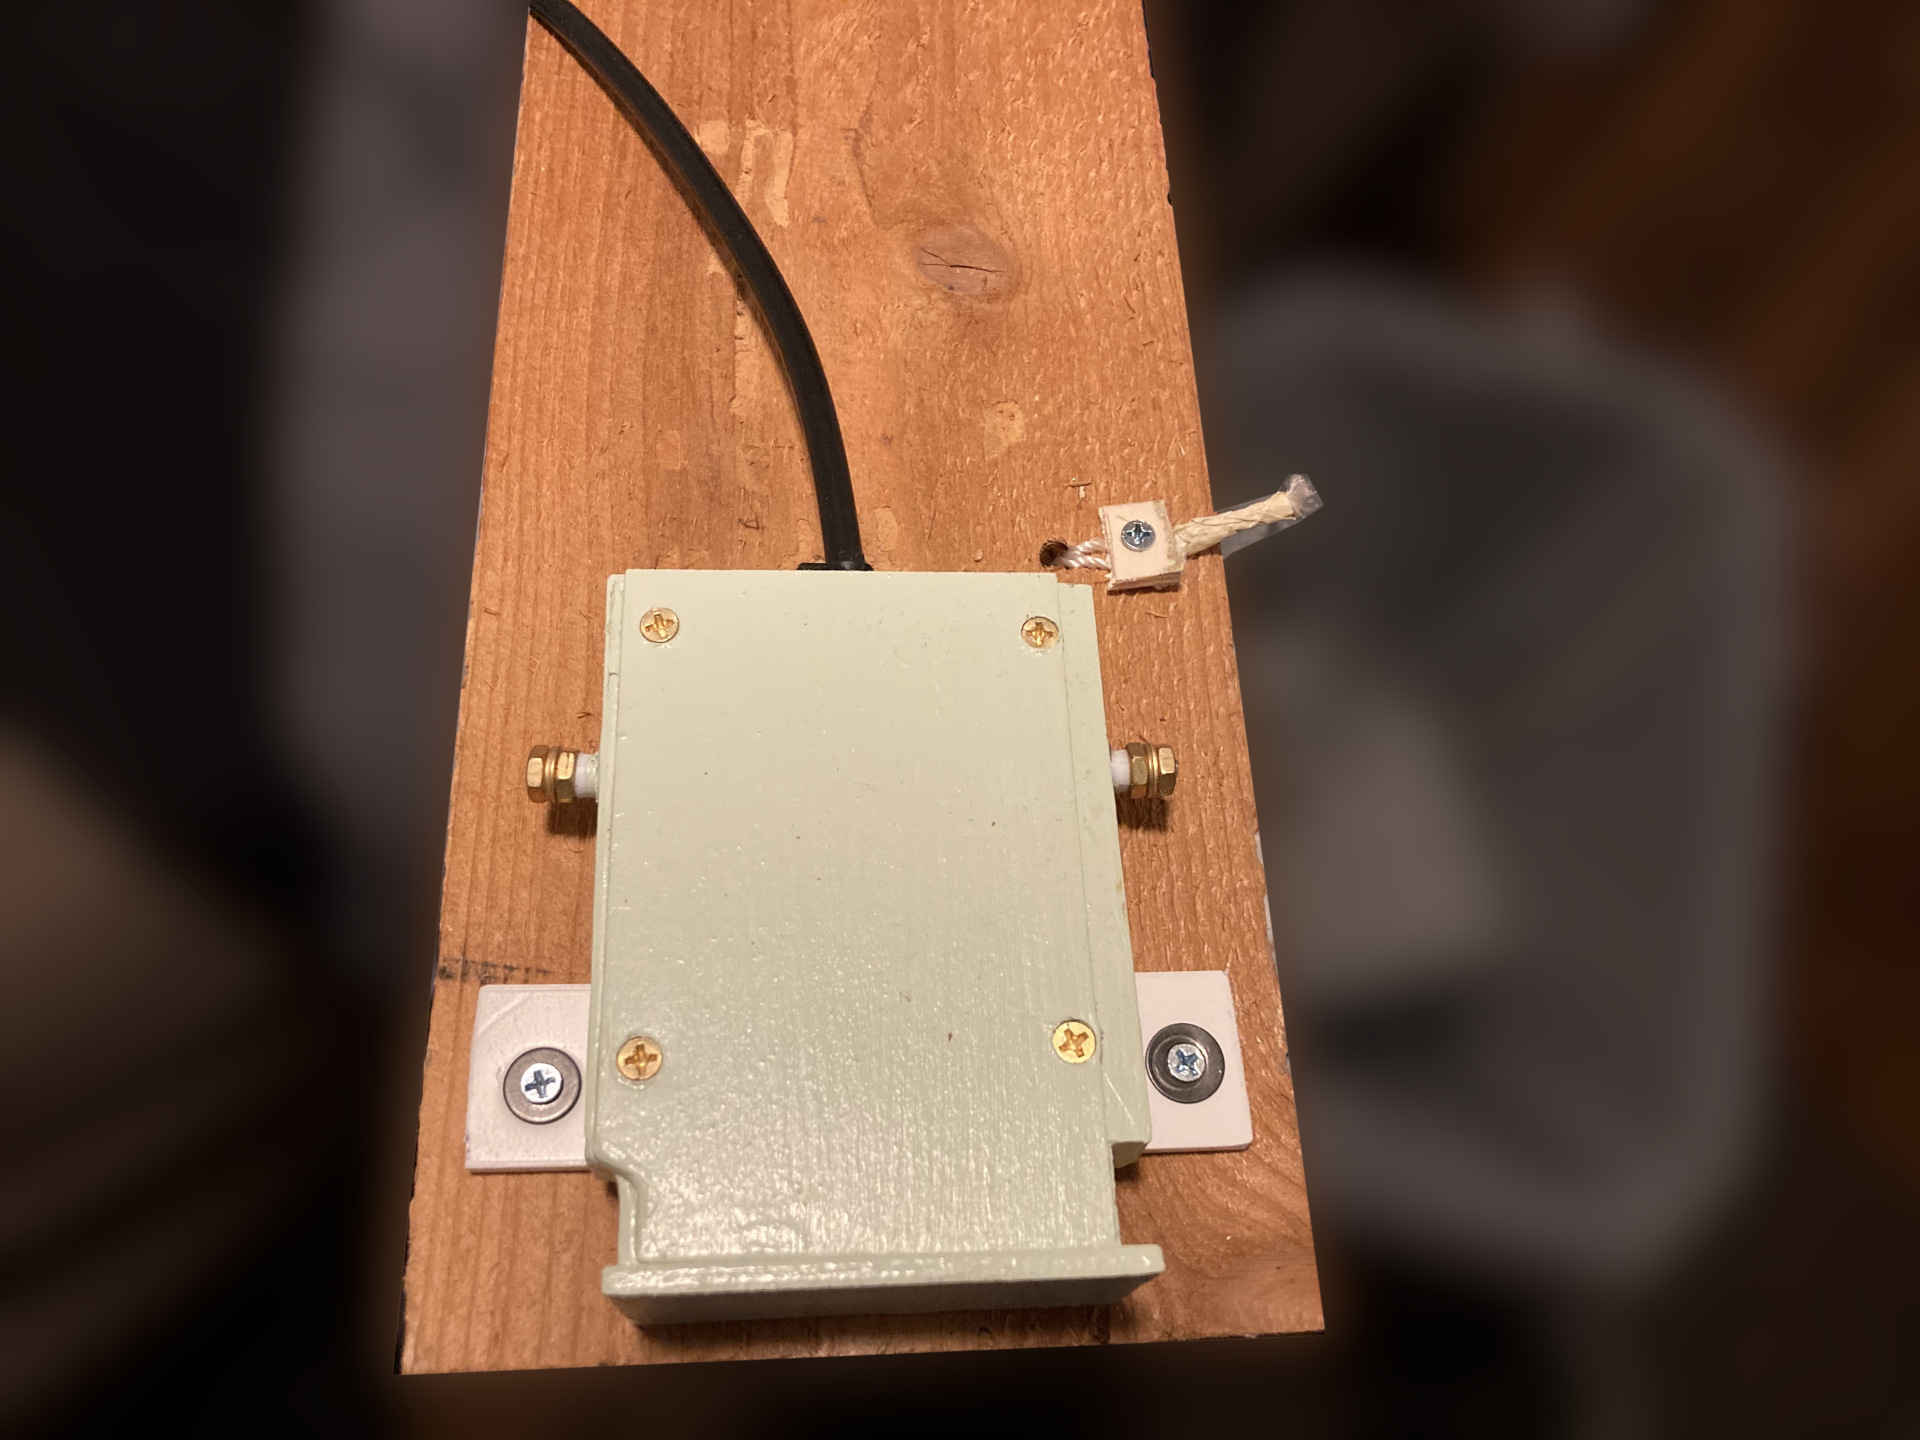
The housing mounted to the end of the plank.
The antenna is also anchored to the plank.
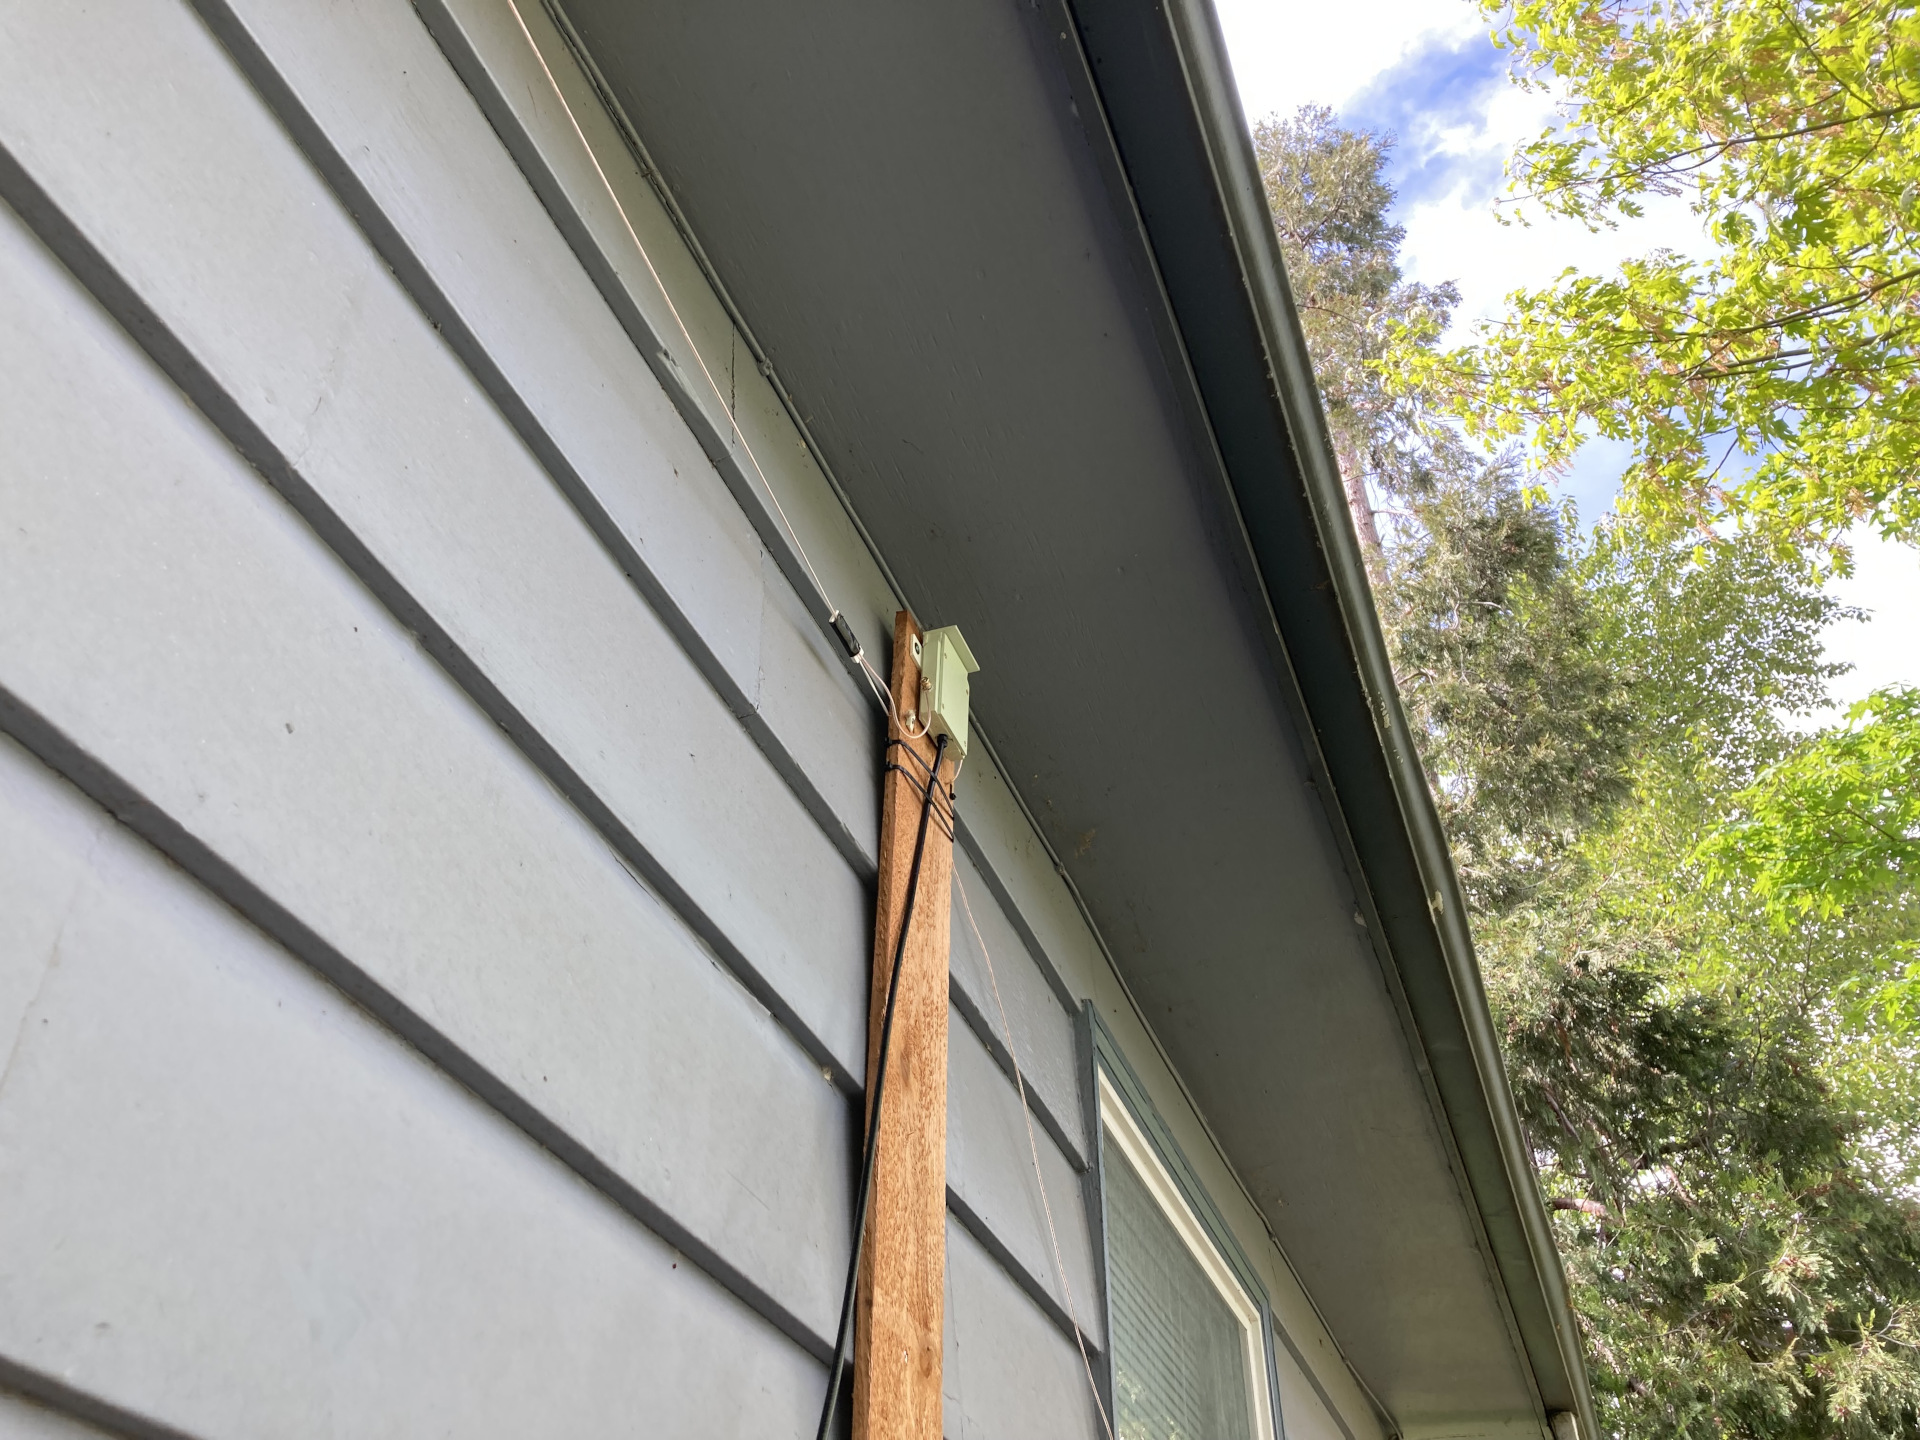
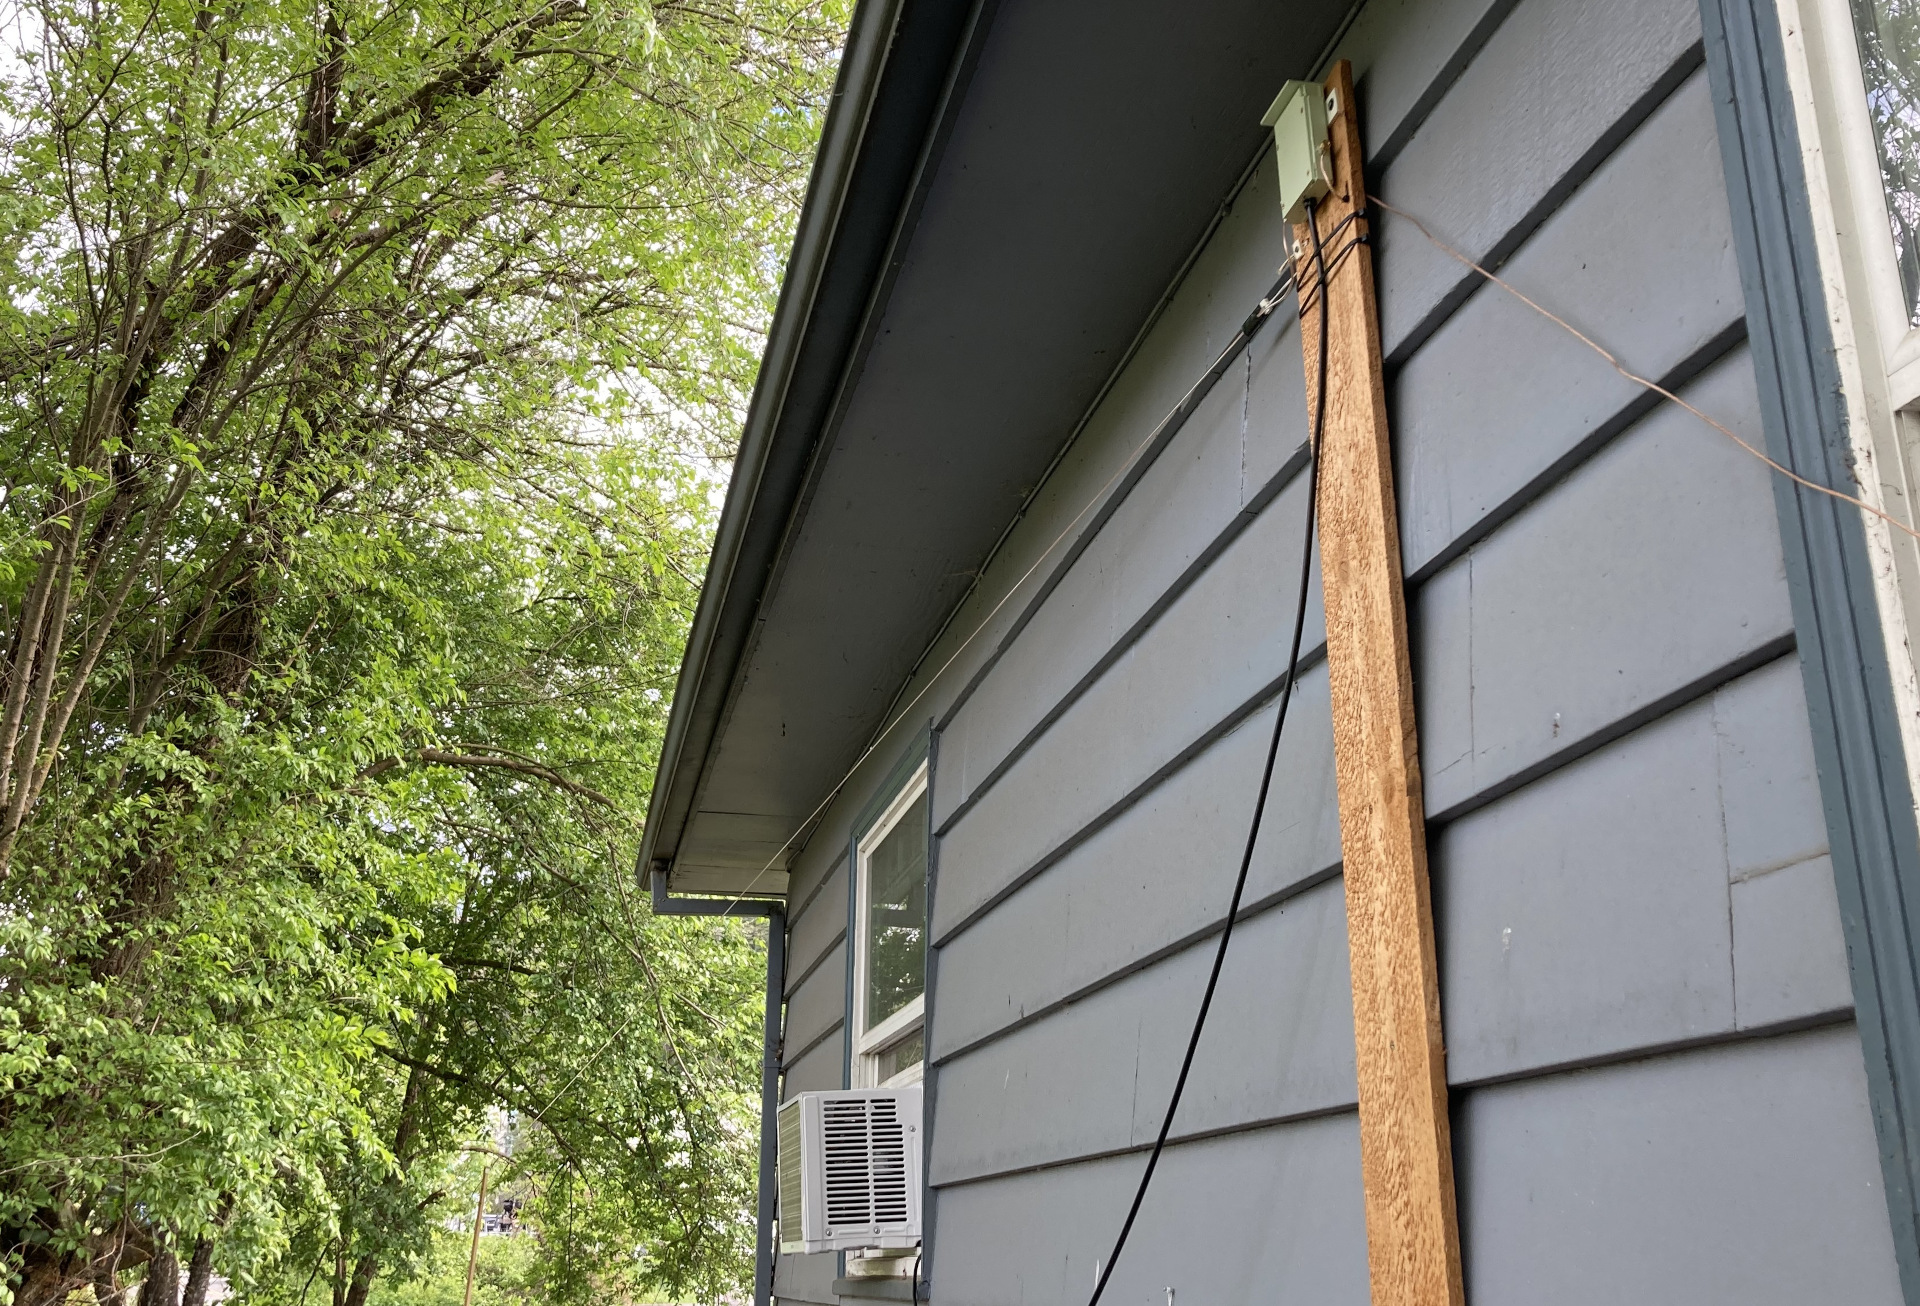
The house and housing end of the antenna.
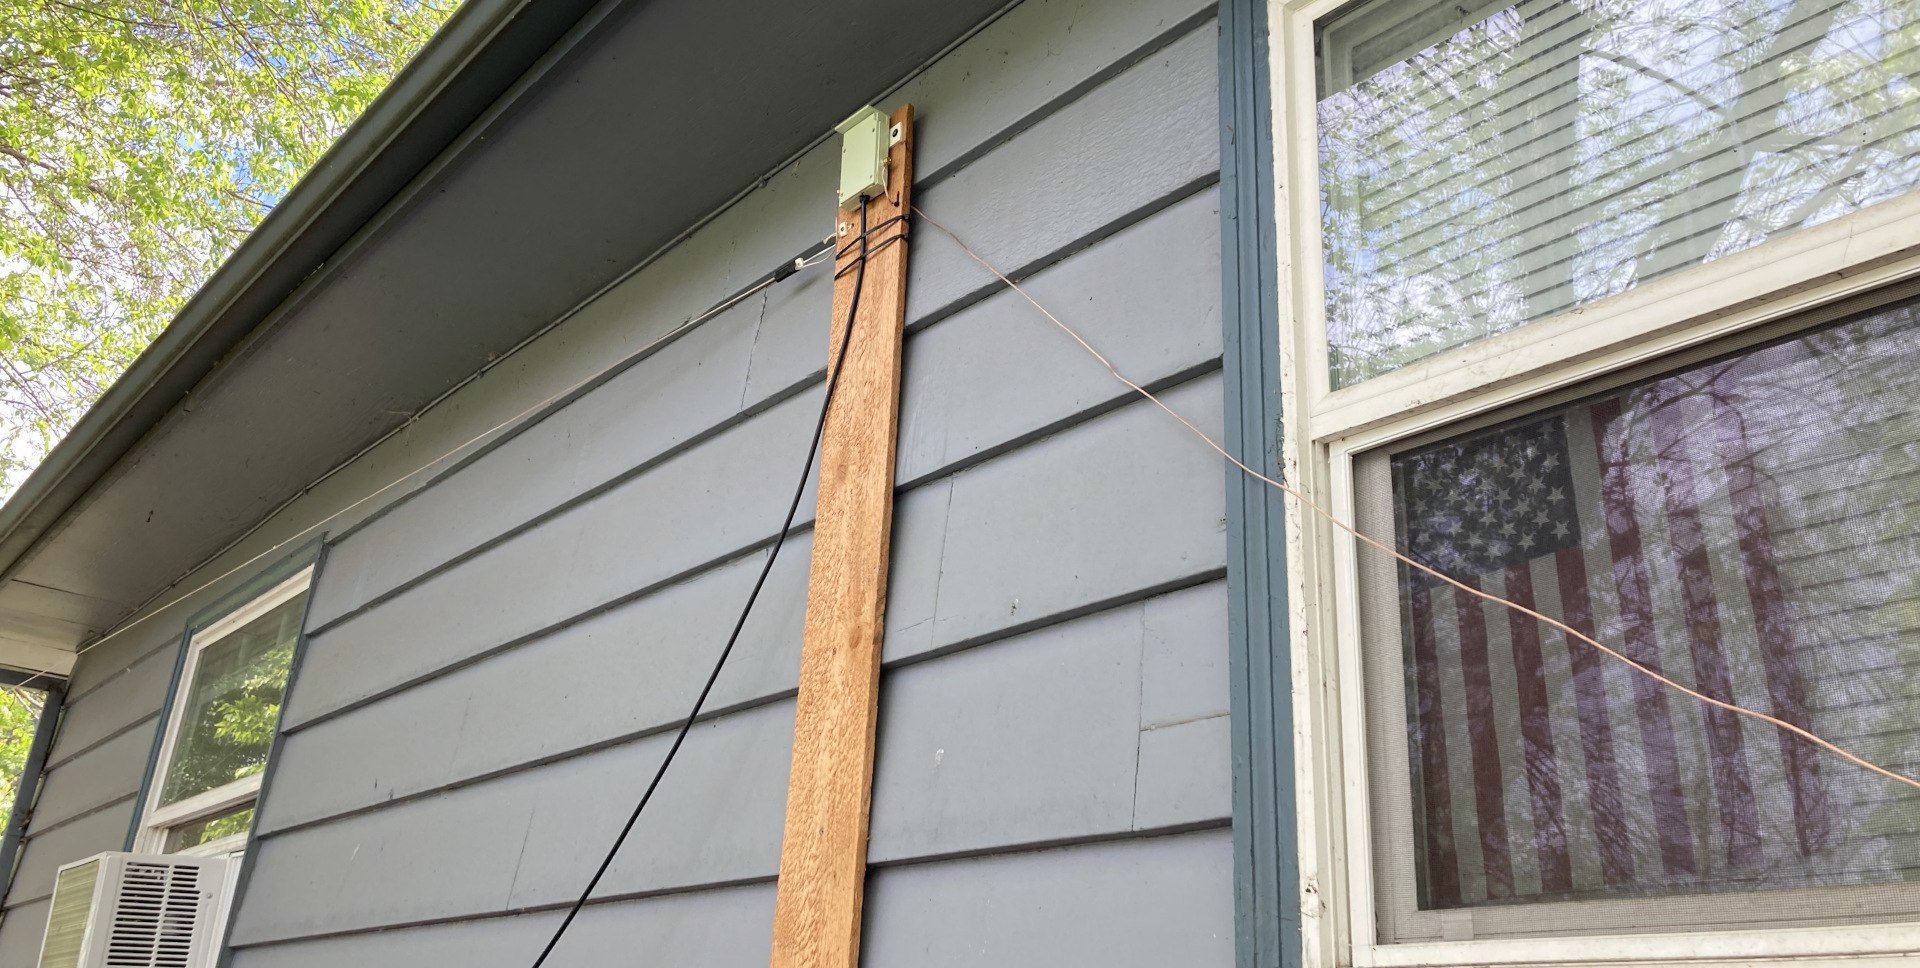
House and housing end of the antenna - other view.
The counterpoise can be seen running off to the right.
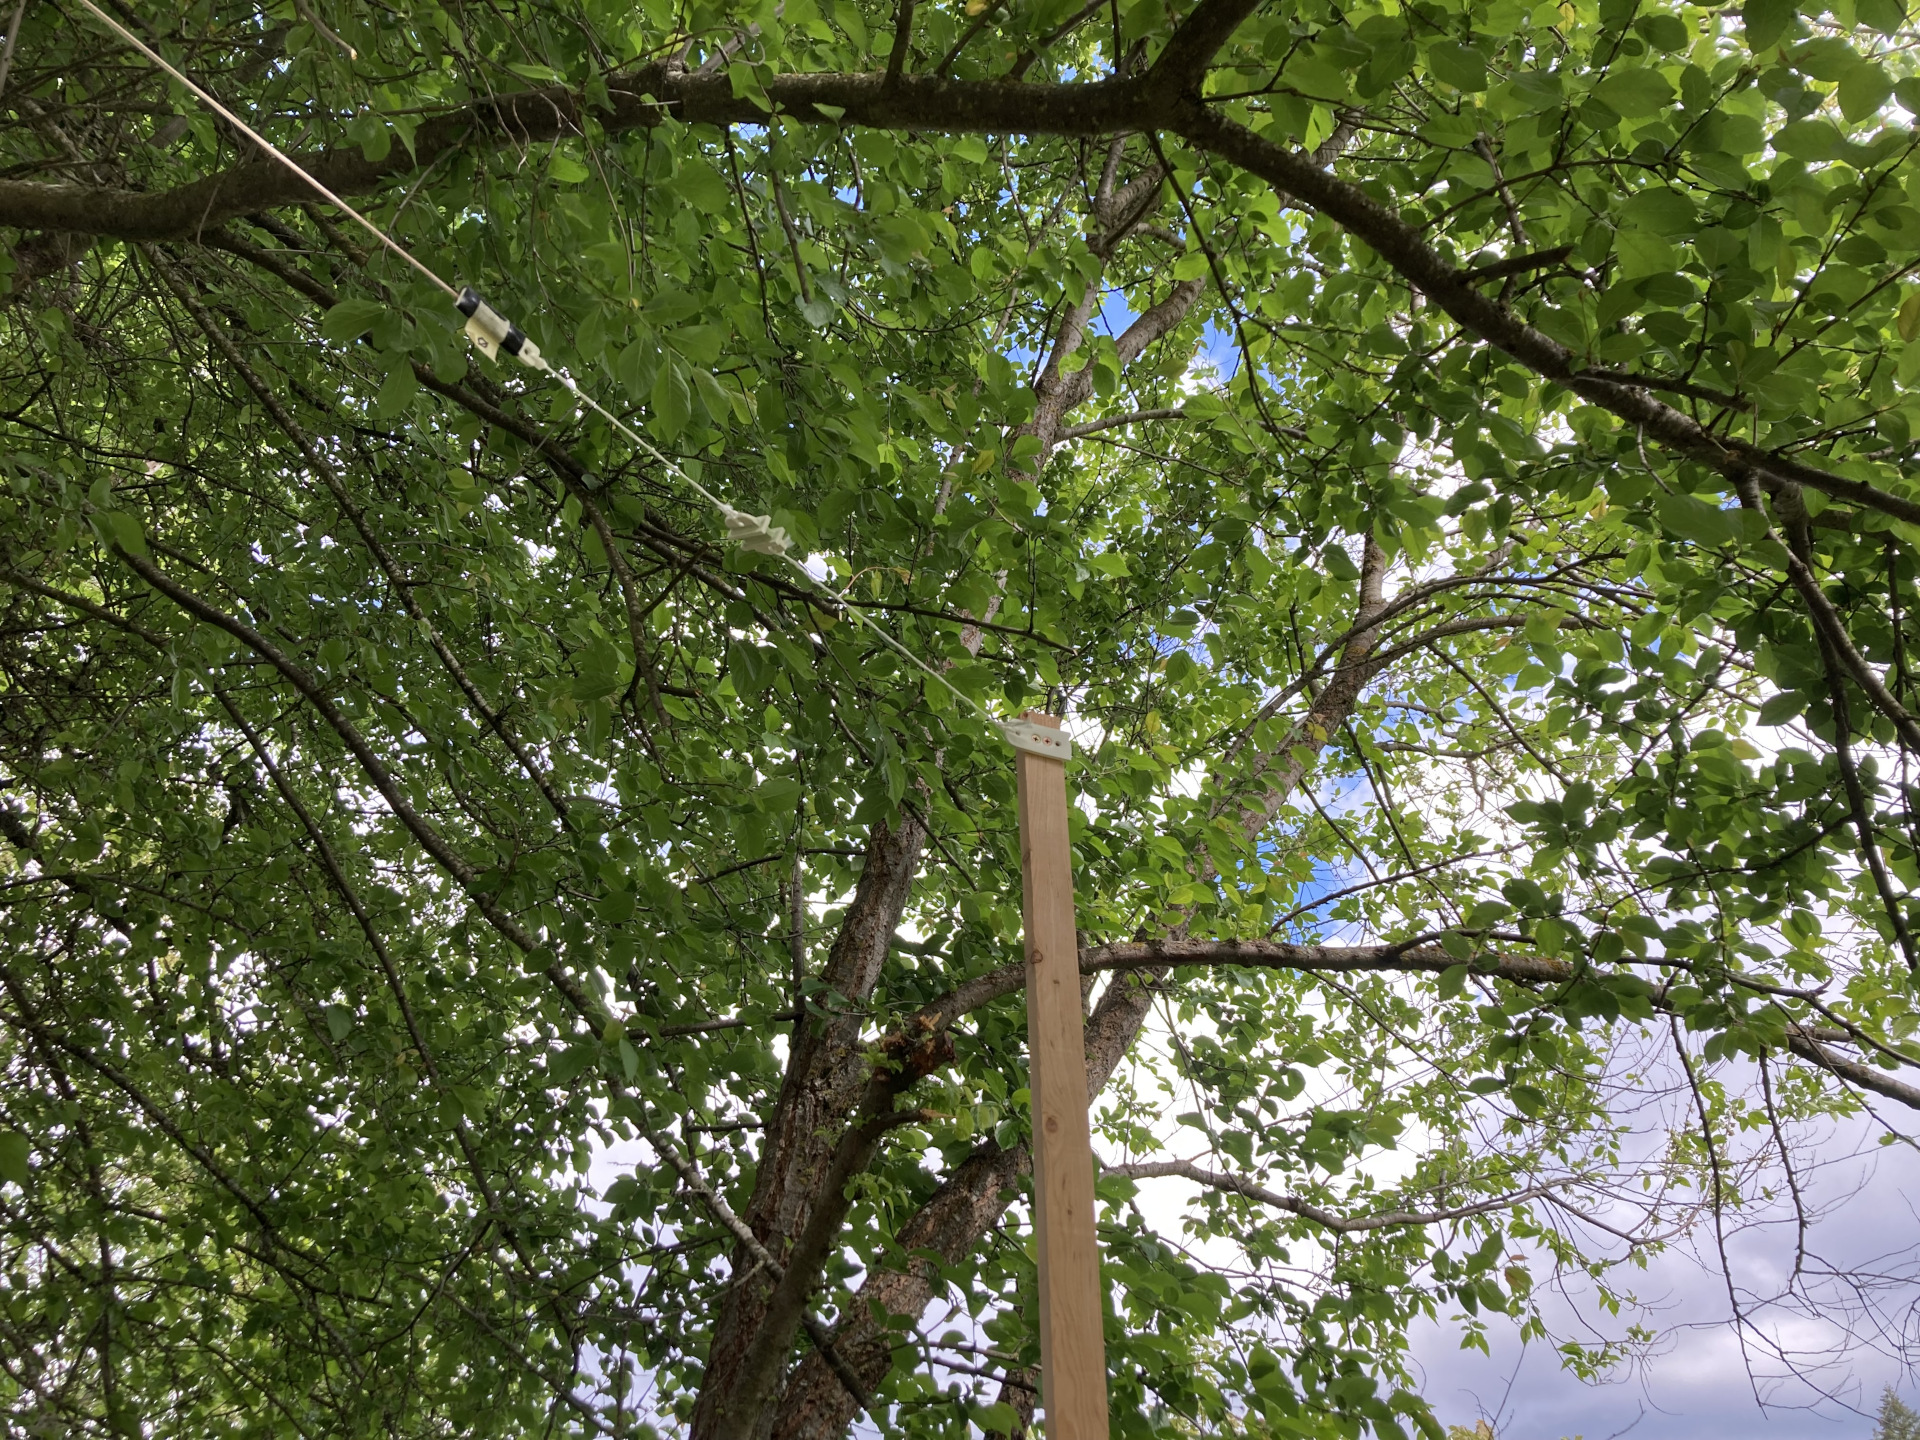
The fence end of the antenna.
(facepalm) I forgot to remove the masking tape from the insulator!
Long view of both ends of the antenna.
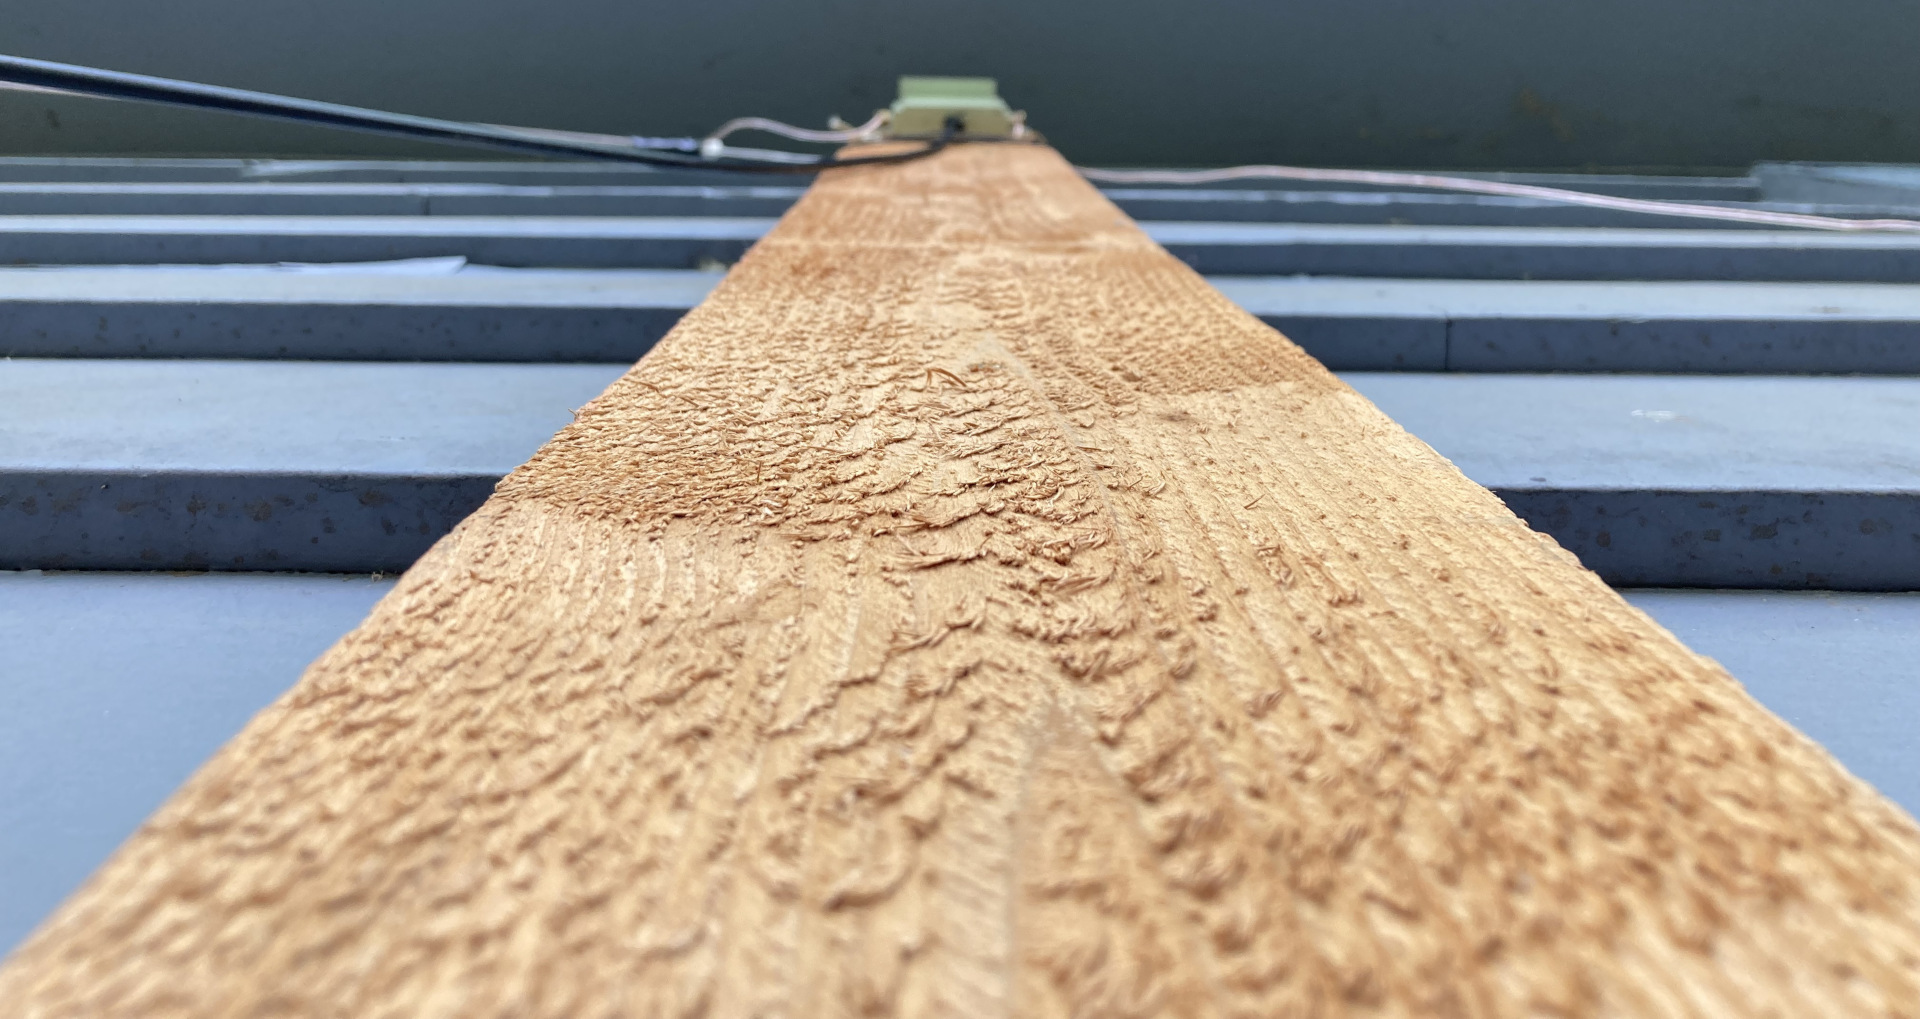
Attempted artsy picture of plank.
Silly phone just wouldn't focus correctly.
So, the building and installing part of this project is done! It took a lot of work and I learned a lot of lessons. After the unun and housing were done, I received a new, more appropriate toroid and will eventually make a more 'standard' 9:1 unun, but we'll see how it goes with this first effort. Now comes the interesting part - trying to make some contacts on HF!
Next steps
I currently have only two radios that may work for HF - a uBitX v.6 that I will
try SSB contacts on and a small SW-3B CW-(Morse-code)-only radio. I know the SW-3B
works because I've gone as far as Quebec, Canada and Stamford, California on a mag-loop
antenna last year, but I cannot use the uBitX v.6 for transmitting yet because my
proper power supply for it has gone missing or has been relocated to an unknown
location by someone in the household. I may have even hid it from myself!
For receiving the ham bands, this new antenna and unun works fantastically compared to the measuring tape antenna I had draped over my window's curtain-rod. CW and SSB would come in 'okay' before, but now I have to turn down the uBitX v.6's volume for fear of the incoming signals tearing the speaker apart! I am very pleased with the receive performance. Let's hope transmitting will work well too!
Once I get an actual BNC connector on the indoors end of the coax, I can connect it to my QRP antenna tuner and see what I can do. Again, I'm missing a decent power supply for my uBitX, but I can run my SW-3B off of my lead-acid battery for days. Also, I only have a very inexpensive MFJ straight-key, which wears out my wrist quickly, so I'm thinking of doing another homebrew project -- a keyer paddle.
Conclusion - Very very piecemeal
It has taken many months to do this project, but that's okay. Because I run a business
from home, take care of my youngest child and do household things like laundry, vacuuming
and the like, I usually never have a long stretch of time to do hobby stuff. Almost
all of this project was done in brief spare moments between customer calls, meal-making
and clothes folding.
I hope you enjoyed this post, and if I do get comments, hopefully they aren't too disparaging!
God bless you, and thank you for reading!
![]()
Comments
(No comments yet)